I built a table over the past month to replace the one I originally built in 2013. While the surface was never terribly flat, it has gotten much worse over time because I didn't glue any of the boards to each other. I just screwed them together with pocket screws, and that has allowed to wood to continue moving over time, resulting an increasingly uneven table top. And as I've been working from home over the past year, primarily at the dining table, it's quite aggravating to use a computer mouse on. And just seeing the gaps and ridges on a daily basis spurred me to build a replacement.
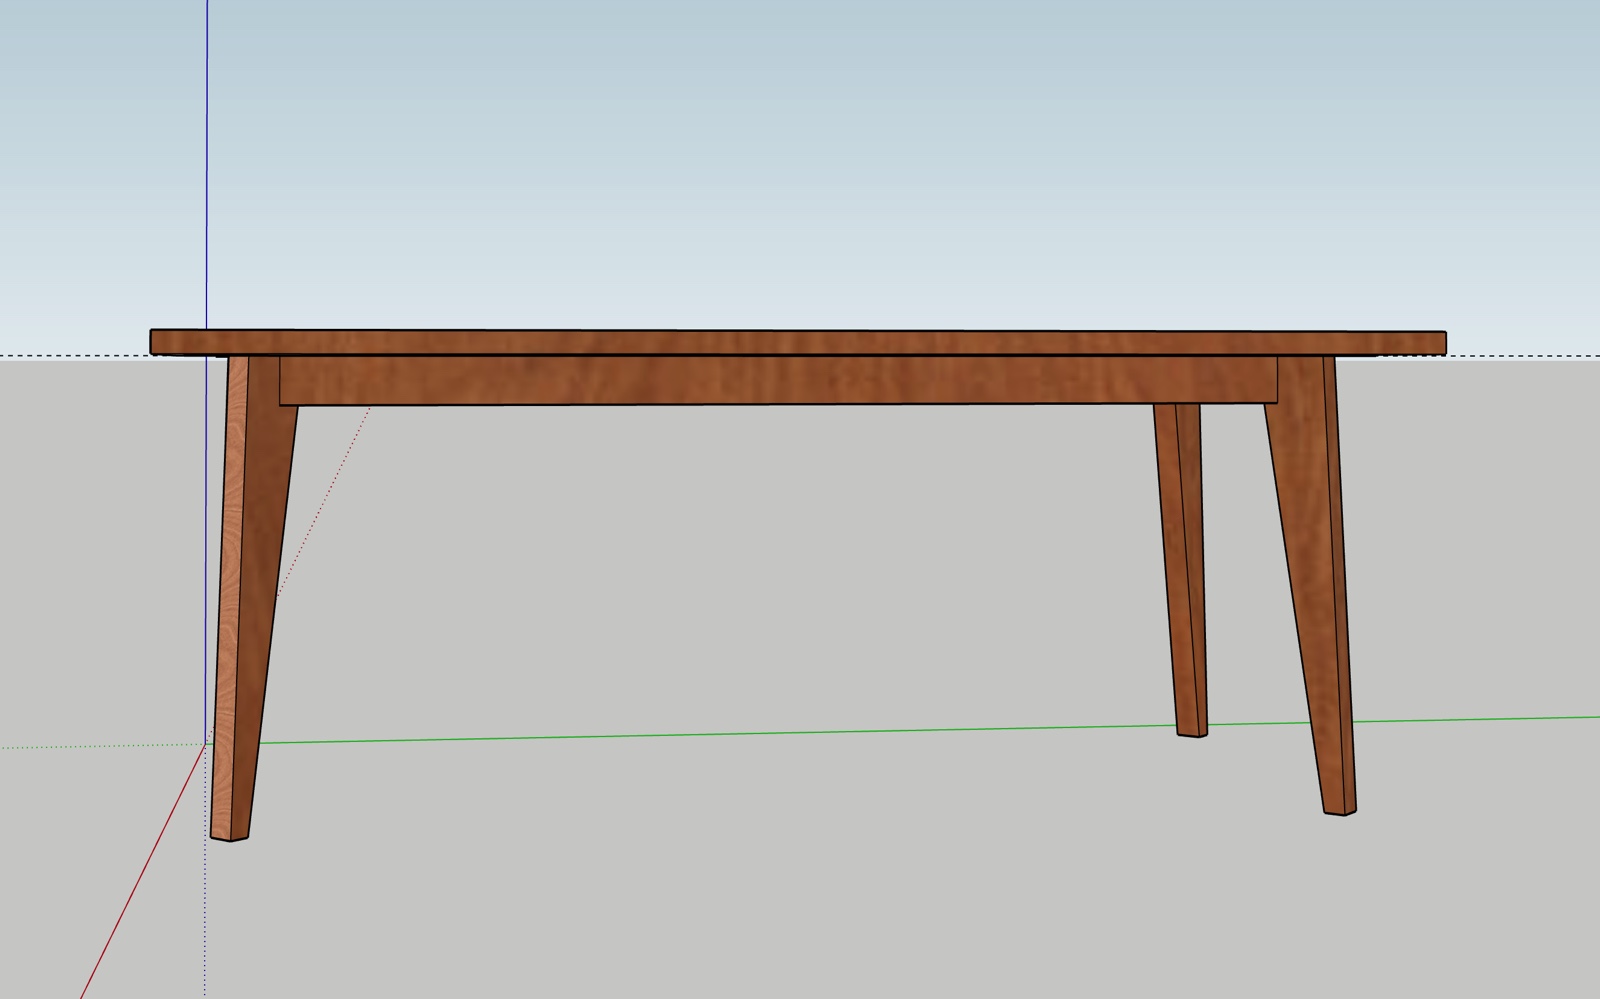
Before I started, I did this terrible SketchUp to show Carrie what I was thinking. I wish I knew how to use SketchUp better, but every time I try to use it, I get frustrated and switch to pencil/paper. But in this case, I wanted to be able to rotate it in 3D space to better show off the angles of the legs, so I muddled through. The legs are the main things I was concerned about. I wanted them to splay out a bit from 90 degrees, and also be mounted at a 45 degree angle, and there was no way I could draw that.
The first step building any table is to glue up the table top. I started out by laying out the boards on the floor and figuring out which board should be next to which other boards based on color and grain. I bought these cherry boards at different times, so their color isn't a close match by any means, but over time they should darken to about the same shade.

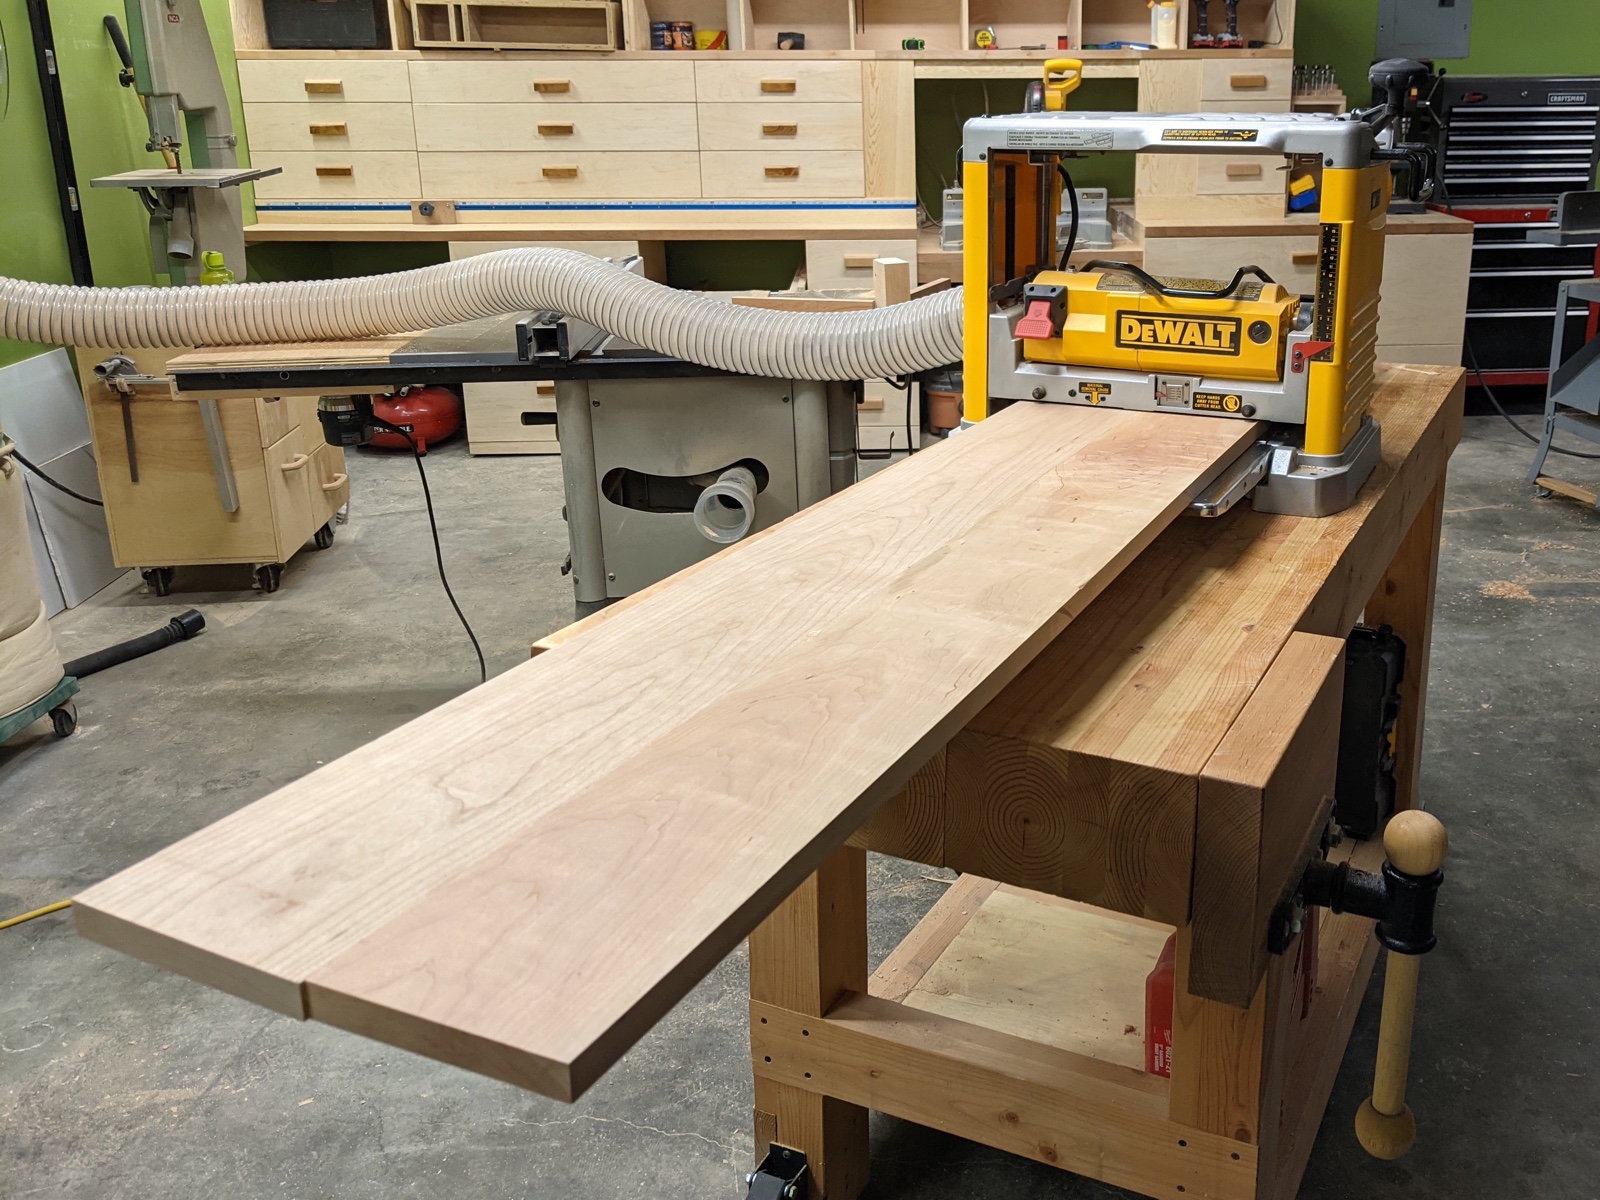
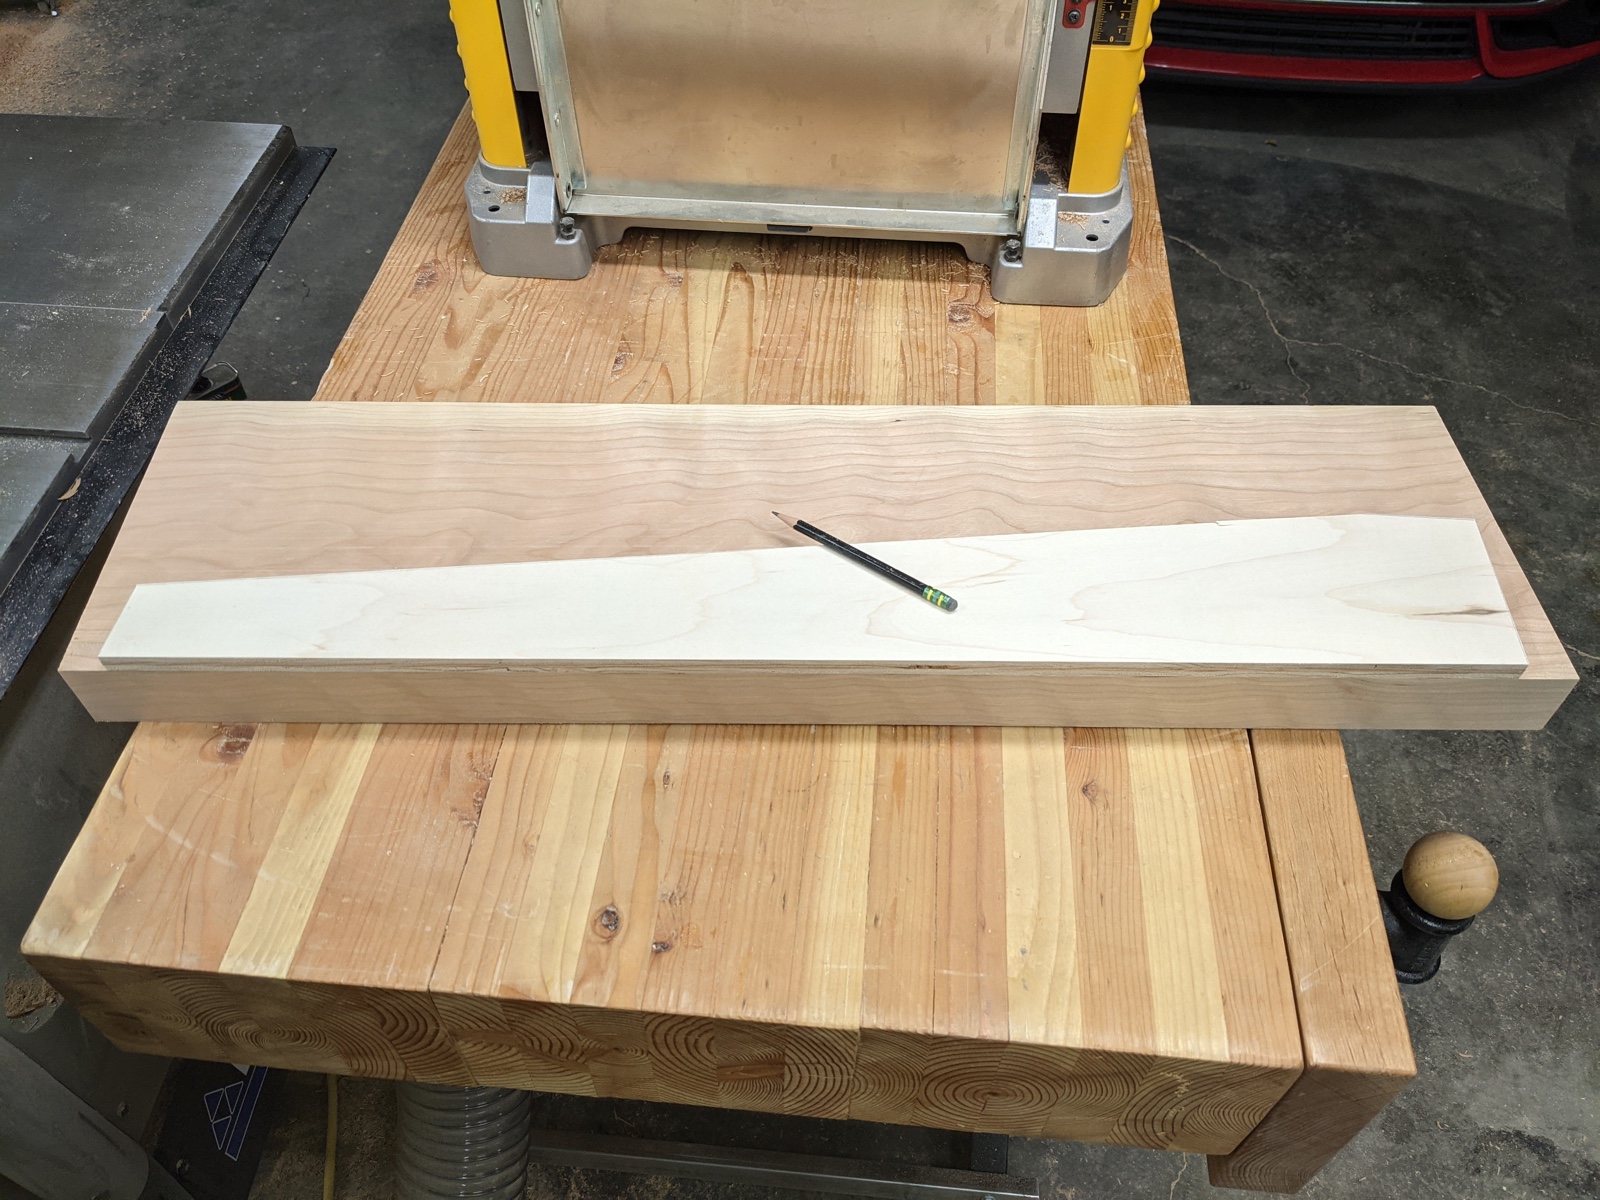
Next I glued up the boards in pairs. Each board is roughly 6 inches wide, and the maximum width I can fit through my planer is 12.5 inches, so two glued up would still fit through.
Here's one pair going through the planer. I could have glued up all 7 planks at once, but doing it this way should save me some time leveling out the top once they're all glued up.
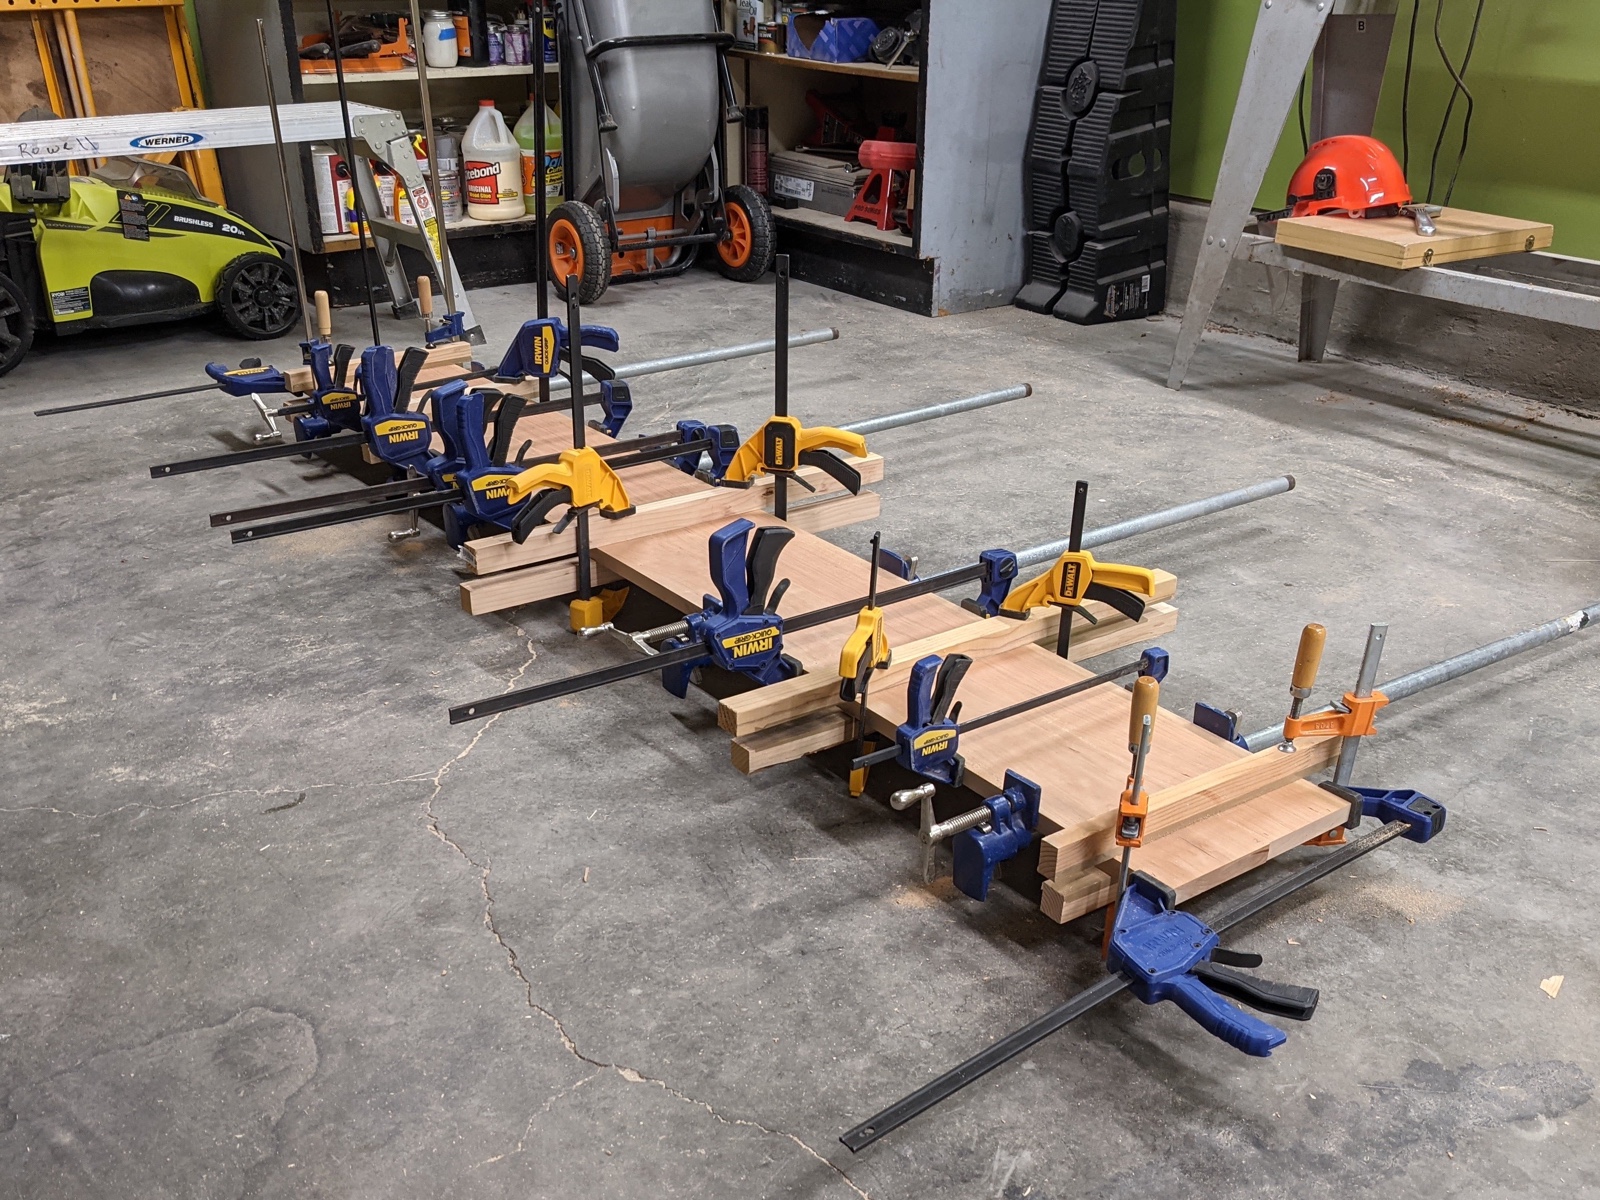
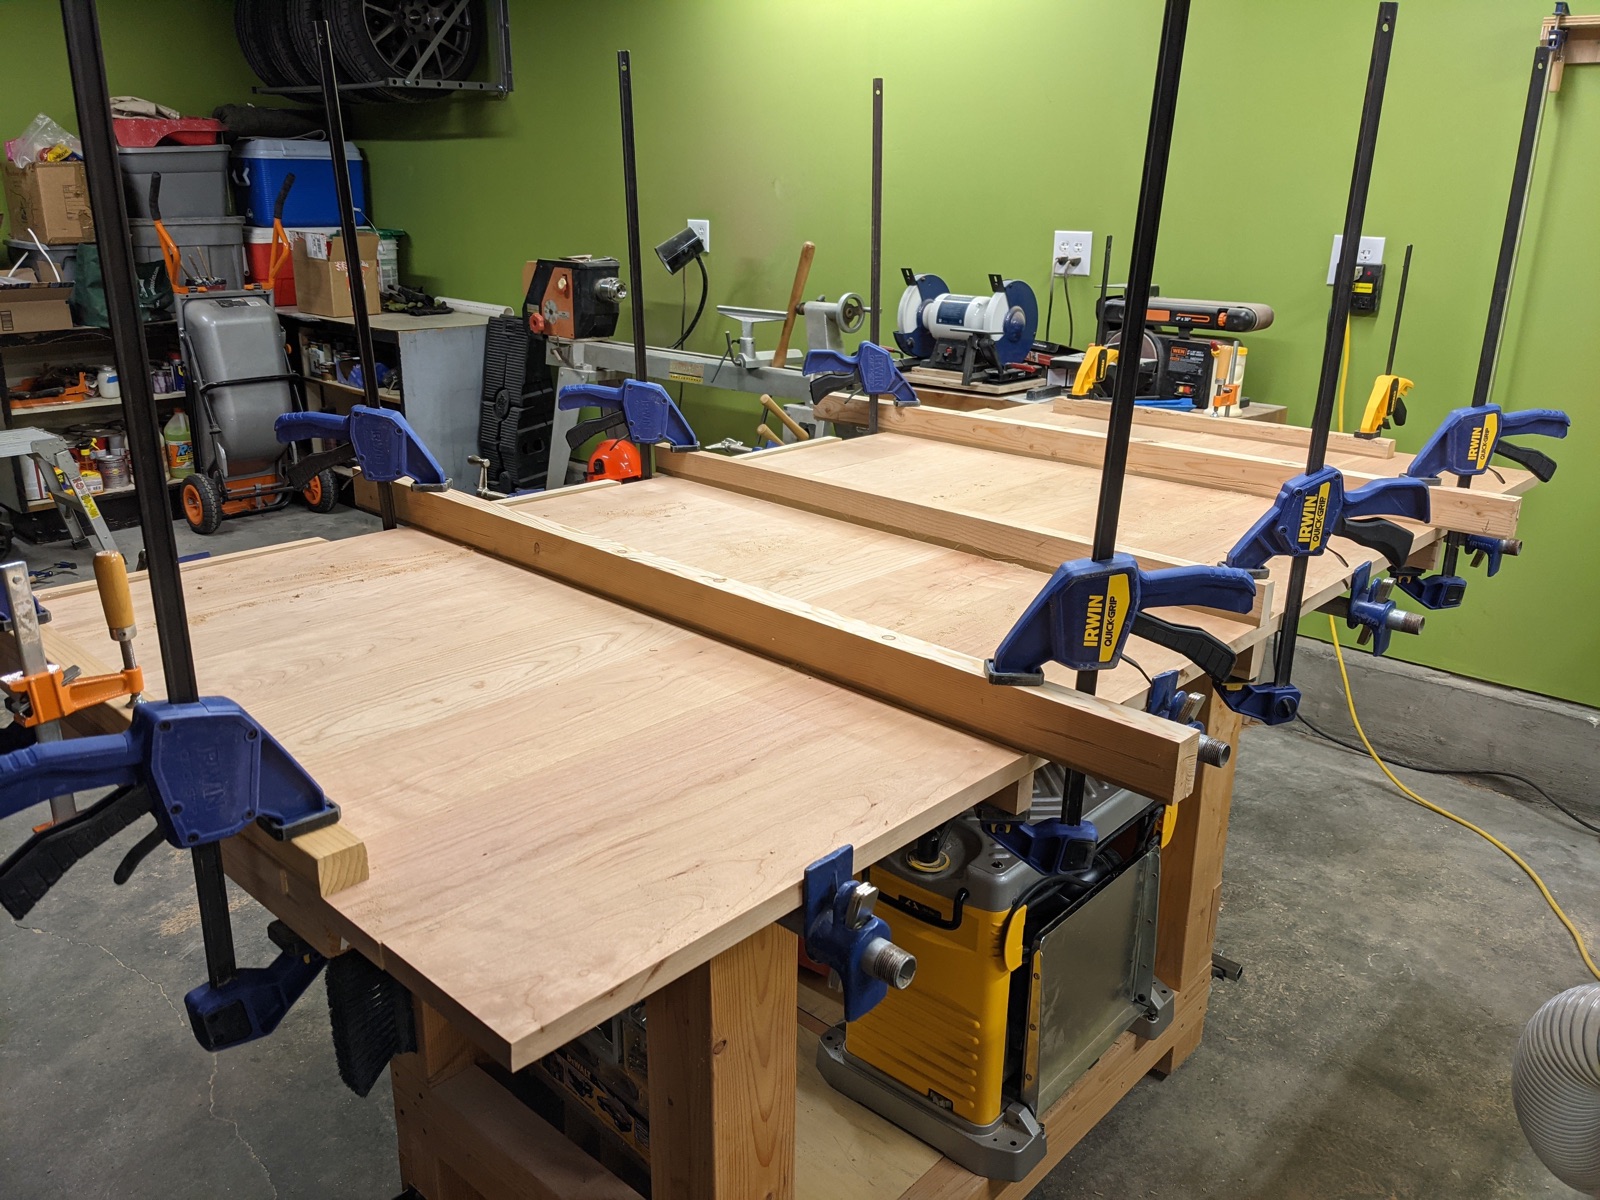
Once I had the three pairs glued and planed (plus one lone board), I glued them all up into a solid slab.
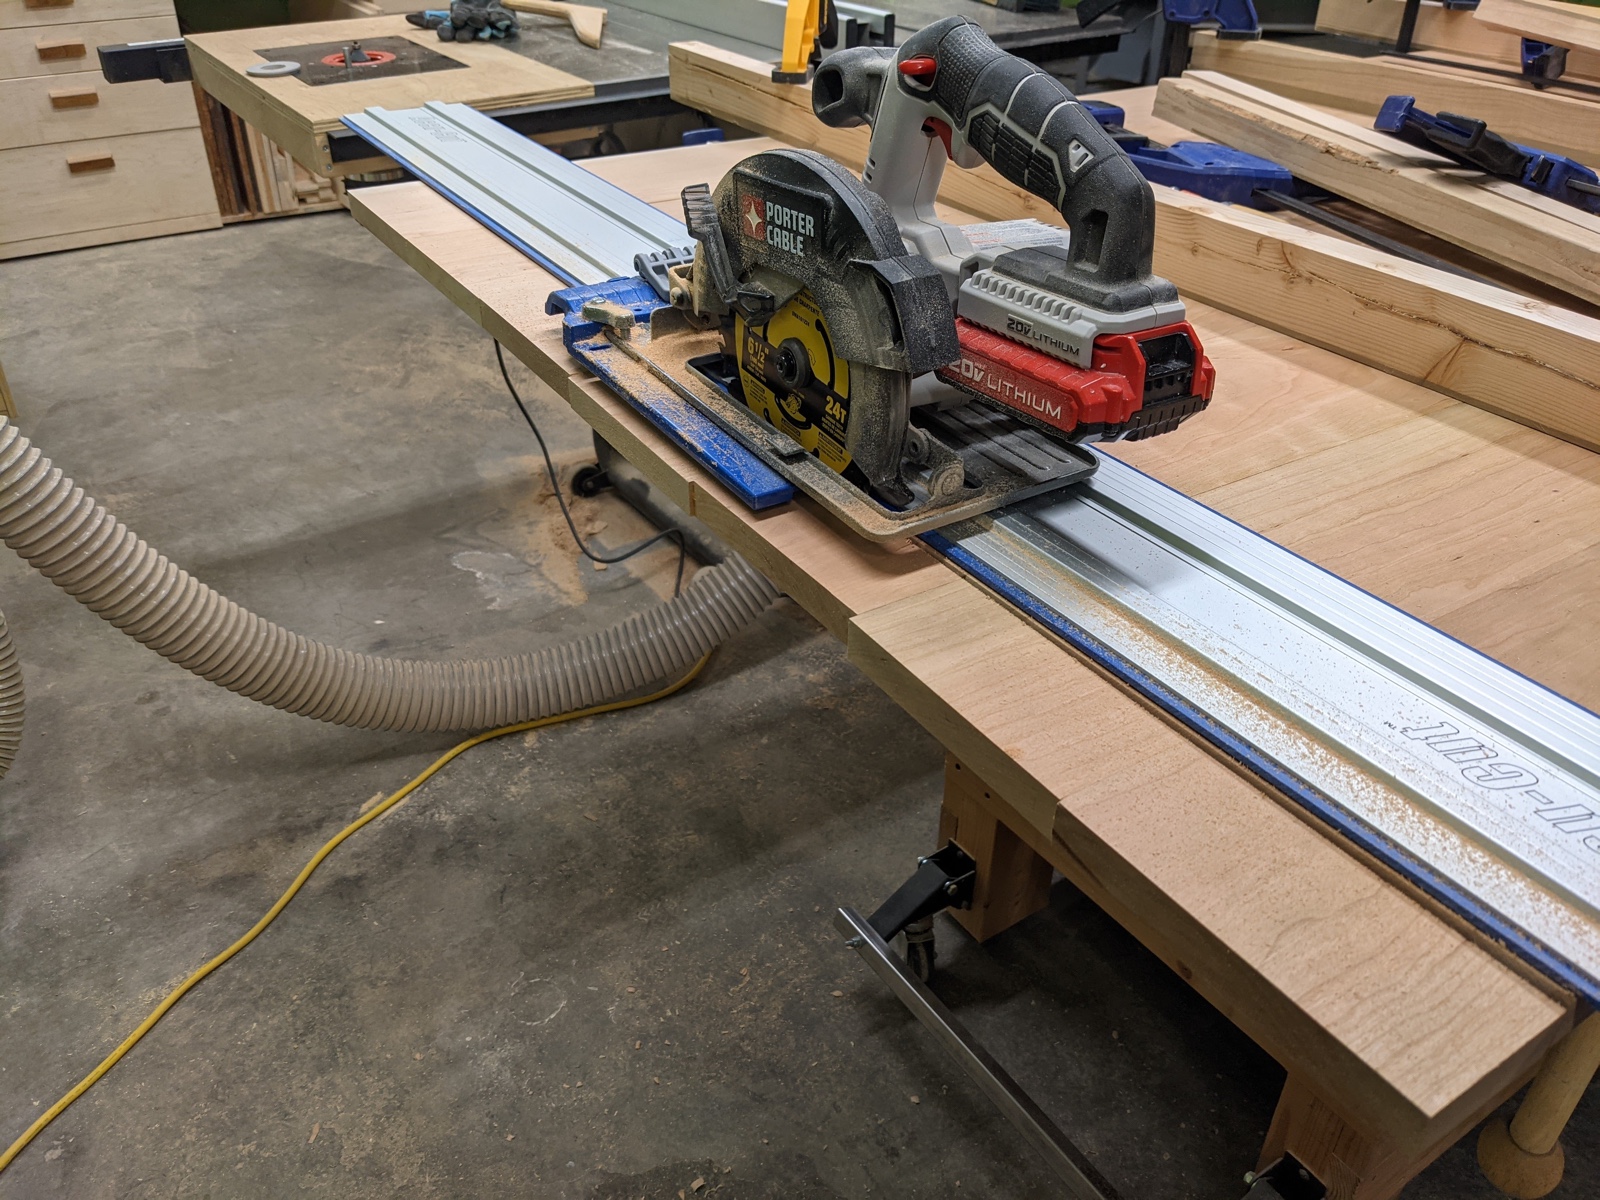
After the glue dried, I then used a circular saw to trim up the ends.
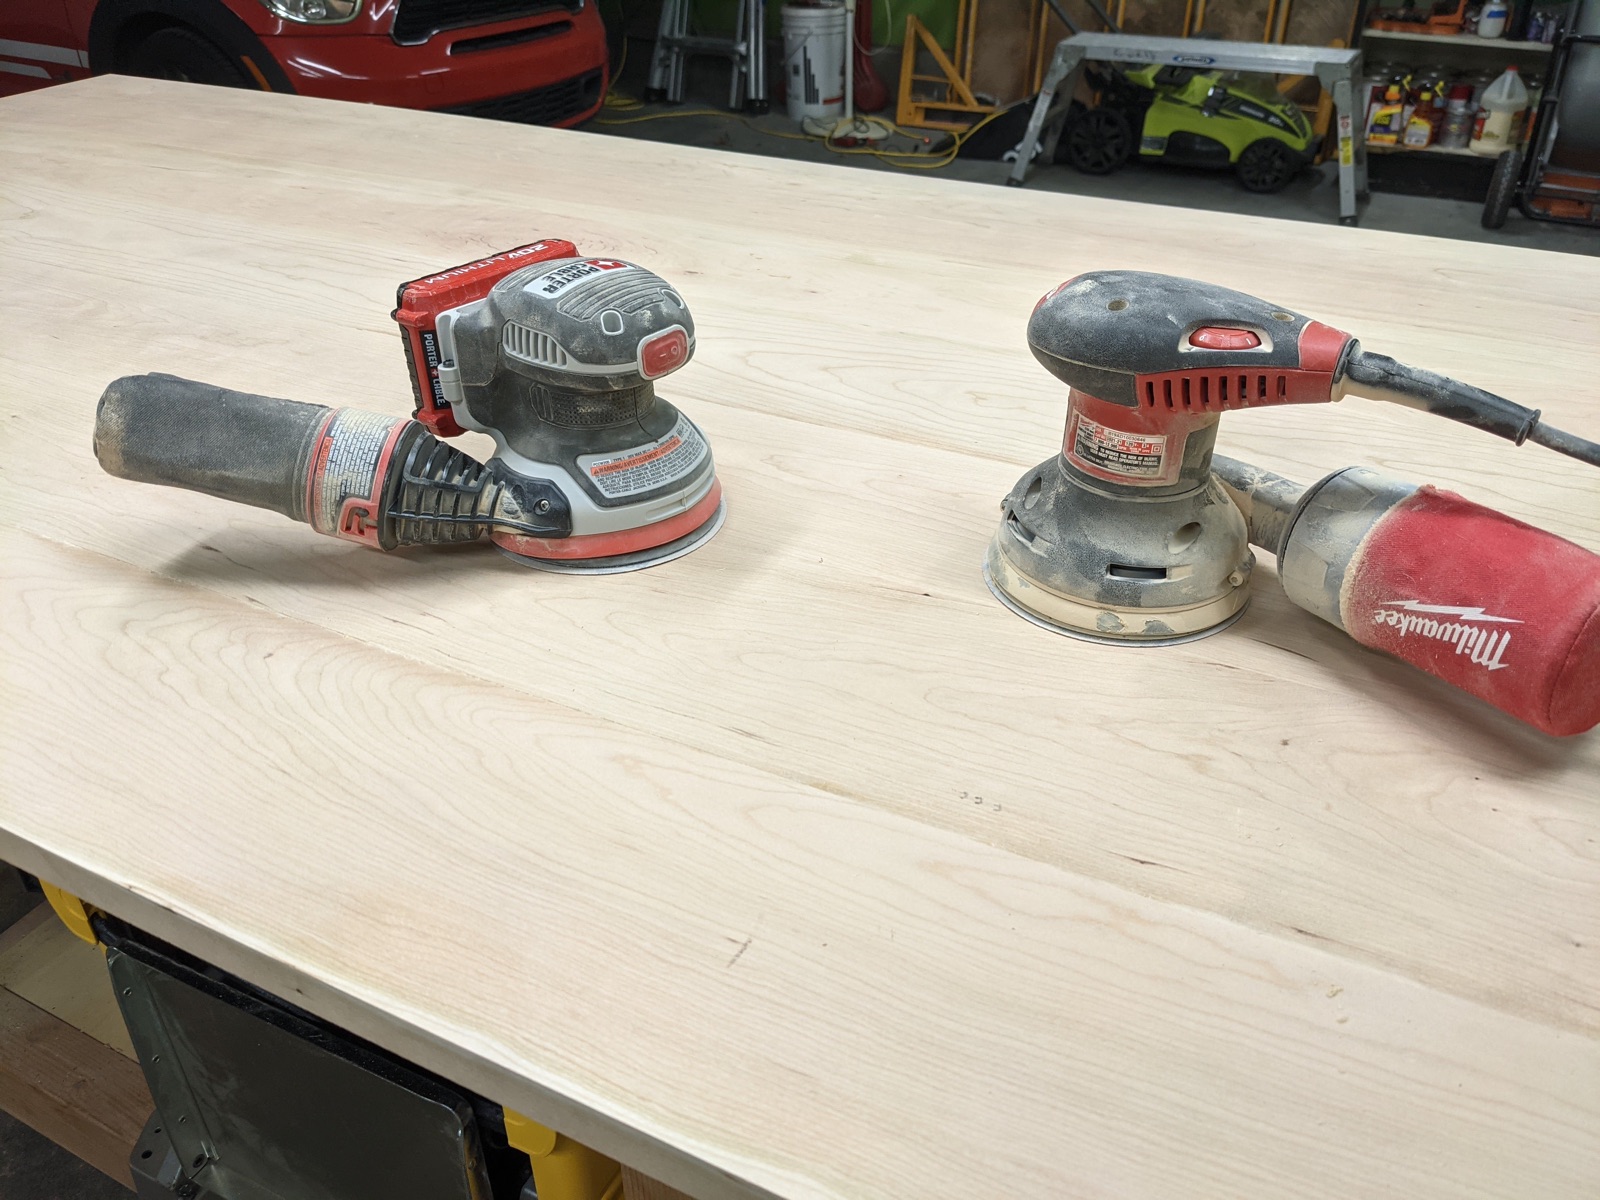
And then I sanded for an eternity. I was using one sander in each hand, but it still took a long time to get everything leveled out on both sides. (And my corded sander died, but that's another story.)
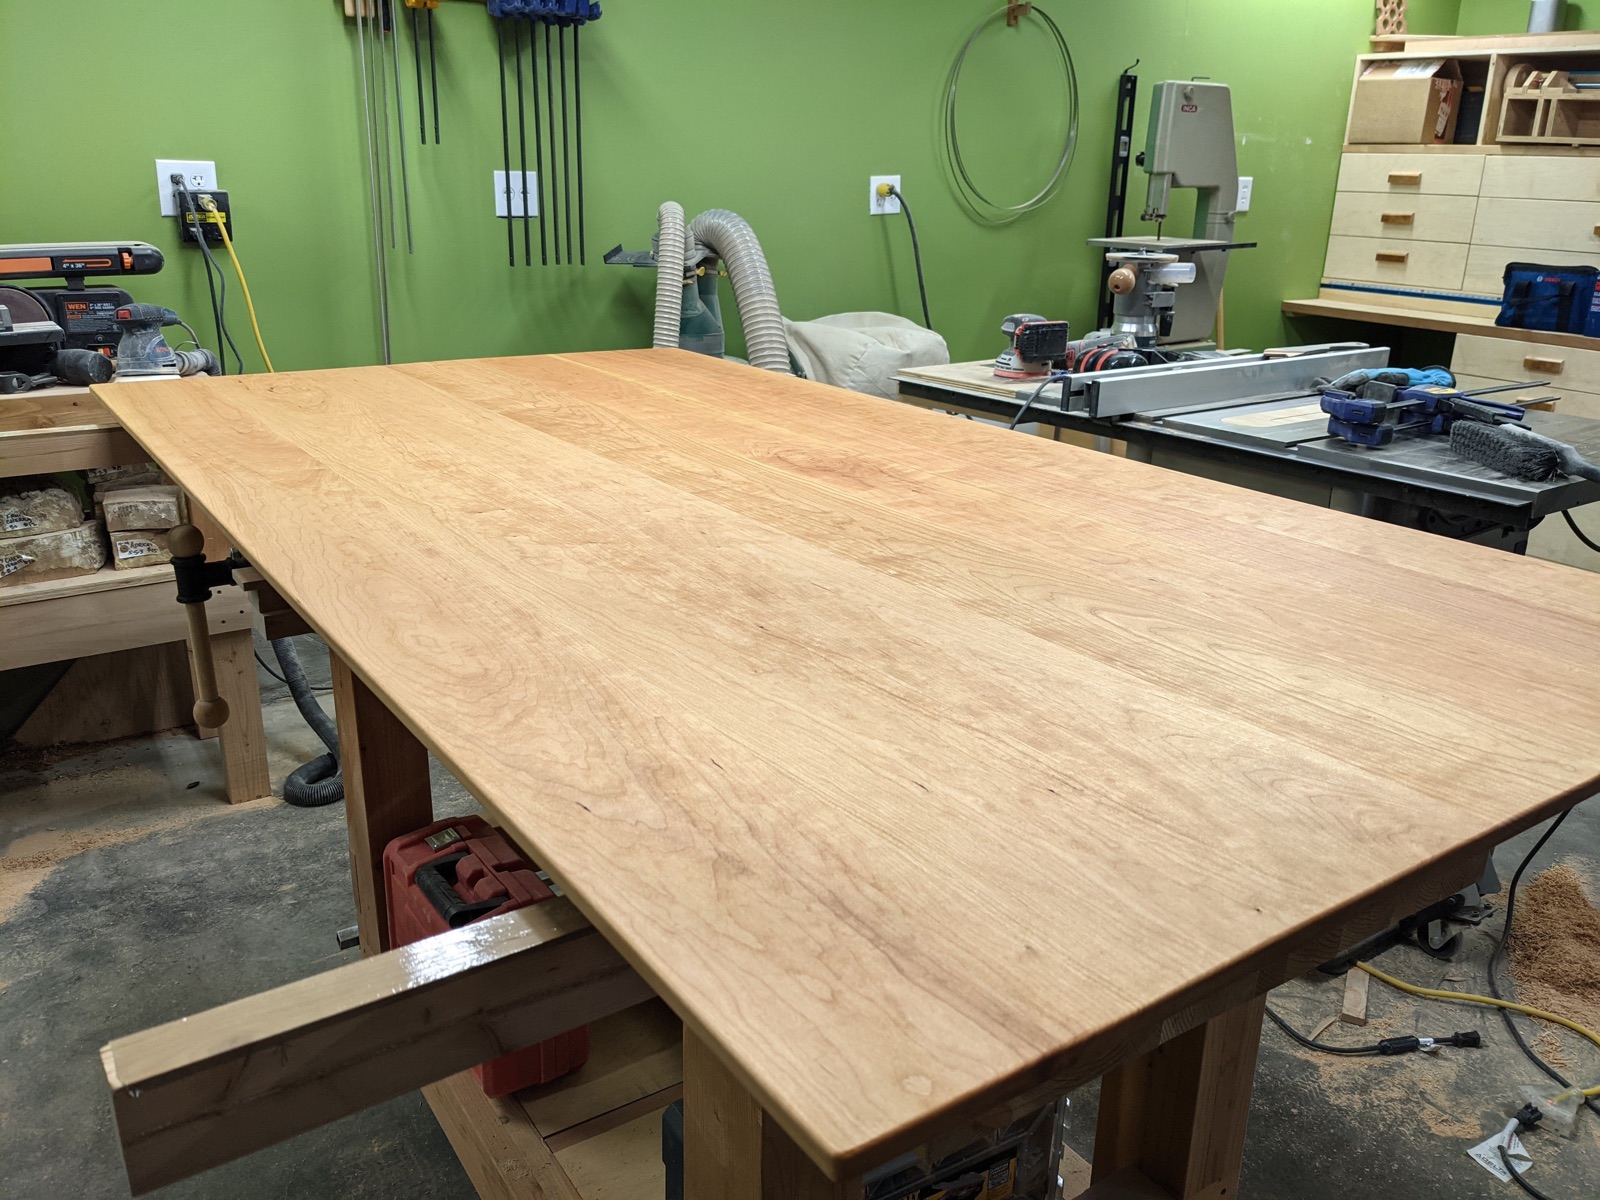
Next I routed a 45 degree chamfer on the underside of the table top. This makes the table top appear thinner than it really is.

I decided to go ahead and put finishing oil on the table top while I still had it up on my workbench. This could have waited until after assembly, but it was convenient to go ahead and knock it out.
Next I started working on the legs, which I knew were going to be the most challenging part. I started out making a template out of plywood.
Then I traced them onto the workpiece, with 2 legs laid out in opposite directions to save wood.
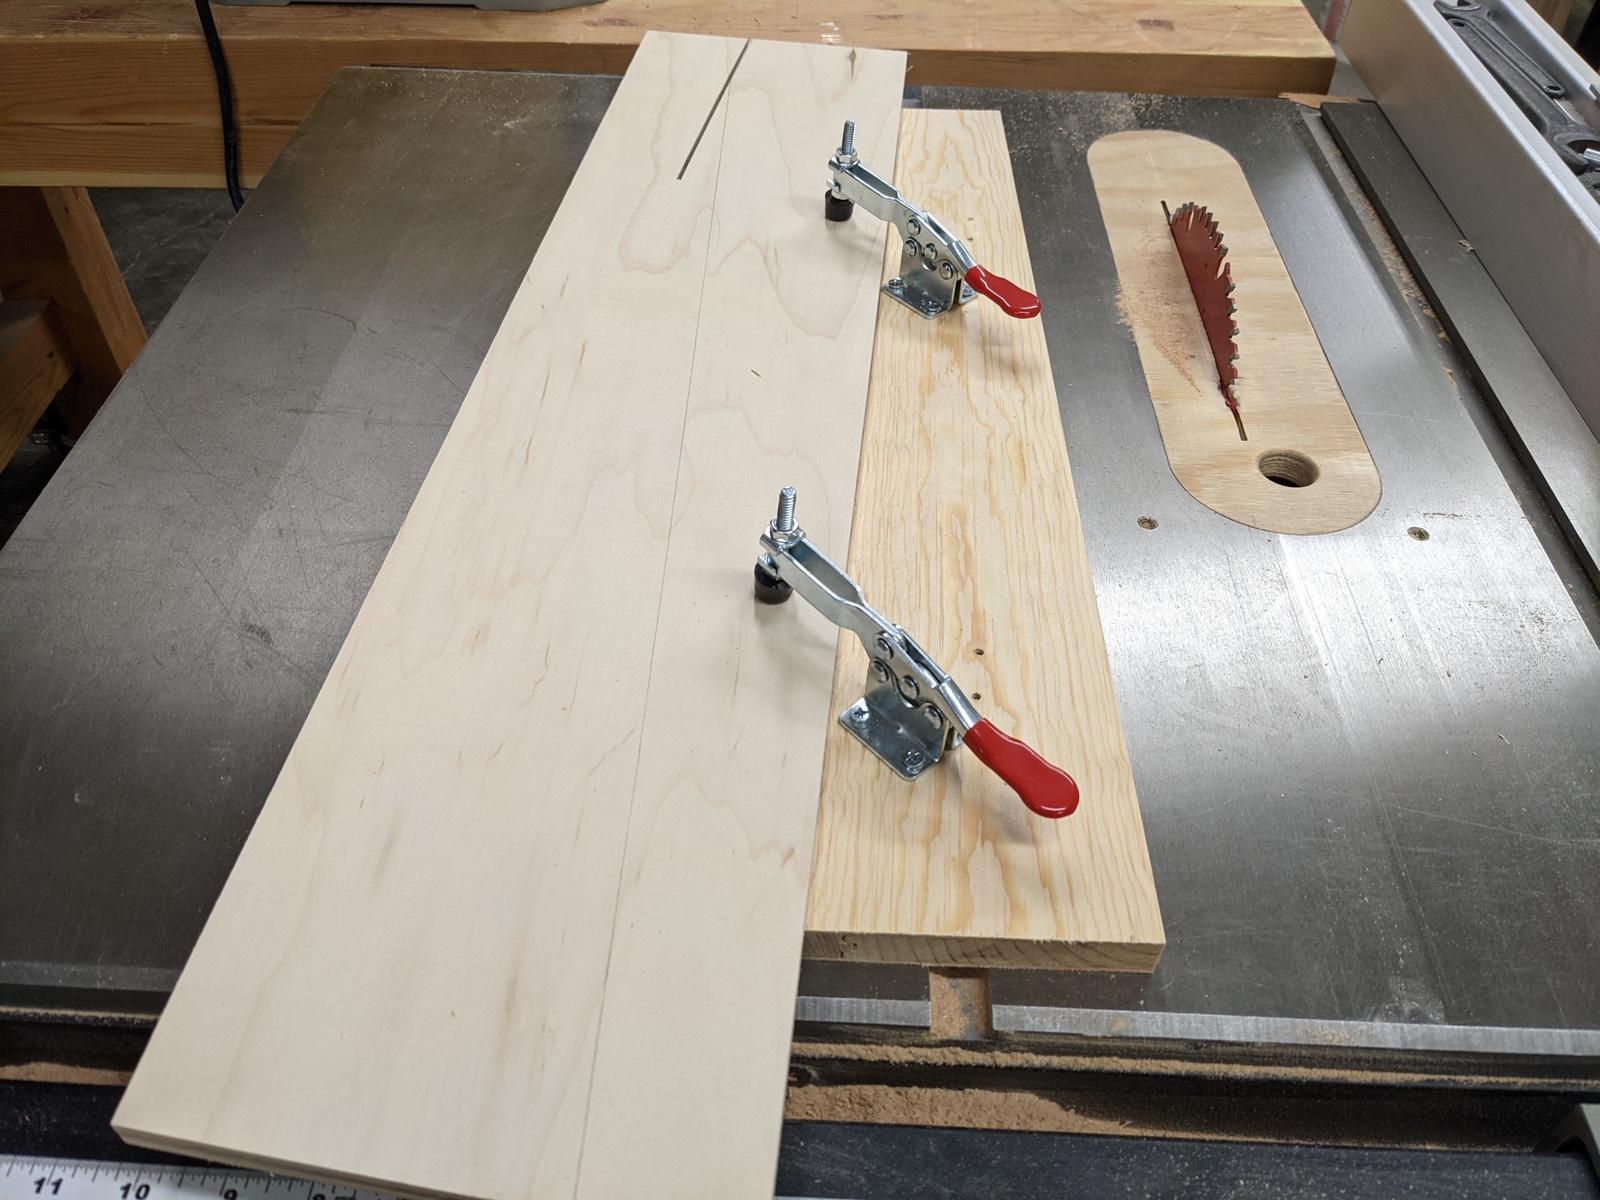
I cut the two legs apart on the bandsaw and then cleaned them up on the table saw using a simple tapering jig.
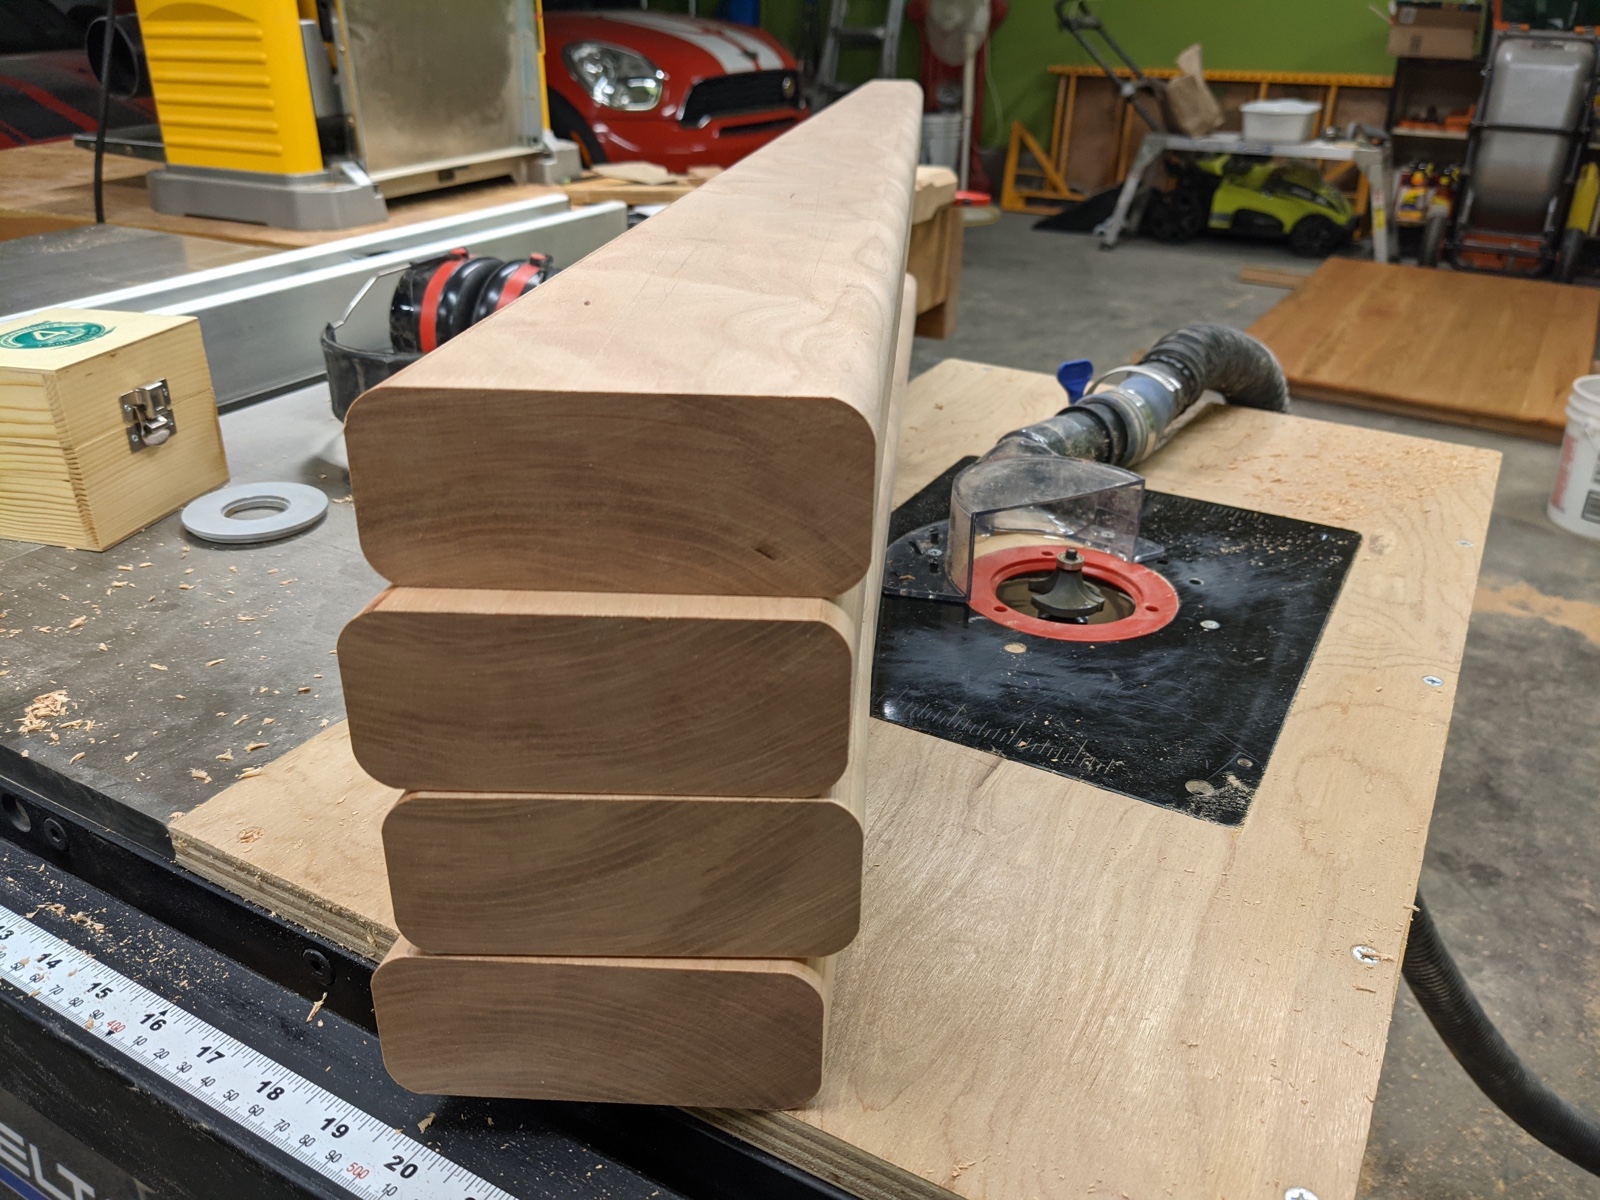
Next I used a 3/4" roundover bit on the router table to round off the corners of the legs.
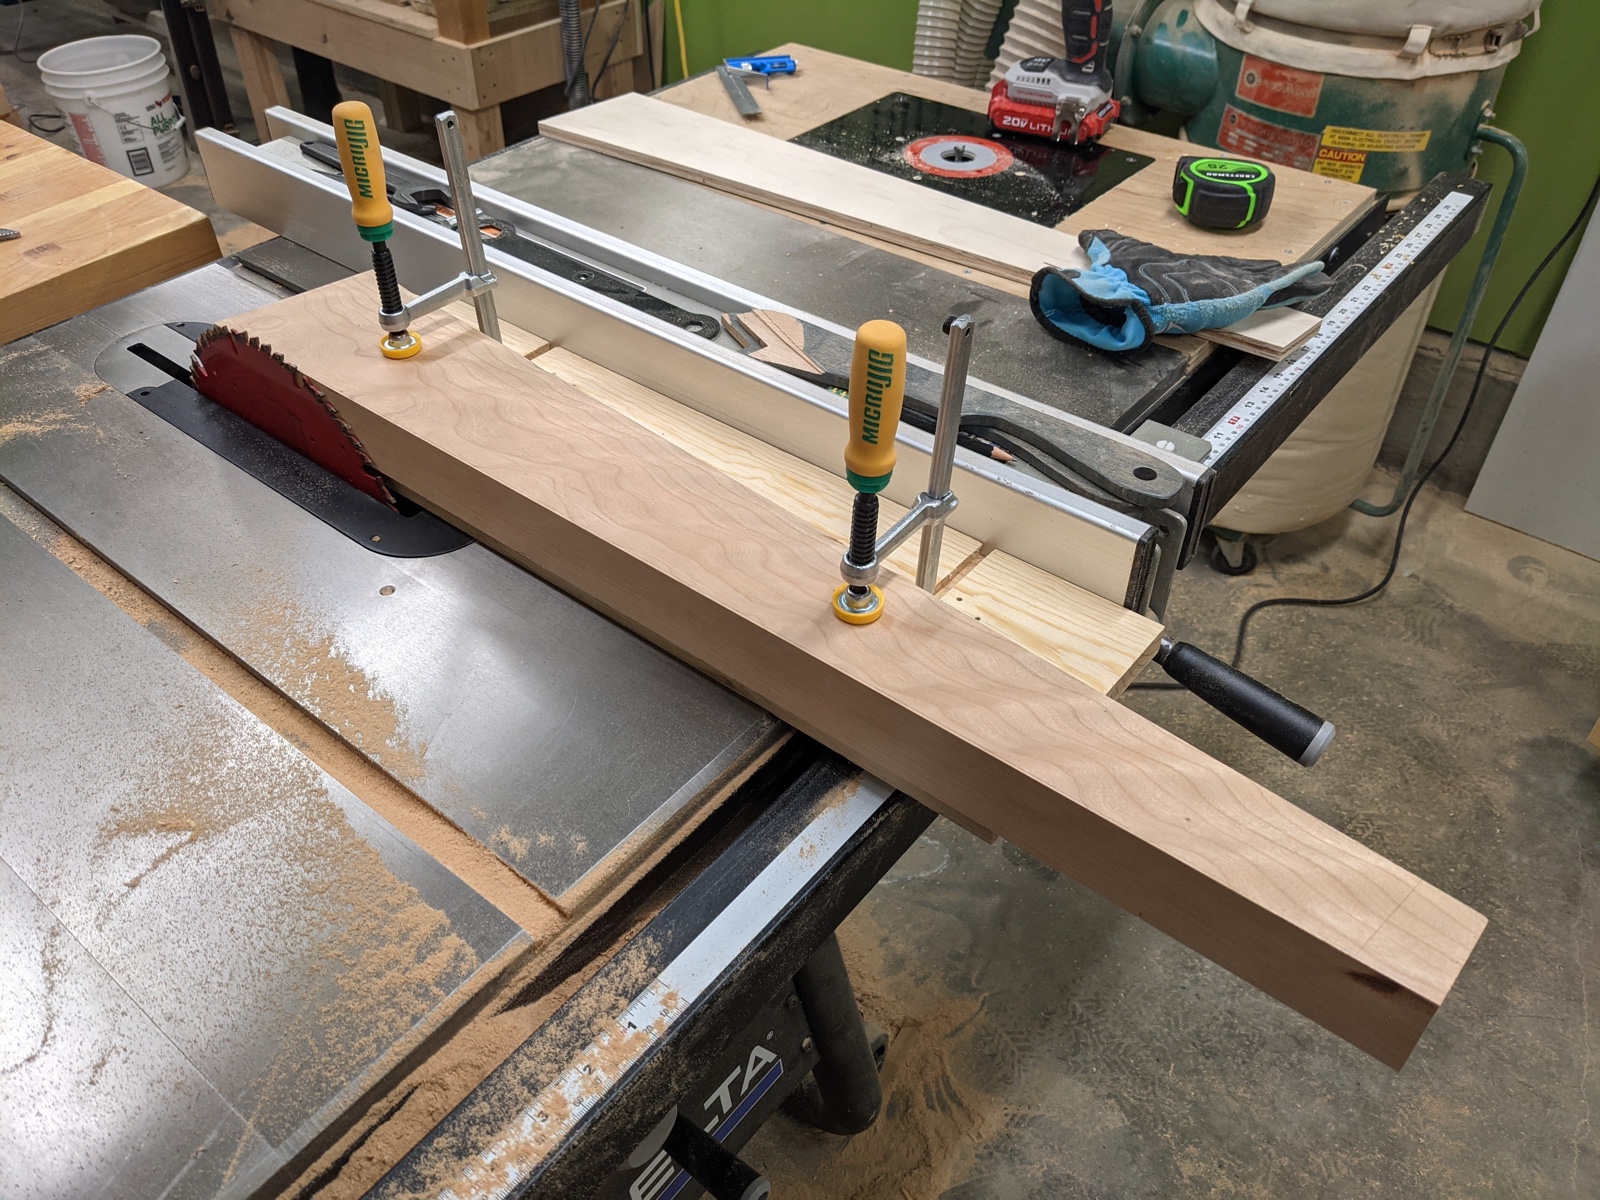
Then I took them back to the table saw to cut the faces where the leg bolts will go. These dovetail clamps were a huge help here and allowed me to quickly make the cut at the correct angle. They saved a bunch of time compared to building a jig from scratch.
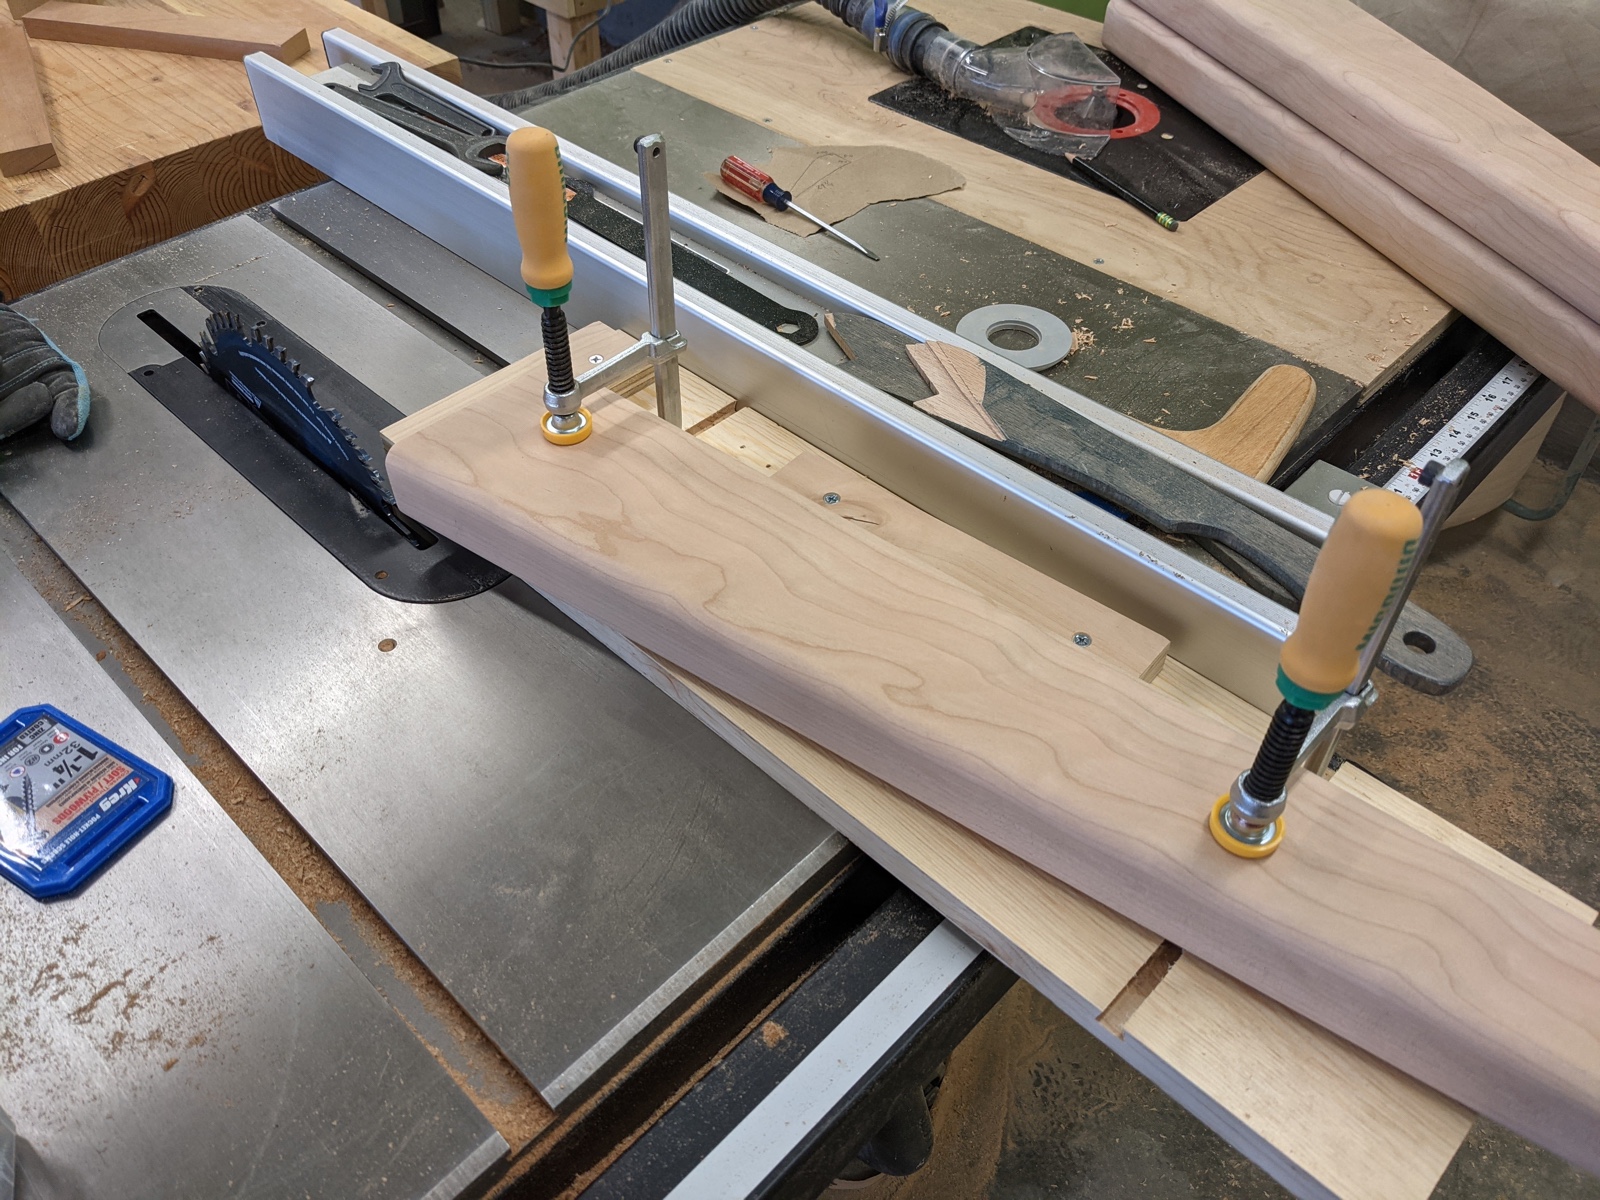
Next I cut two more faces on the legs at 45 degrees. The table apron will make contact on both sides here and allow the leg to seat at a 45 degree angle.

Then I cut the aprons and laid them out on the table top to figure out the final spacing and how far to inset the table legs.
I wanted to add a couple of additional cross members to increase rigidity of the apron, so I cut a couple out of some scrap white oak. It's kind of a waste to have this gorgeous quarter sawn white oak tucked away where no one will ever see it, but it's what I had on hand.
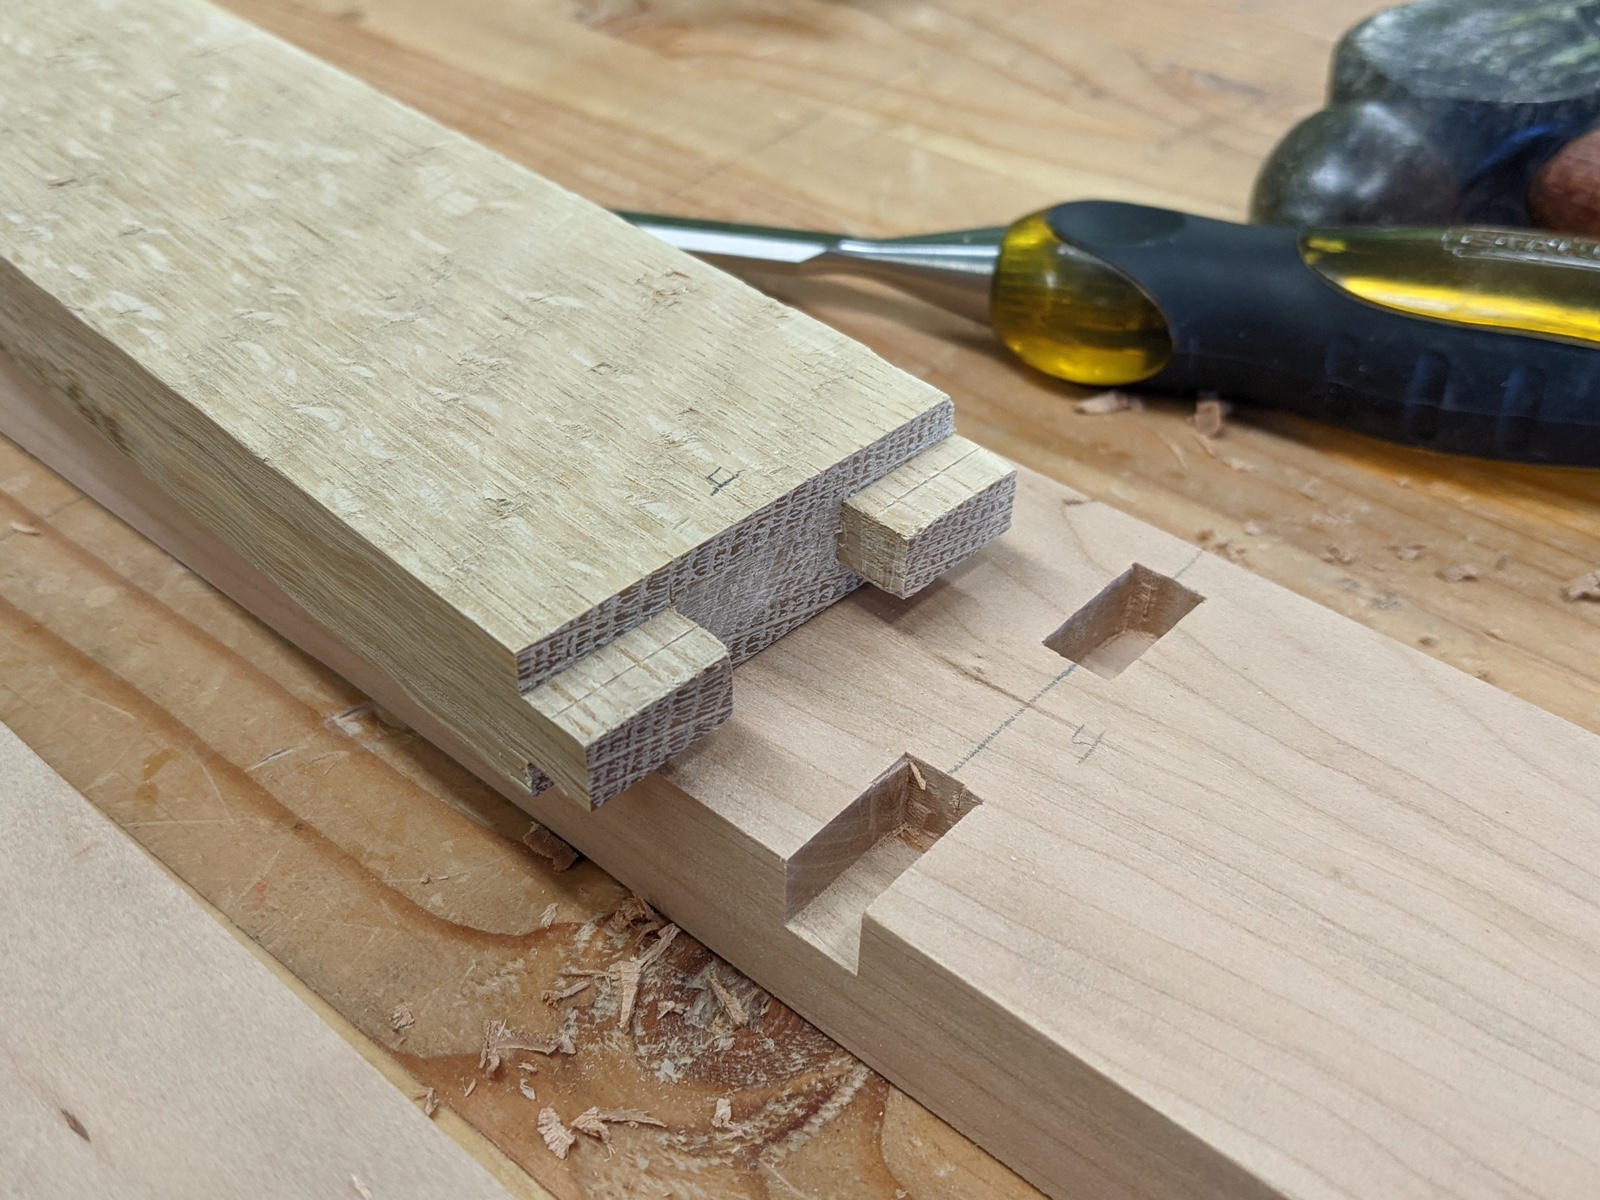
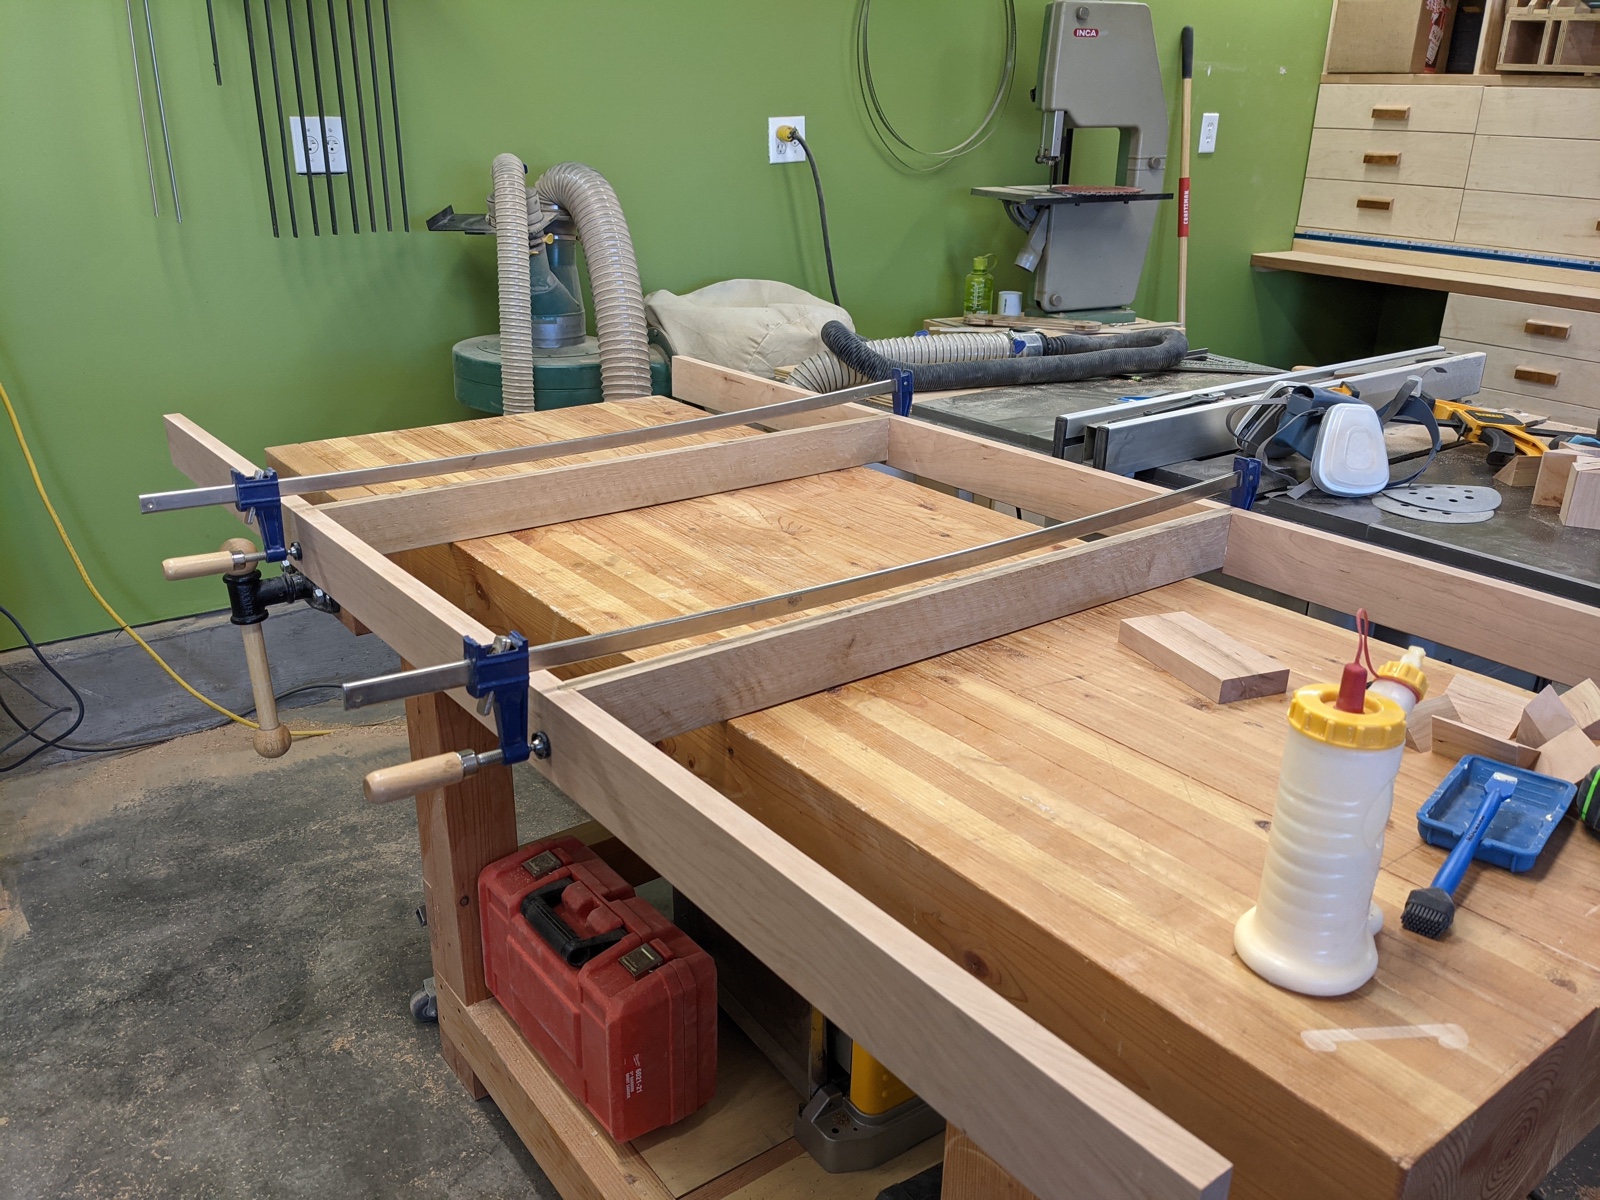
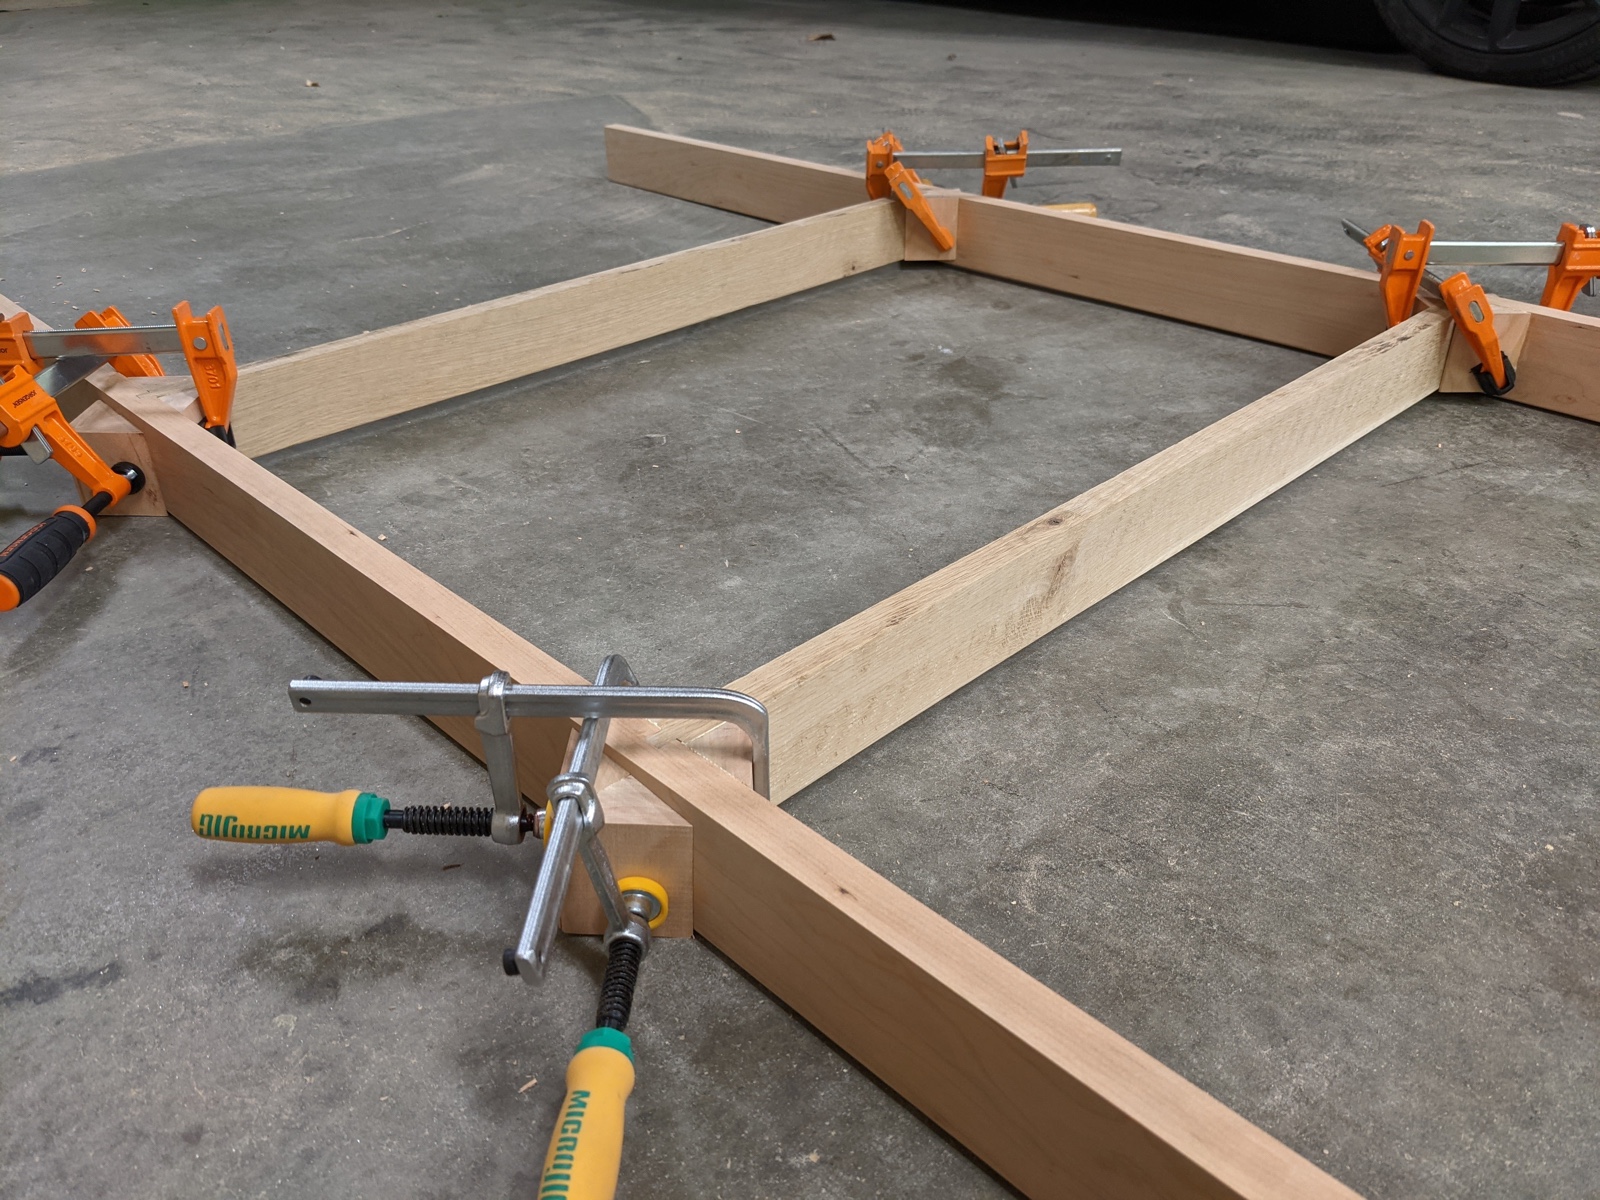
After fine tuning those mortise and tenon joints, I glued them in place.
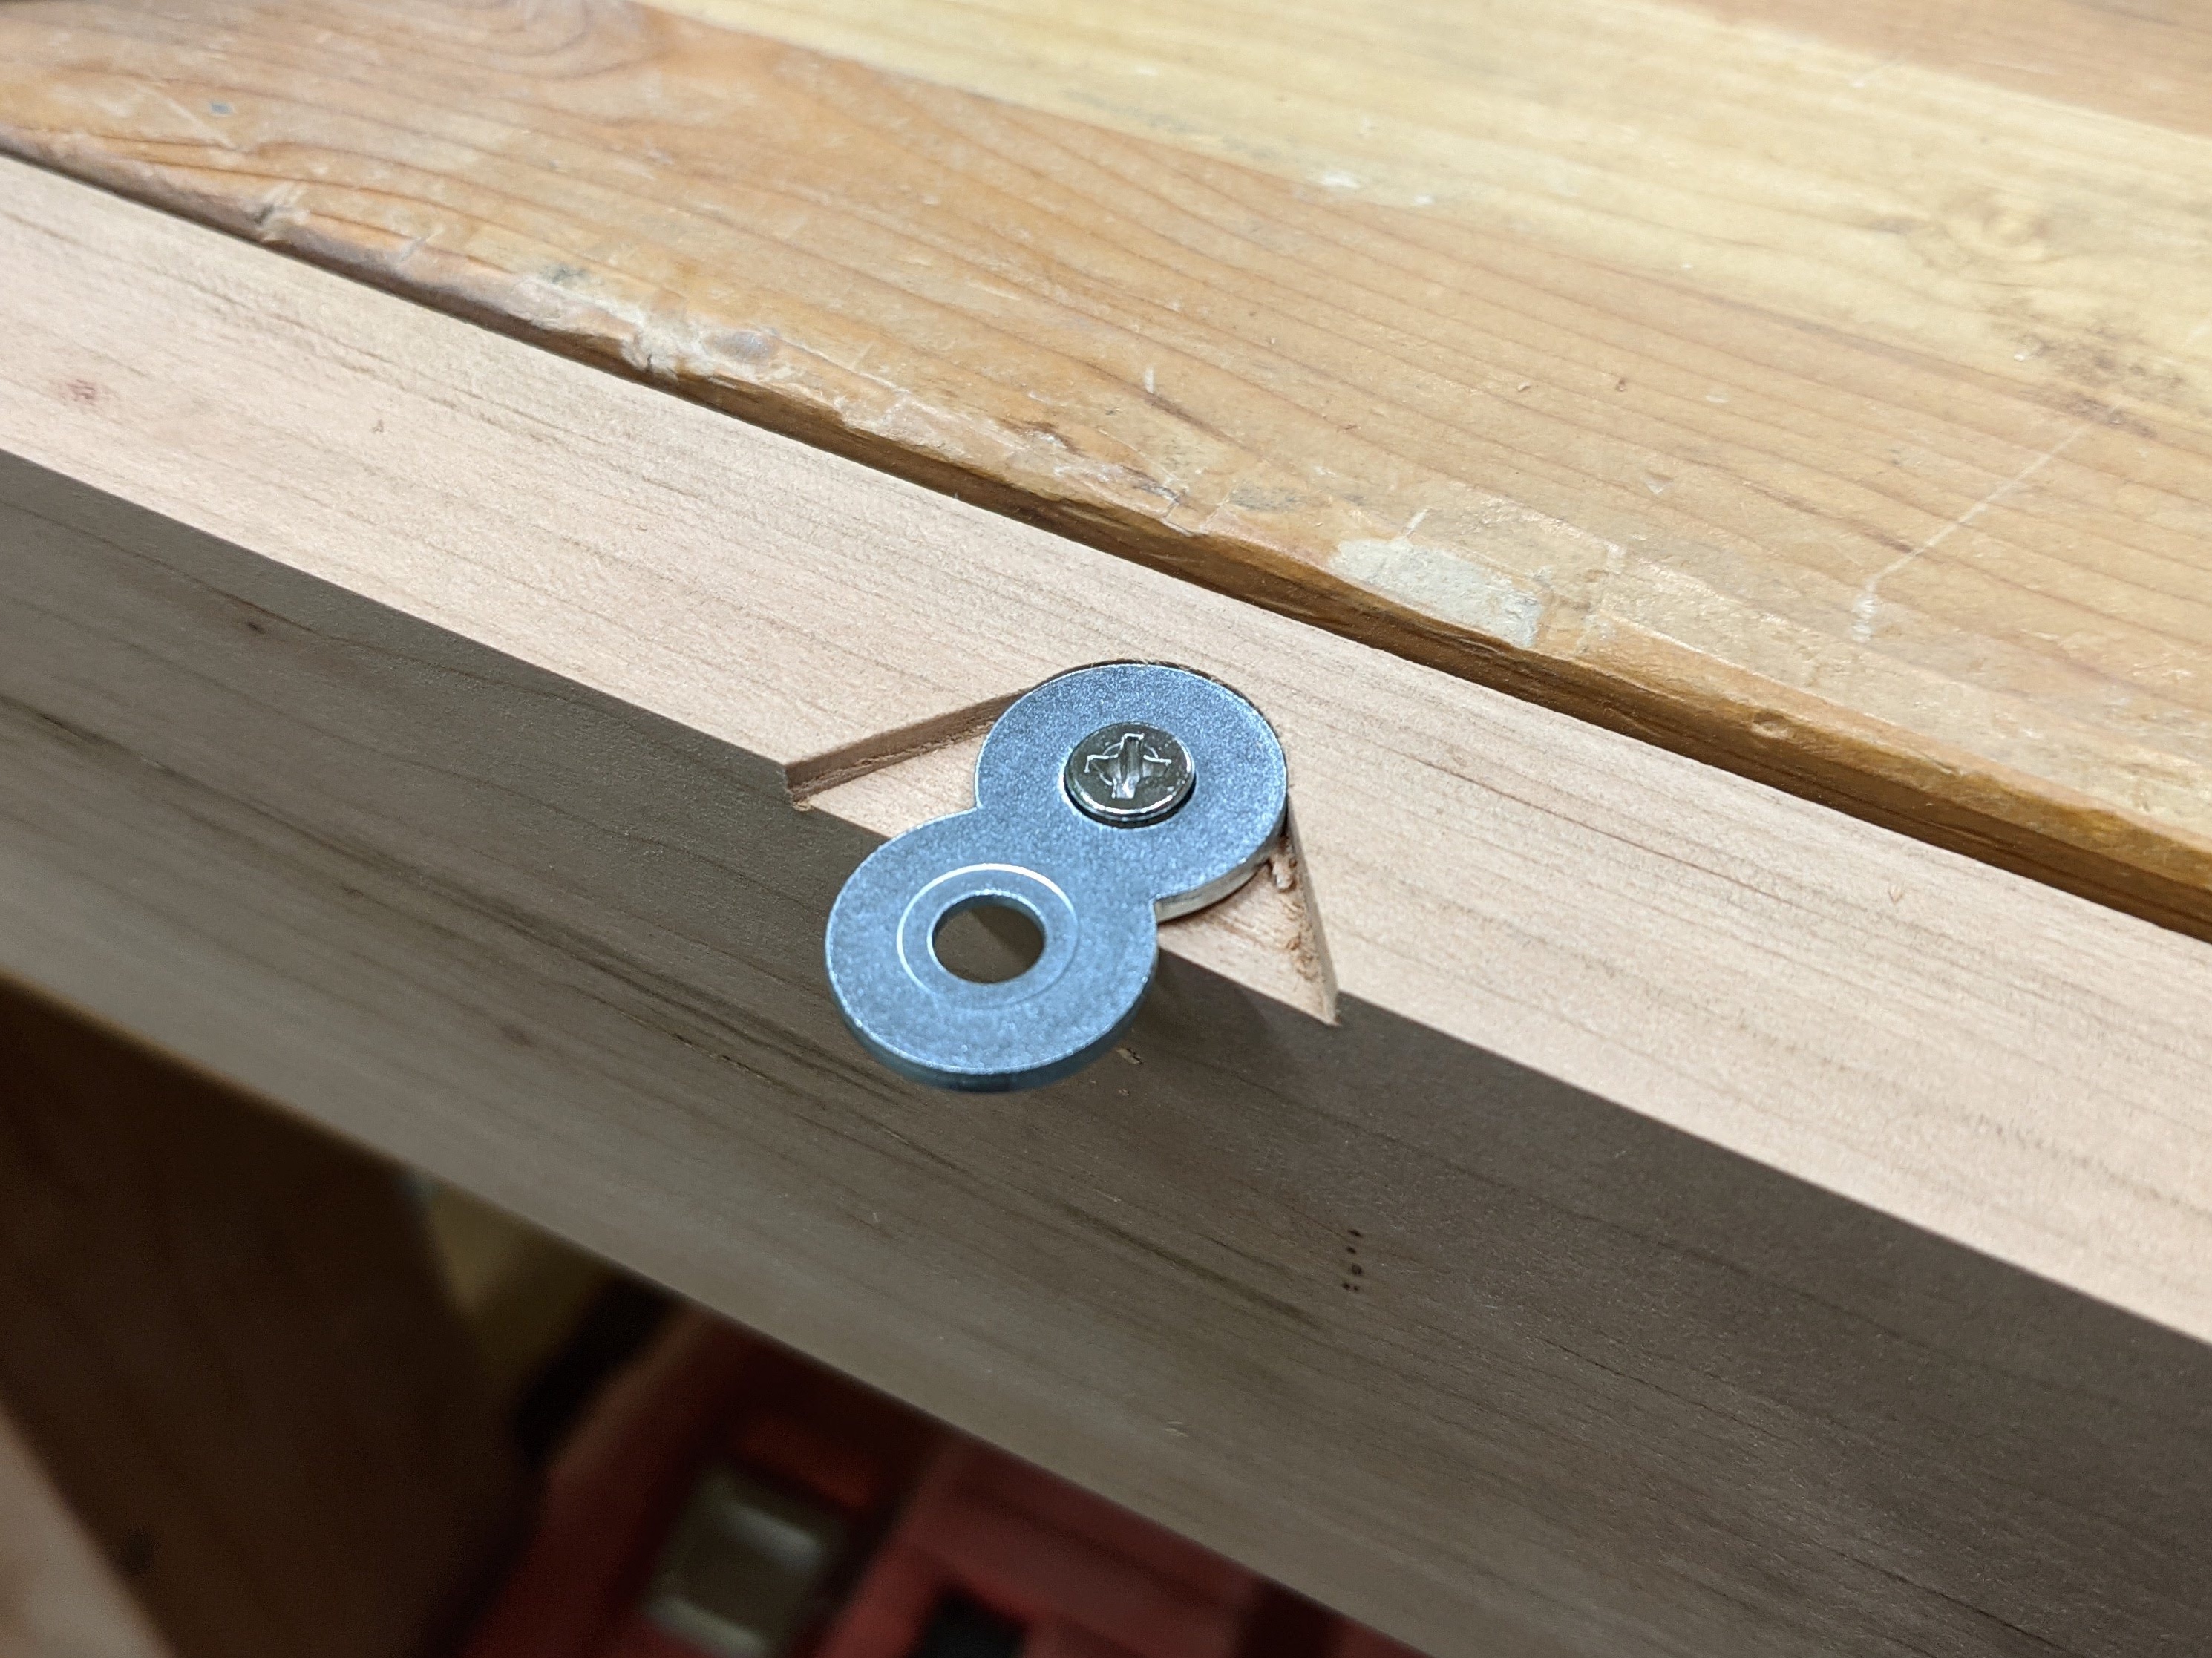
Next I cut shallow mortises along the top of all the apron pieces and attached these figure 8 brackets. This will hold the table top to the apron but also allow the top to move around some based on temperature and humidity changes.
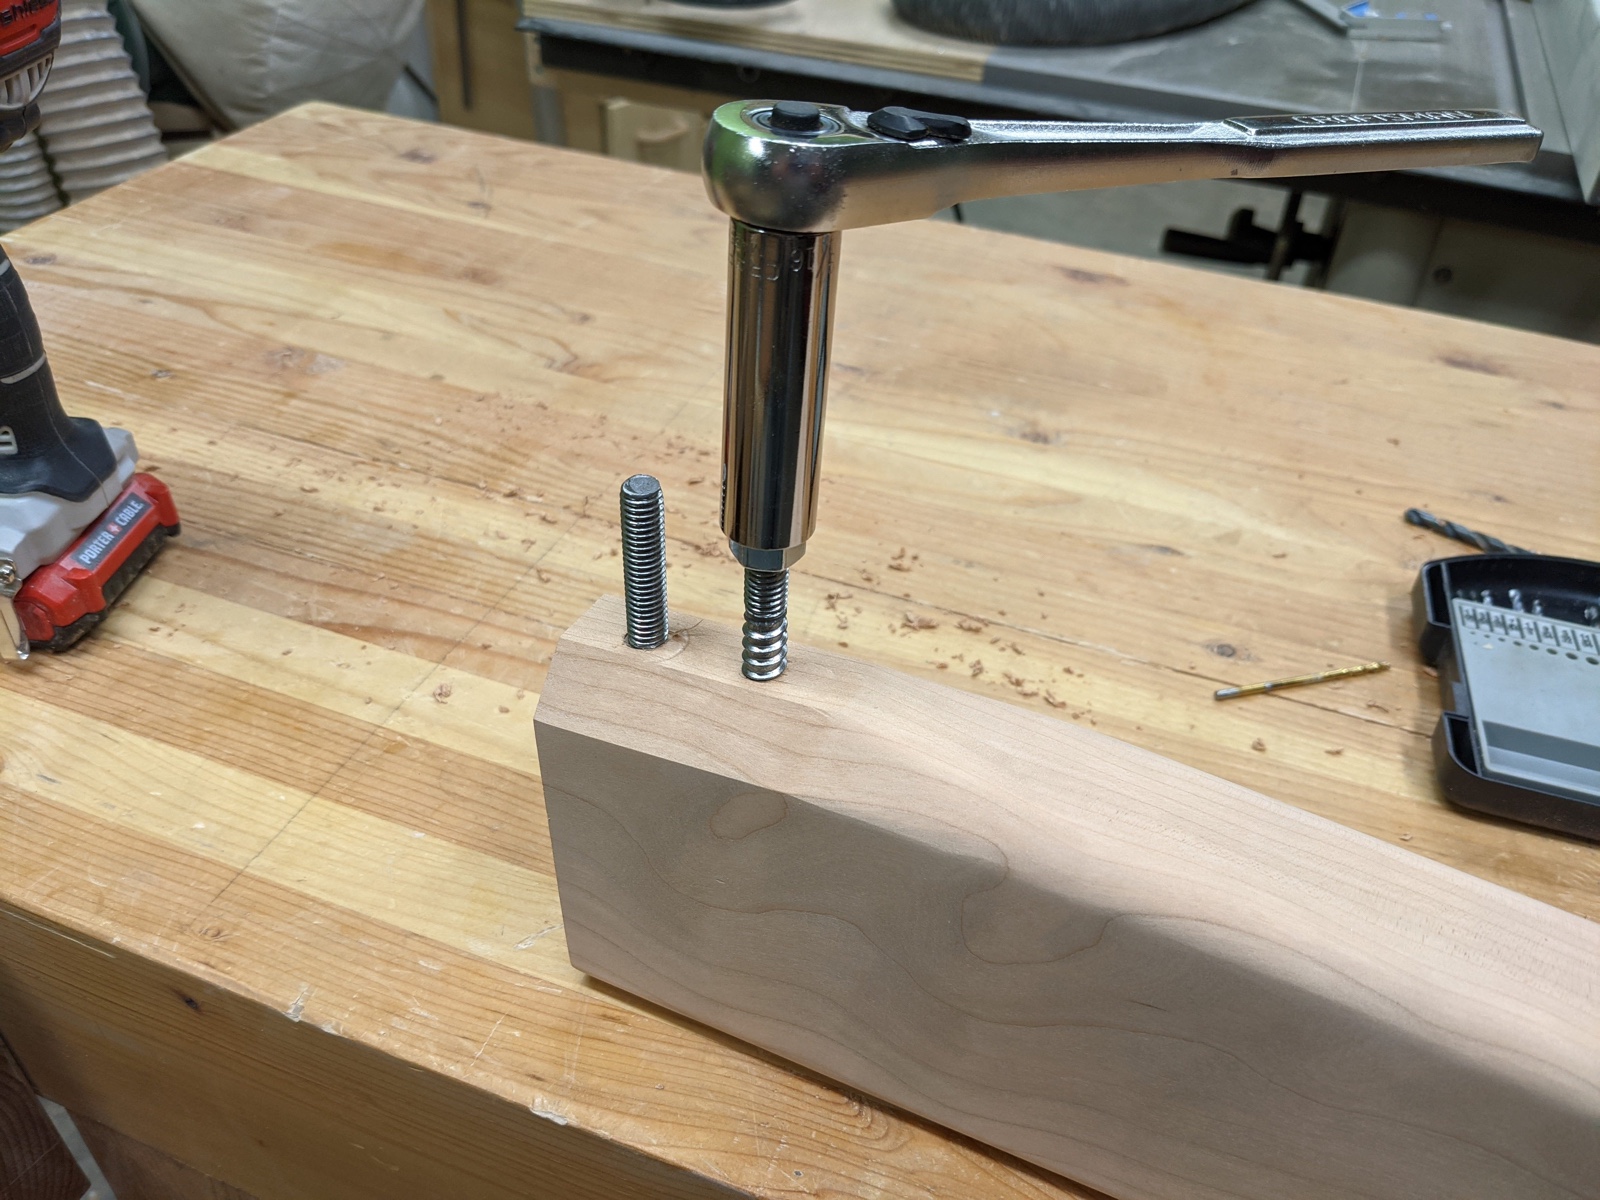
Then I installed the leg bolts into the legs. It's not too often I need to use automotive tools on woodworking projects, but in this case it's the easiest method to screw them in.
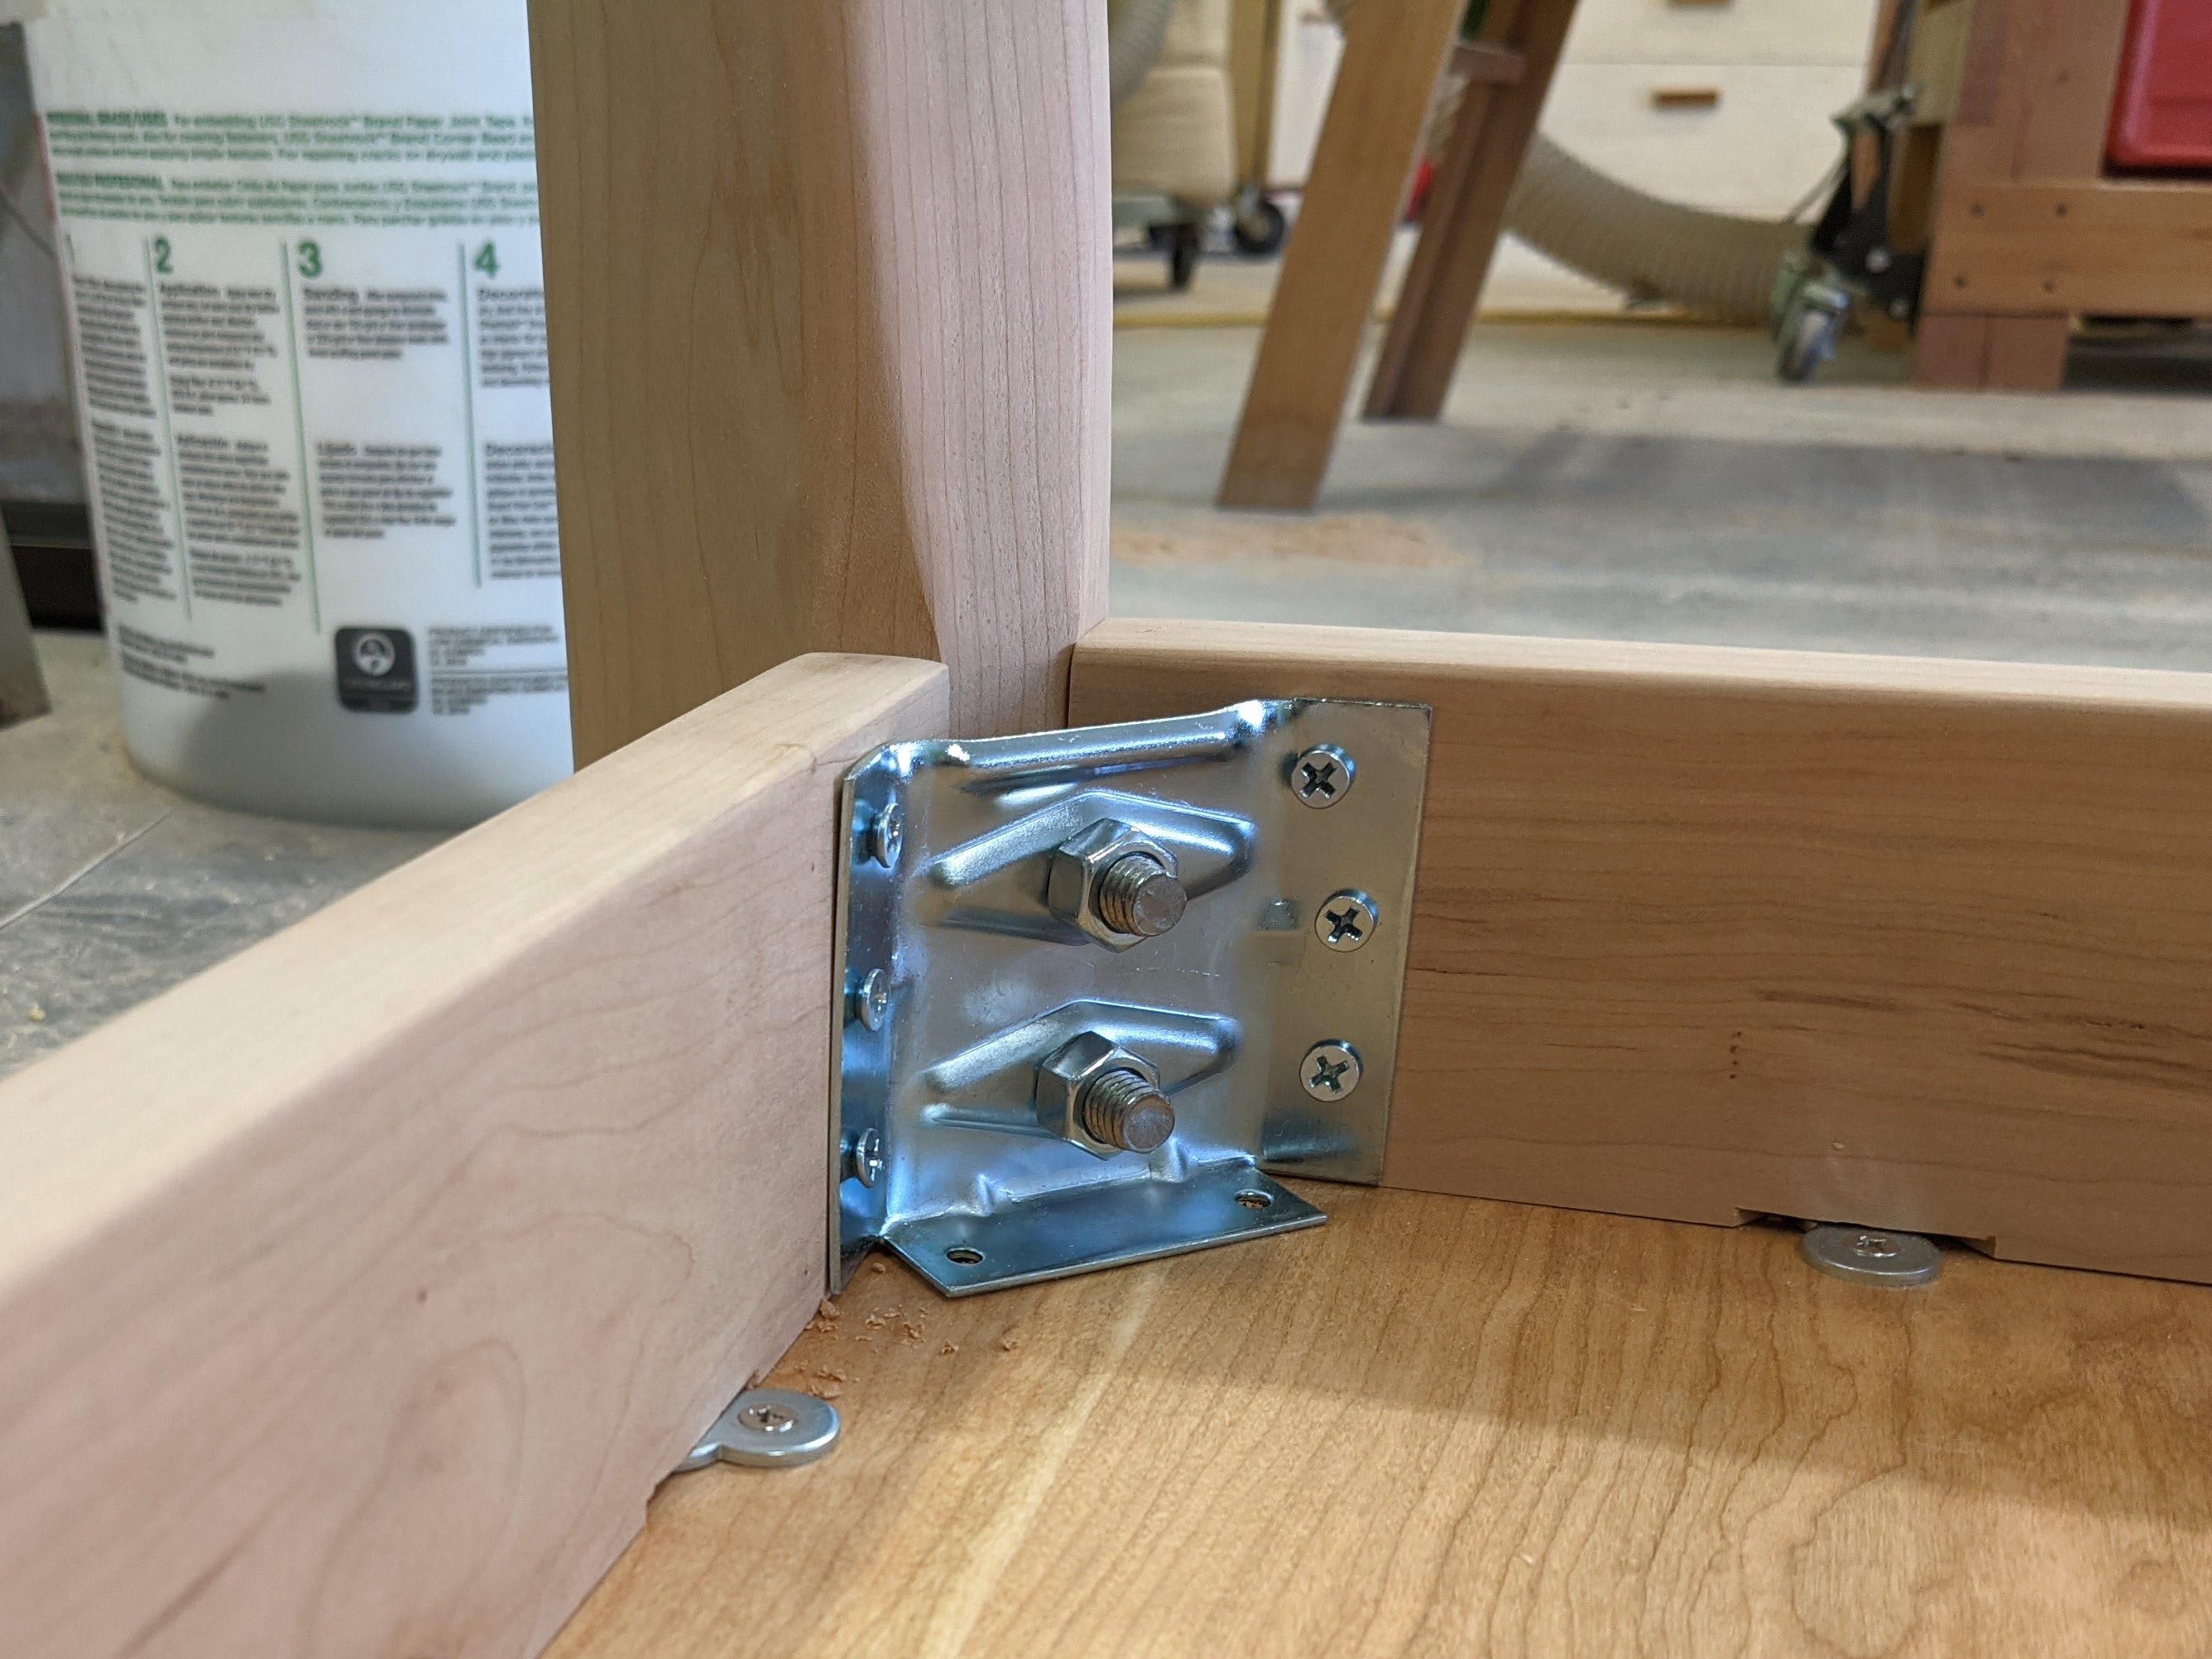
Here's the metal bracket I used to attach the legs to the aprons.
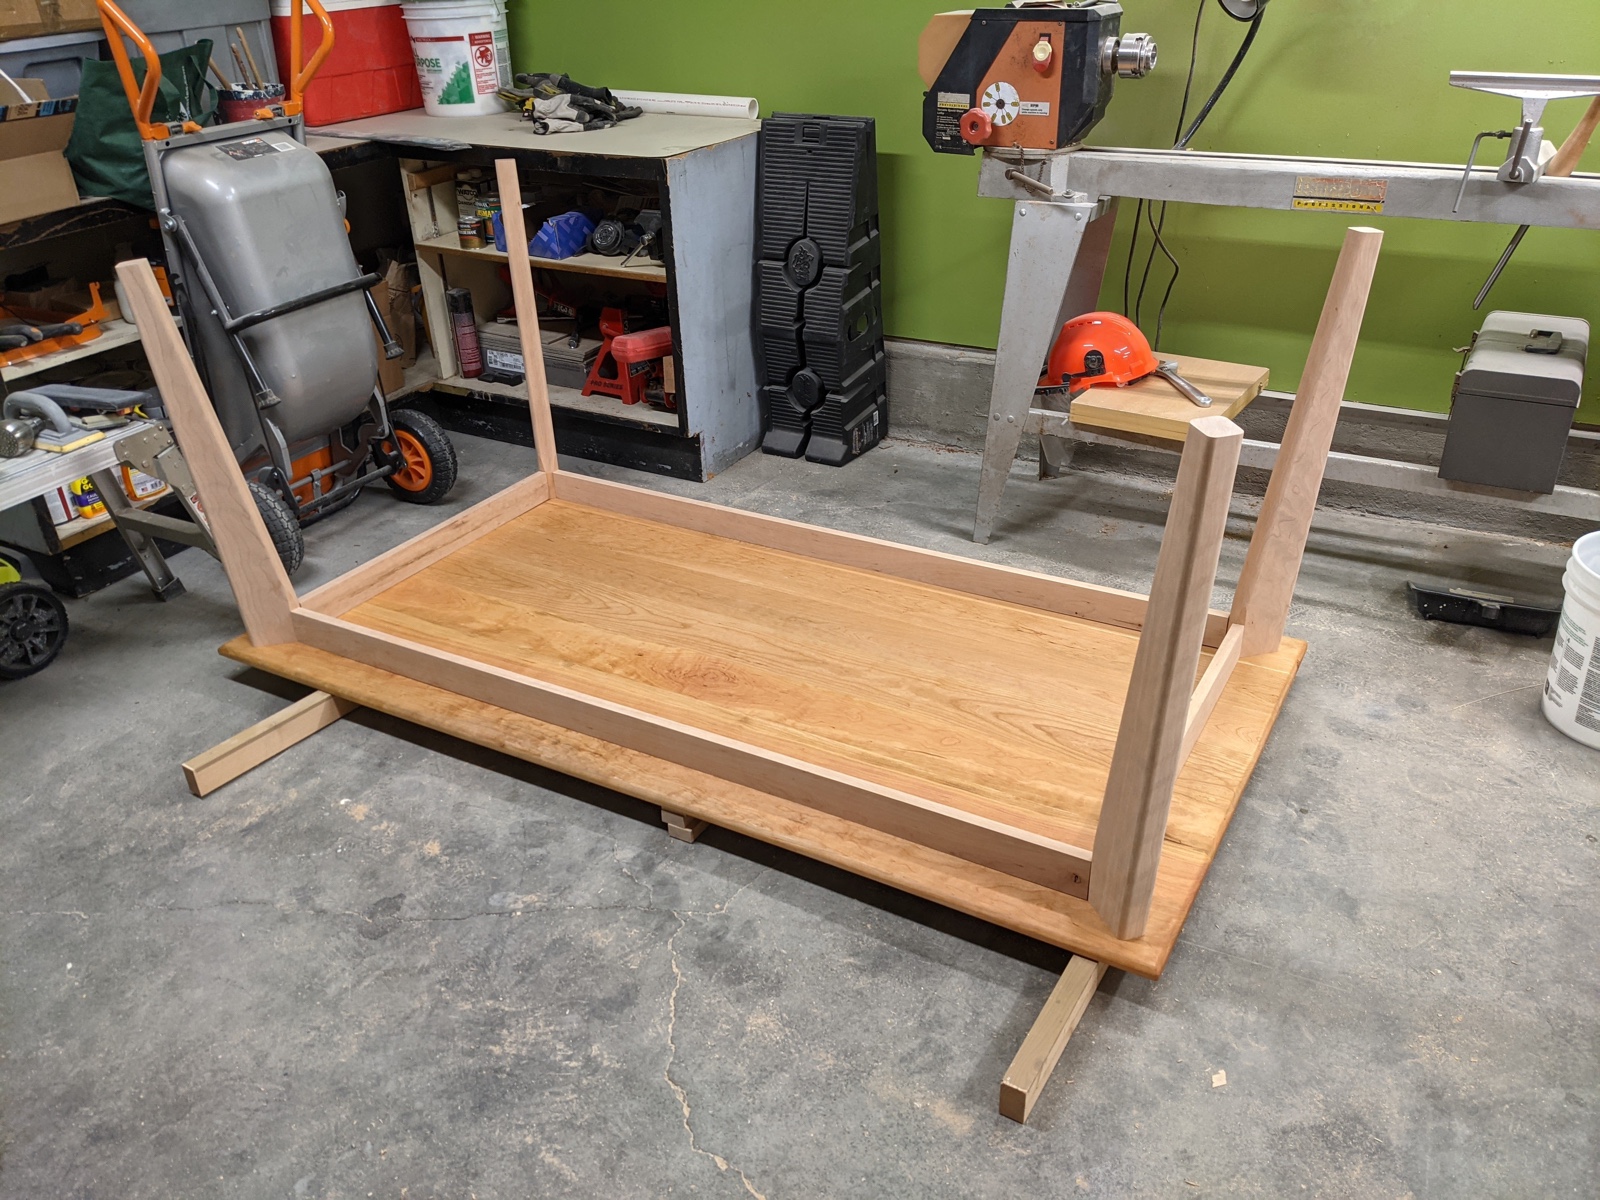
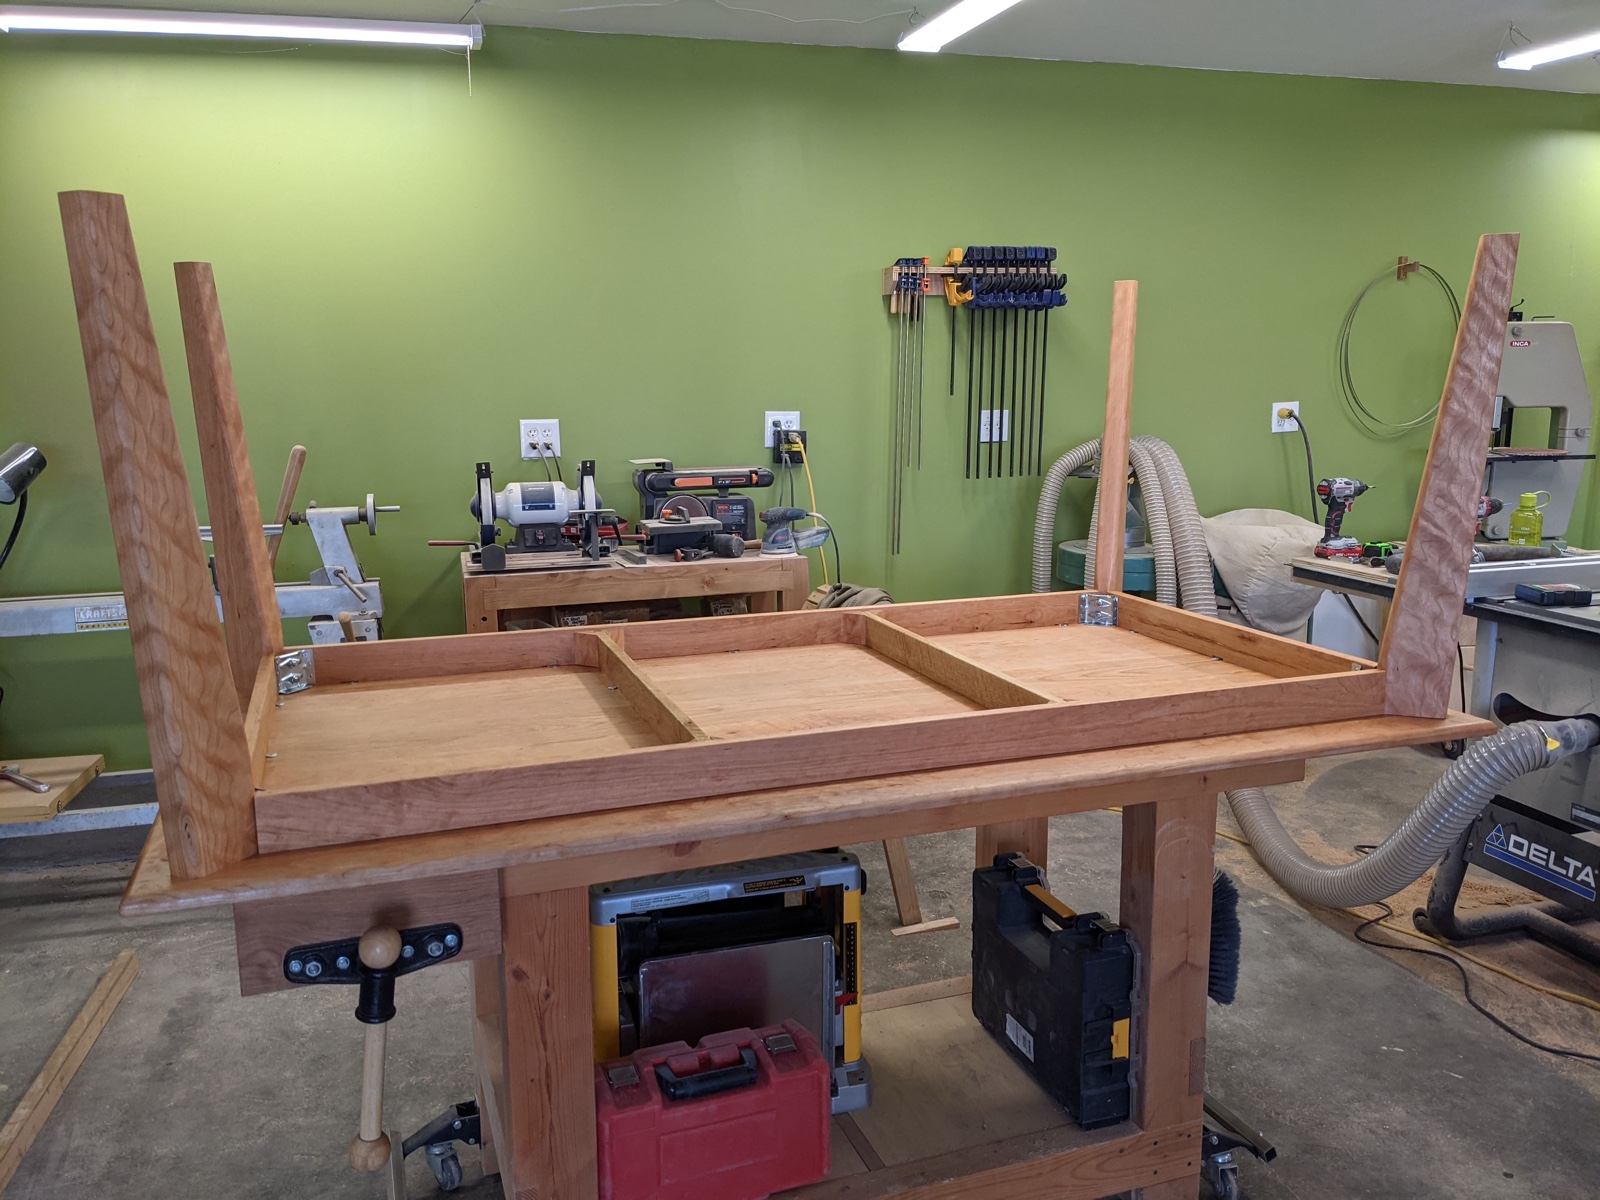
With all the legs attached, all that's left is to rub finishing oil onto everything else. The teak oil really helps bring out the beautiful cherry grain. The grain on the legs especially is absolutely stunning.
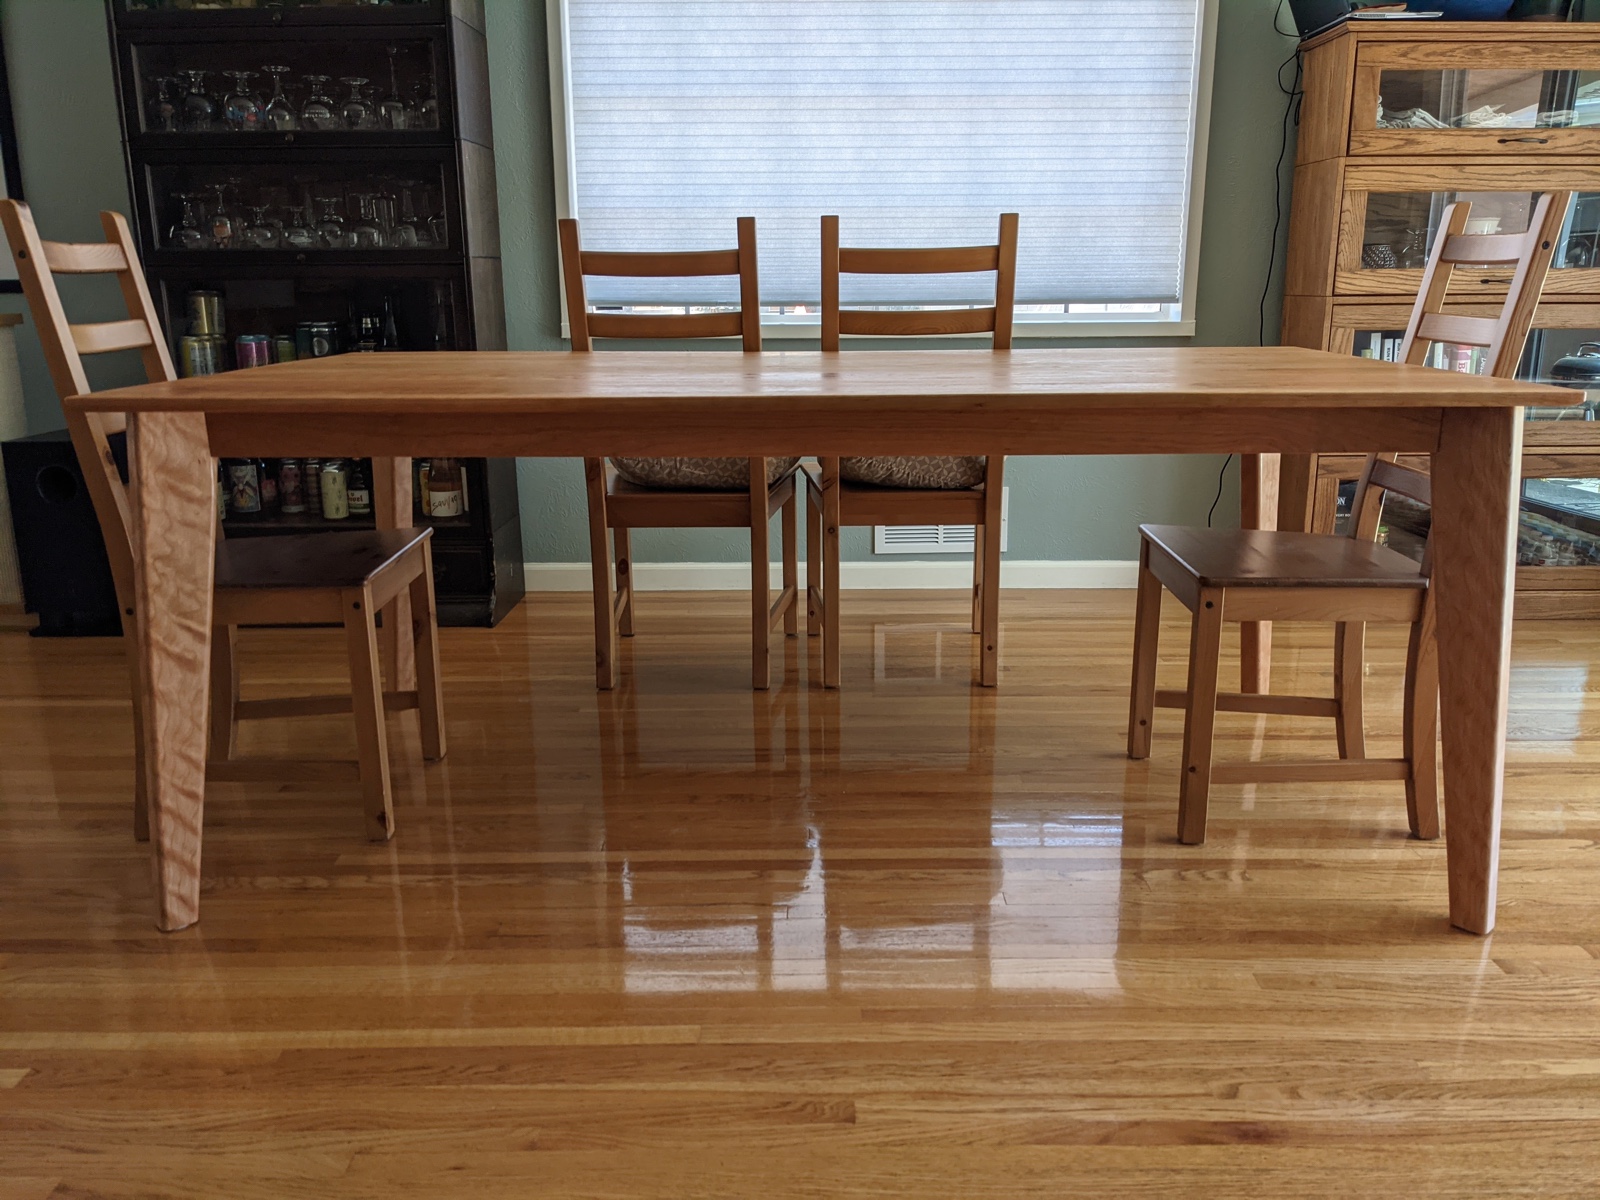
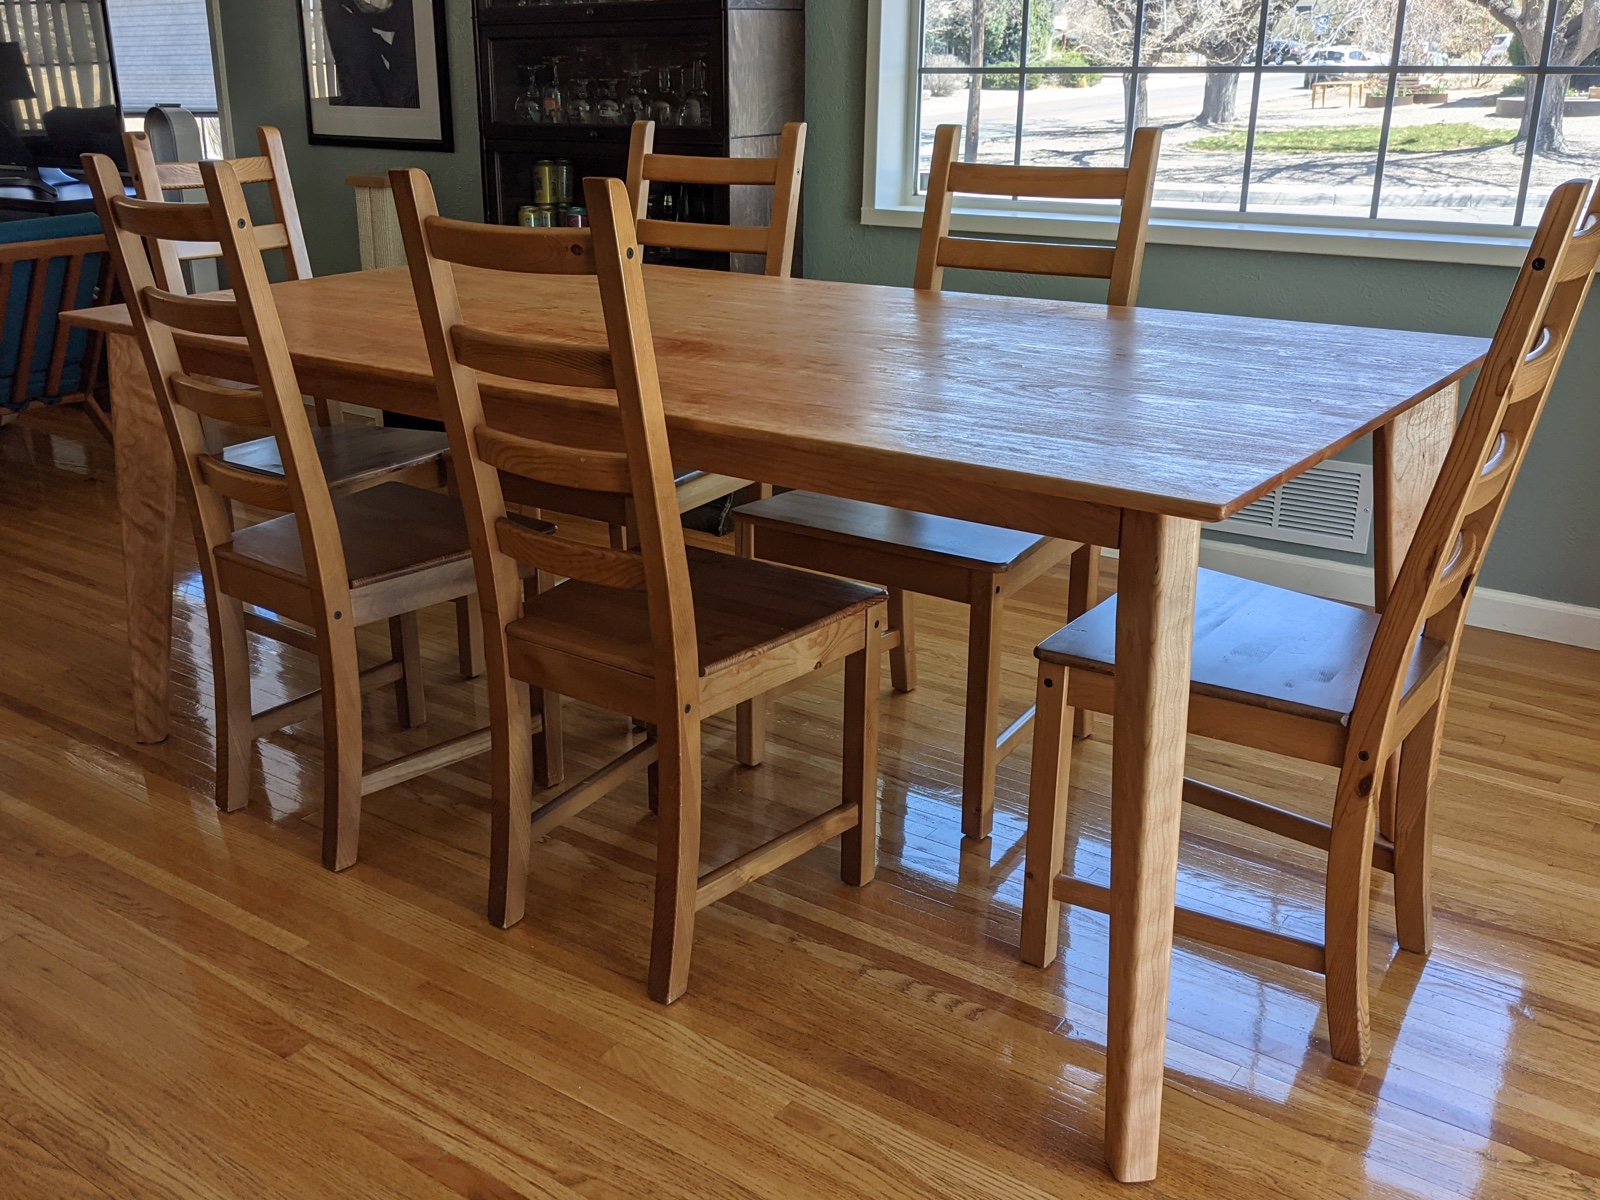
Here are a few shots of it in the house. One of these days, I'll build some chairs to replace these 15+ year old Ikea chairs.
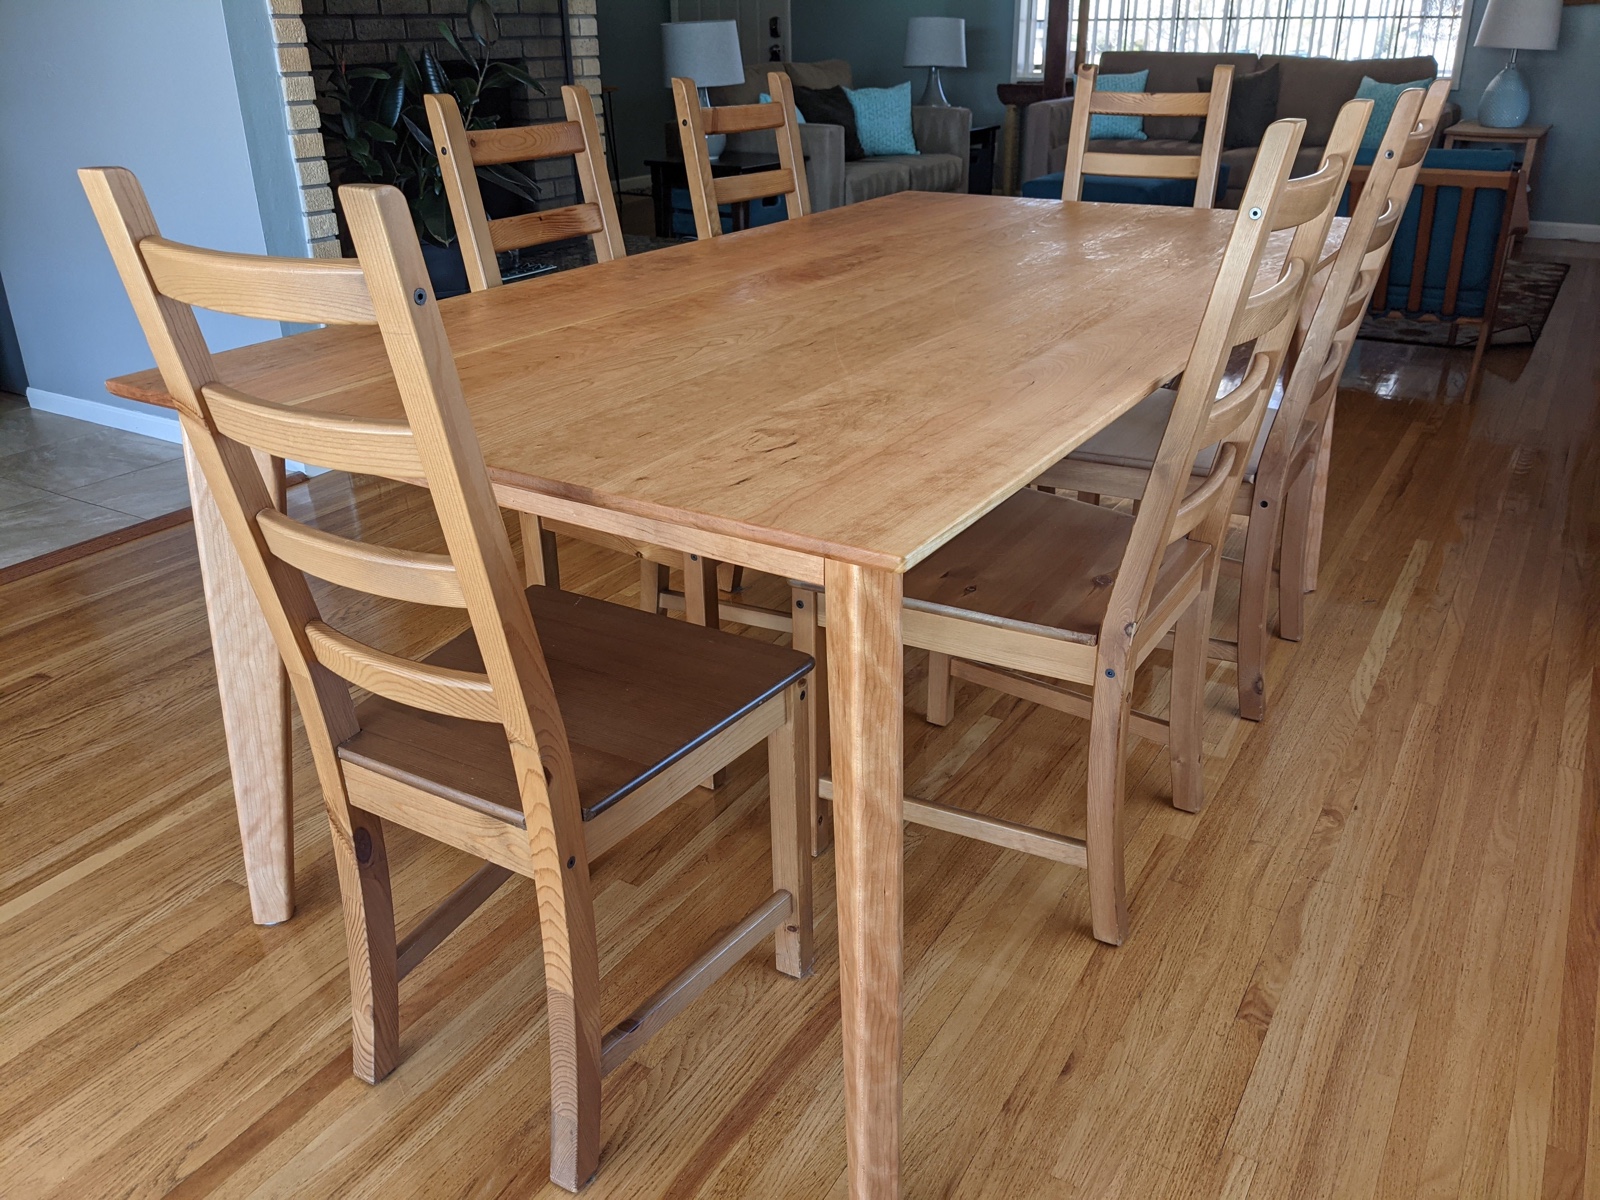
Overall I think it turned out really well. There are some minor details I might do differently, and I'm not sure I ever want to make legs again with so many not-quite-90 angles, but all in all I'm very happy with it.