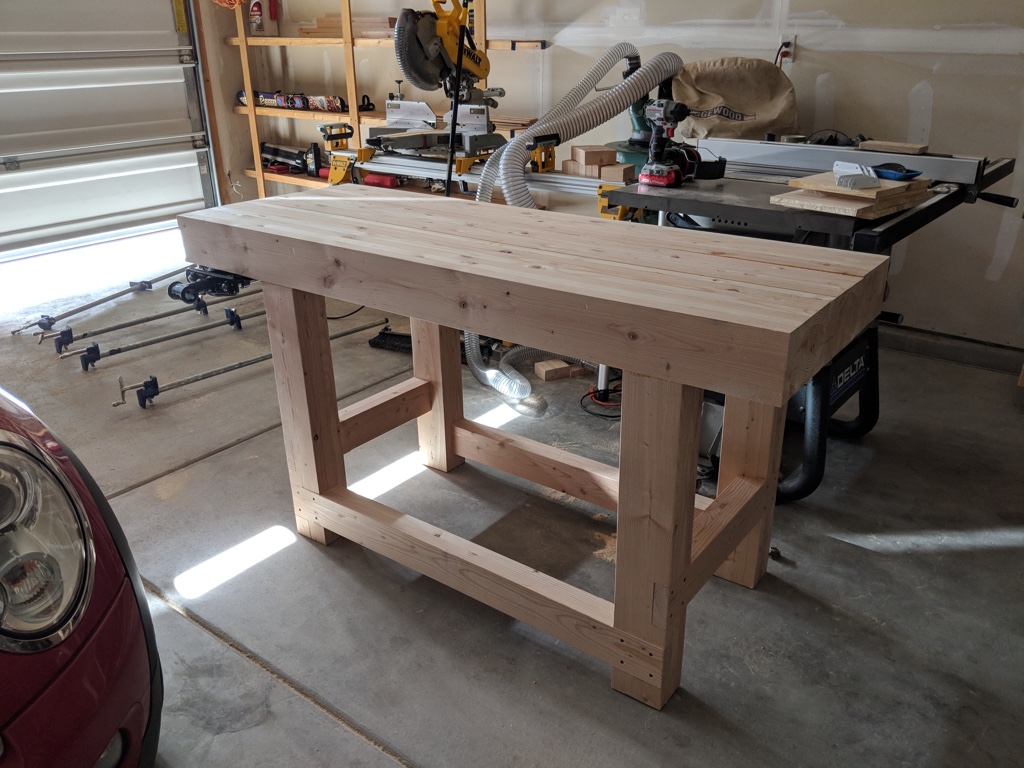
First project after moving from Florida back to New Mexico is a sturdy workbench! I built a really crappy workbench when we were in Florida, but it was uneven and fixed in place. I wanted something really sturdy as well as mobile so I could move it around as needed. I watched a ton of workbench videos in the weeks leading up to our move, and based mine mostly on this workbench by Jay's Custom Creations.
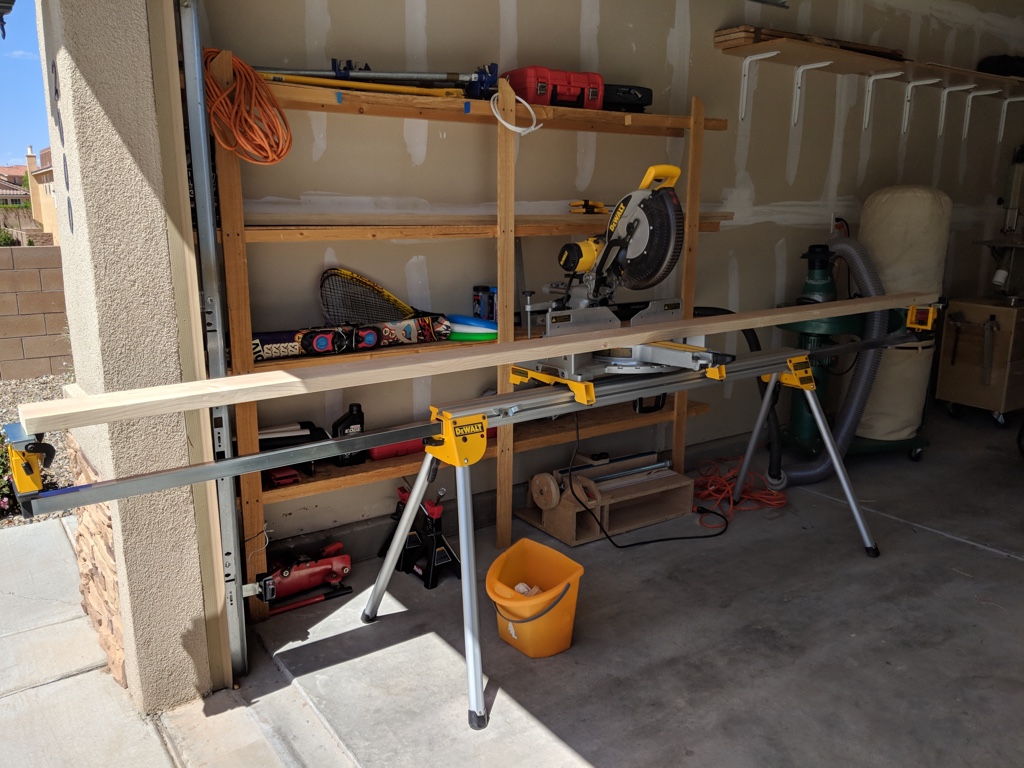
The top is made of 2x6s, so the first step was to cut all the boards to length. When my dad bought me this miter saw stand, I thought it was overkill for the work I do, but it really came in handy when cutting 12 foot boards!
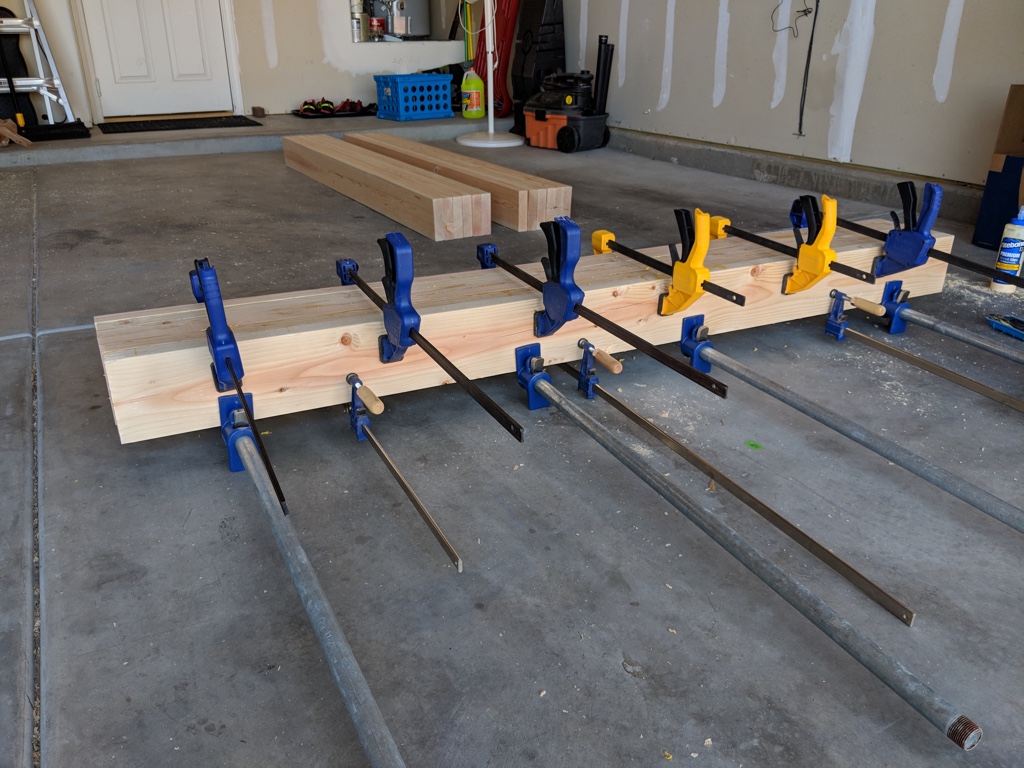
After cutting everything to length, next step was to glue up the top in sections that would fit through my planer. I glued up six boards at a time, in three groups.
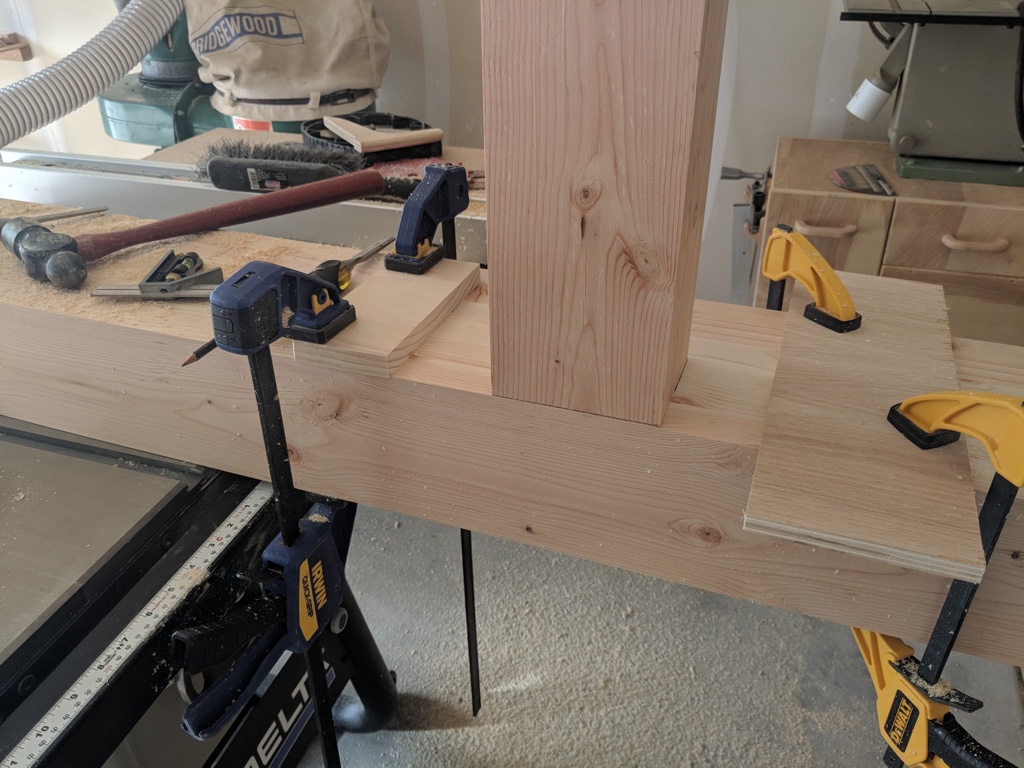
After the glue set, I ran the sections through the planer to even them up, then cut the mortises for the legs to slot into. I wanted to cut the mortises all the way through the top like in the link above, but didn't have a long enough router bit or the patience to cut them by hand, so I did the best with what I had. As heavy as the top is, I'm sure it will be fine.
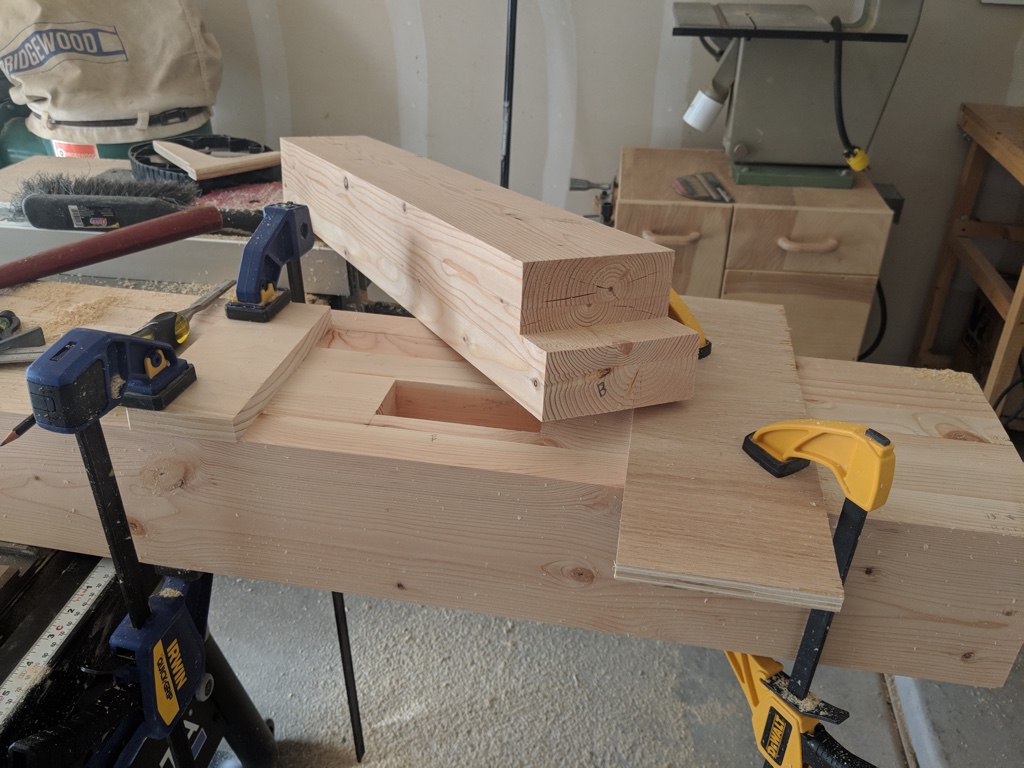
Here's a shot of the leg slotted into place. The legs are made from three 2x6s glued together.
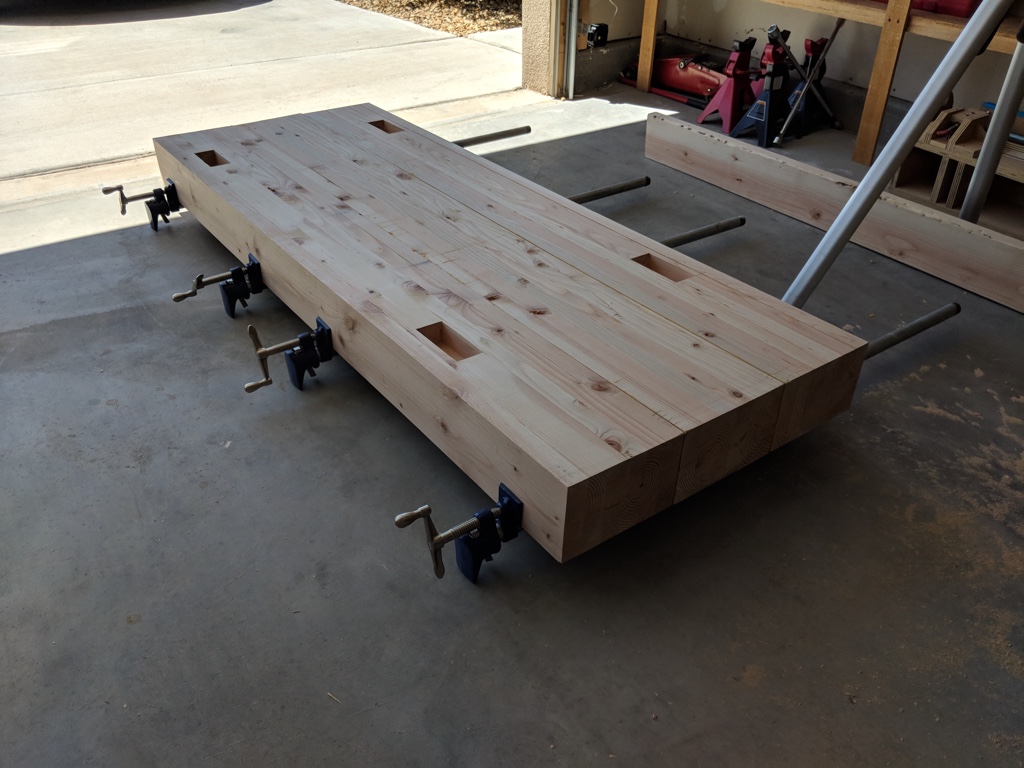
After I got all of the mortises cut, next step was to glue the top sections together into one giant slab.
While waiting for the glue to cure, I worked on cutting slots in the legs for the cross braces.
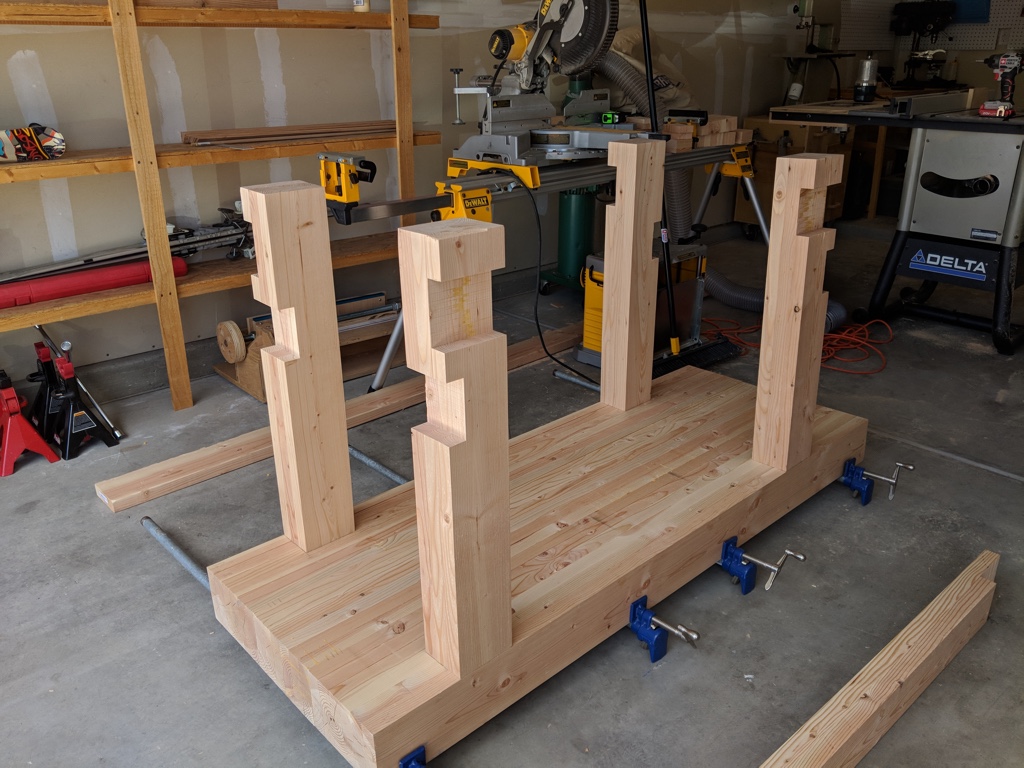
After that was done, I cut the cross braces to fit. The fit on some of these wasn't as snug as I wanted, but it shouldn't matter much in the long run. Just a few gaps here and there that could be smaller.
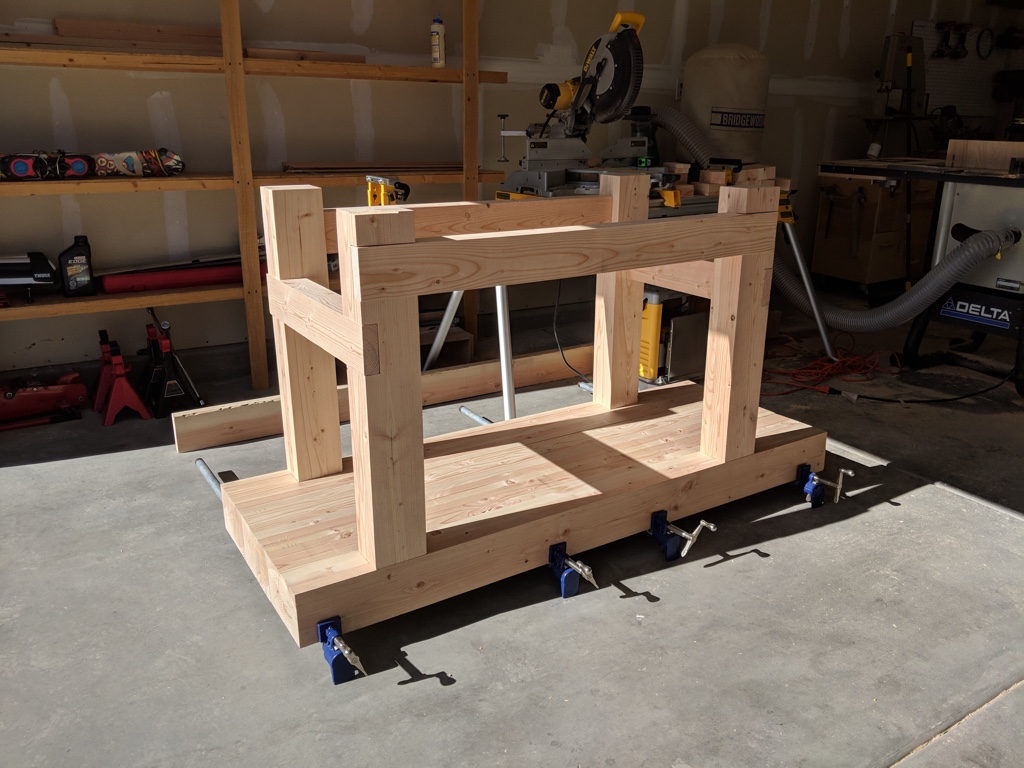
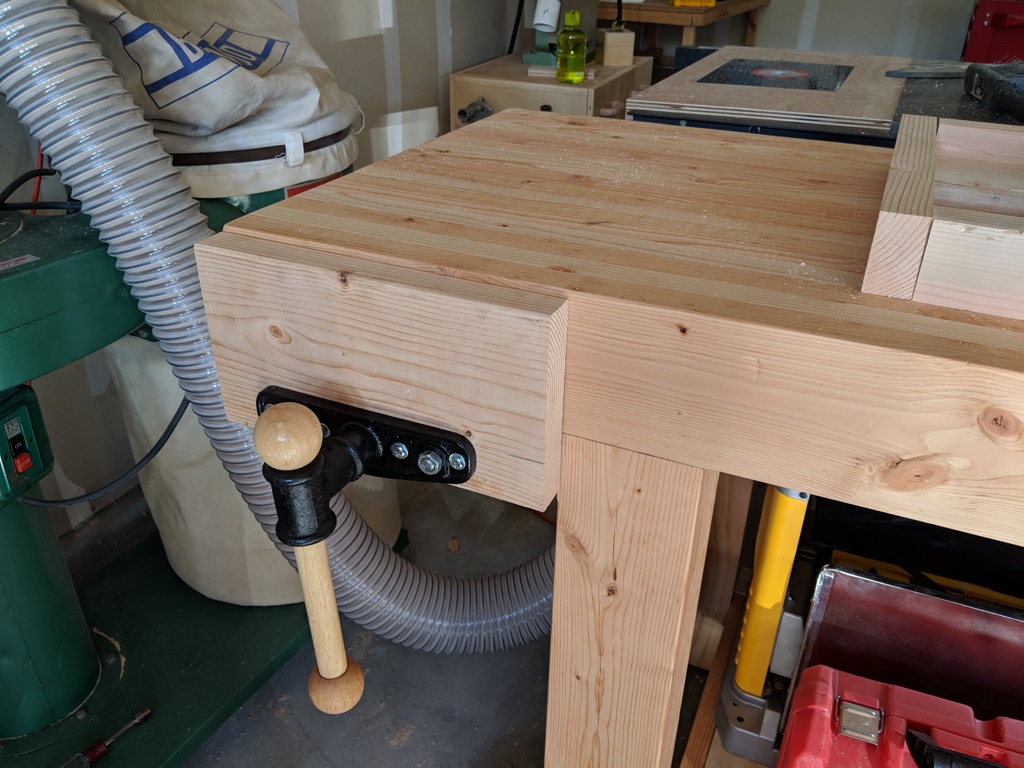
Next I glued everything together, and gave the glue a couple days to completely dry. Then I flipped it over, which was tricky since it weighs a jillion pounds and I definitely don't. I thought I might need Carrie's help, but I managed to flip it on my own (on the third try). I also attached a vise while it was upside down, because it's much easier that way.
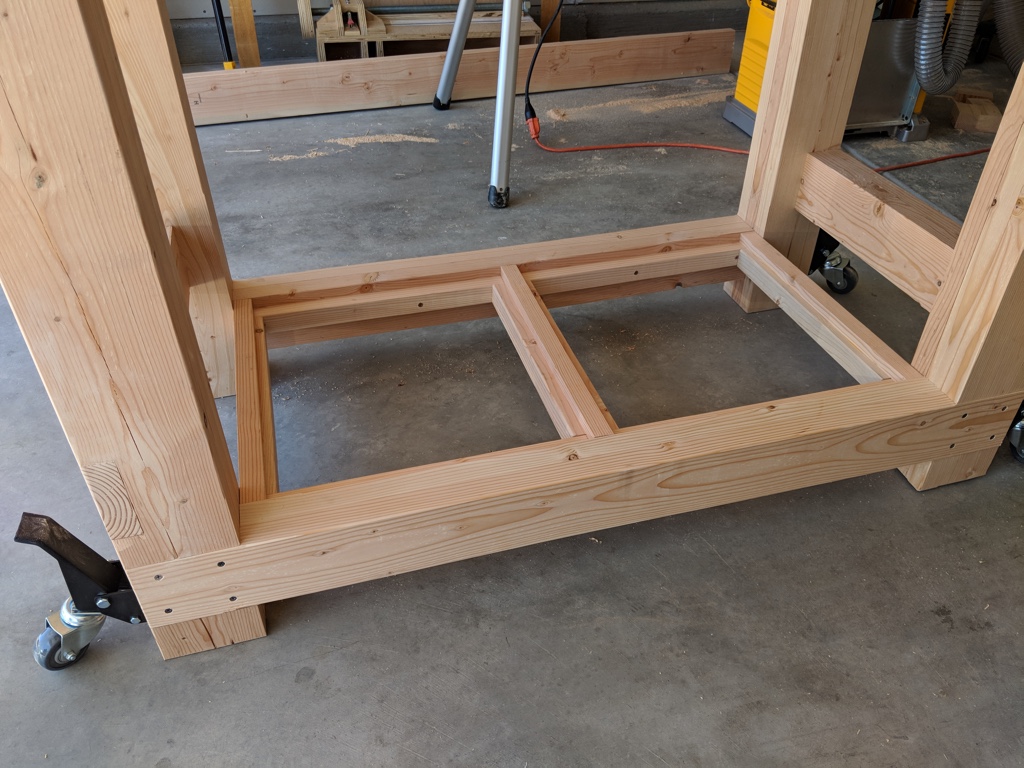
I wanted a shelf below the work surface to hold some odds and ends, so next I framed out some rails to hold plywood shelves. I also attached some casters so I'd be able to move it around the shop.
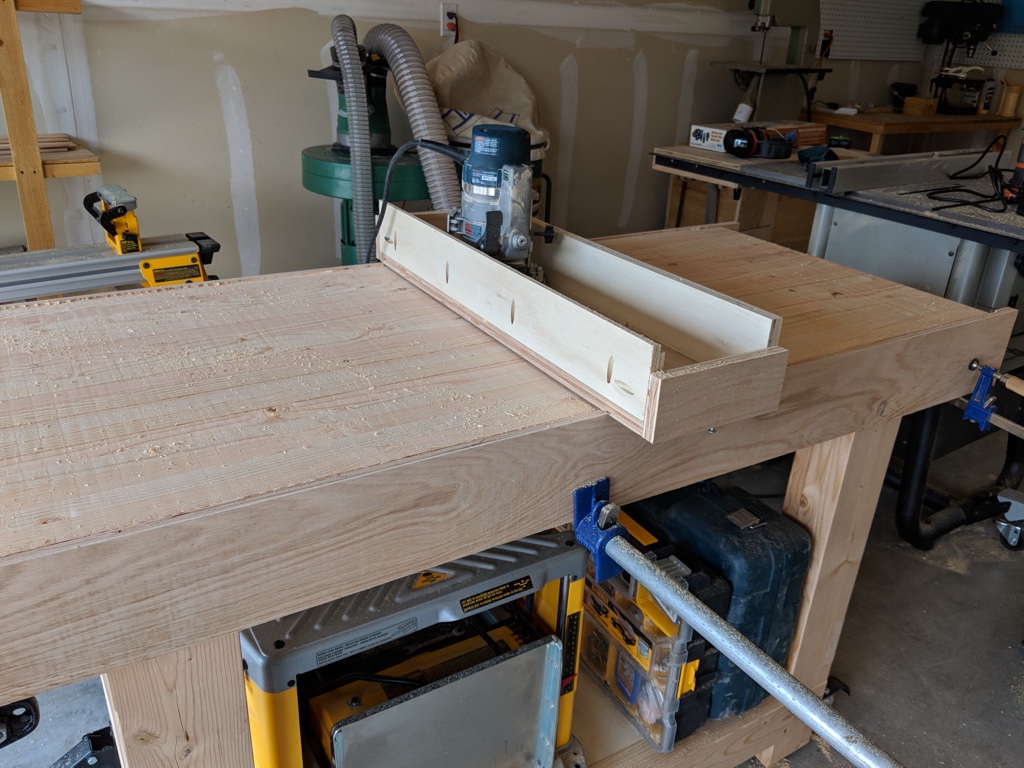
I was hoping the top surface would be mostly level and only require sanding, but each section had a bit of twist to it, and the seams didn't line up all that well. To solve that, I built a router jig to level the surface. I had to run the router across 3/4" at a time, evening out the top. It was tedious, but definitely worth it in the long run.
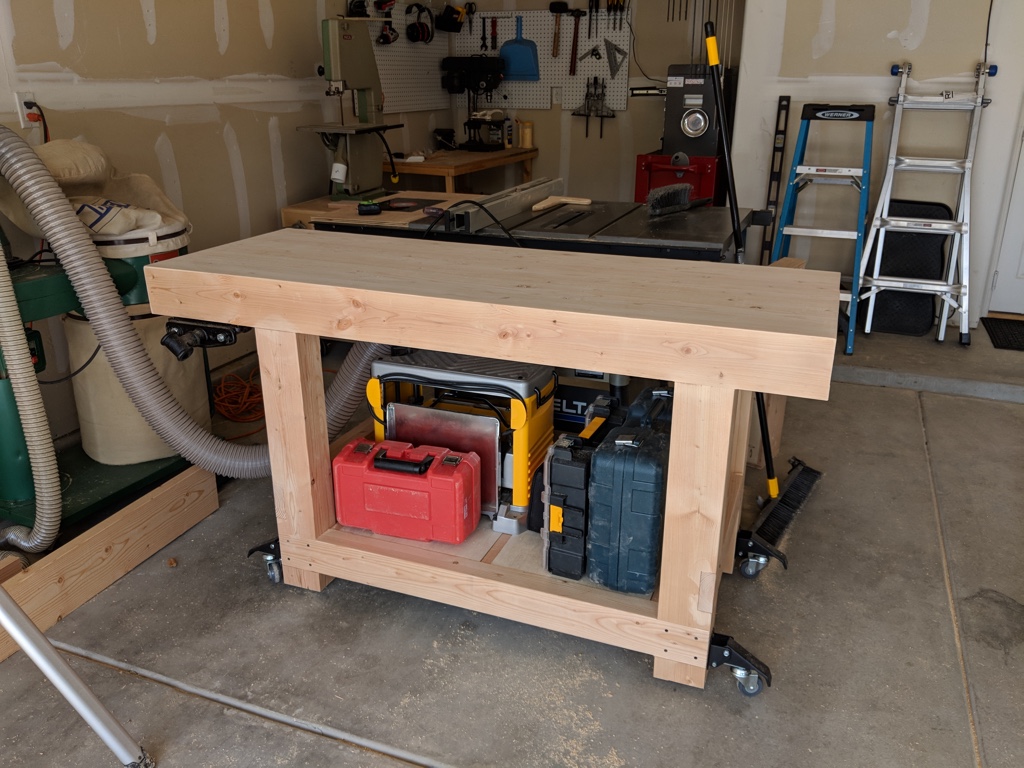
Here's a shot of the bench post-leveling as well as the shelves underneath.
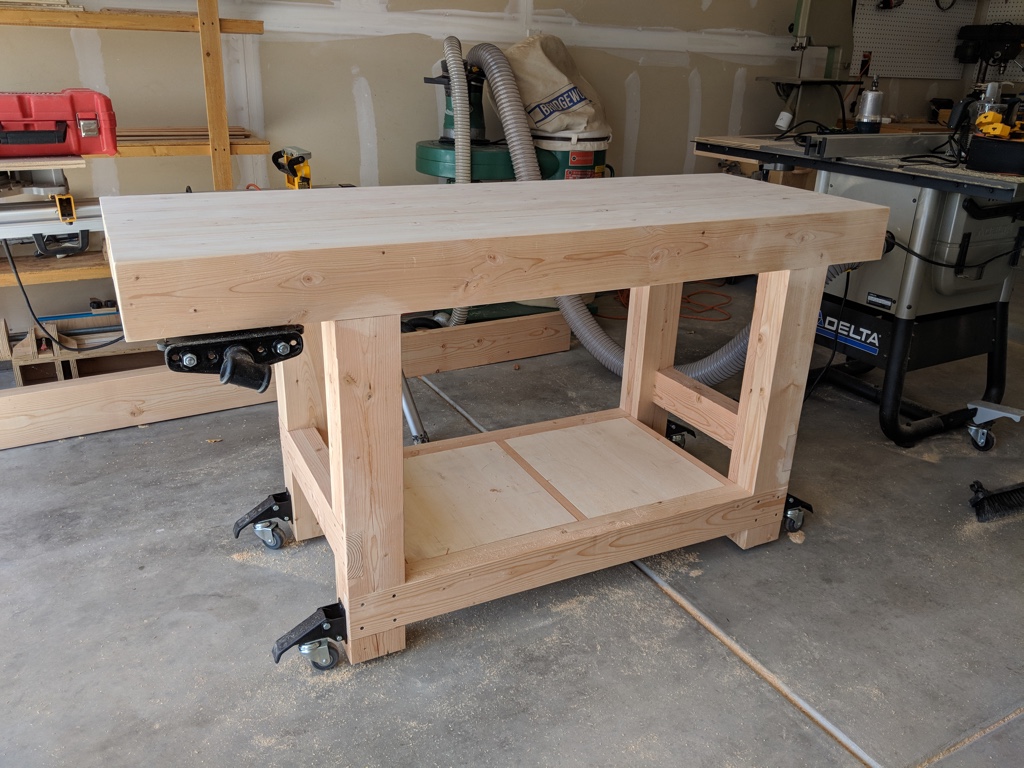
I loaded it up with my planer and some tool cases that didn't have a dedicated home. Definitely nice to get them out from under foot. I plan to keep the workbench behind my table saw most of the time to act as an outfeed table as well as an assembly area.
Final touch was to cut a piece of wood for the vise face. I may decide later to remake this out of hardwood, but it will work for now. As infrequently as I need a vise, this should last a long time, provided the wood doesn't split.