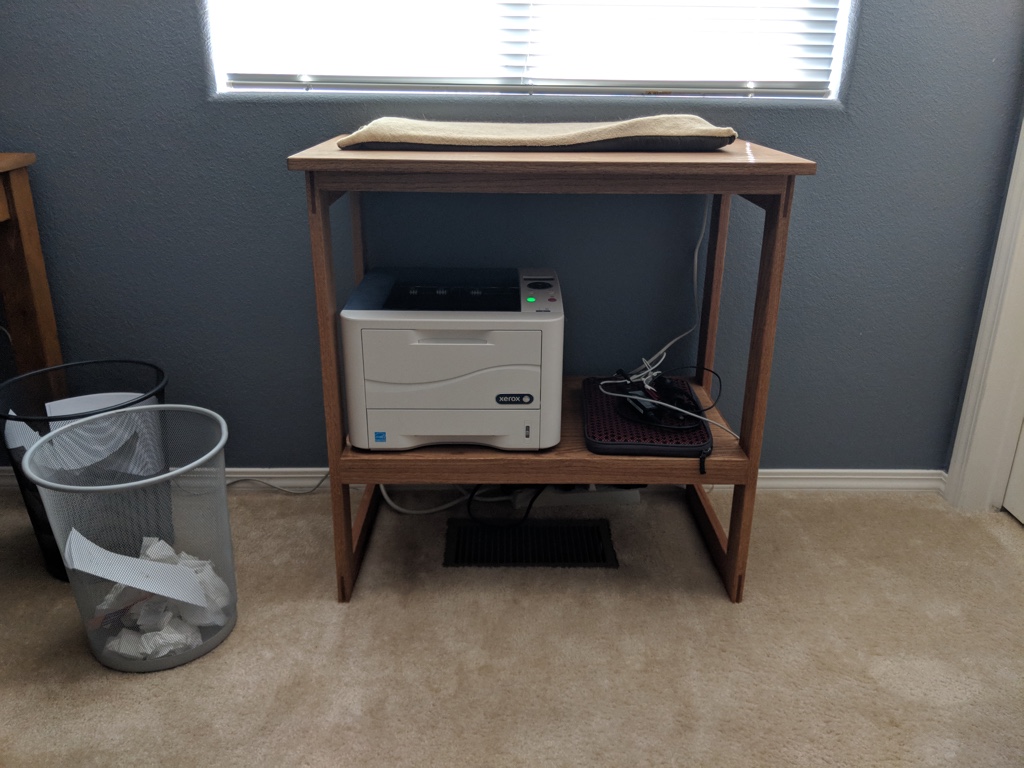
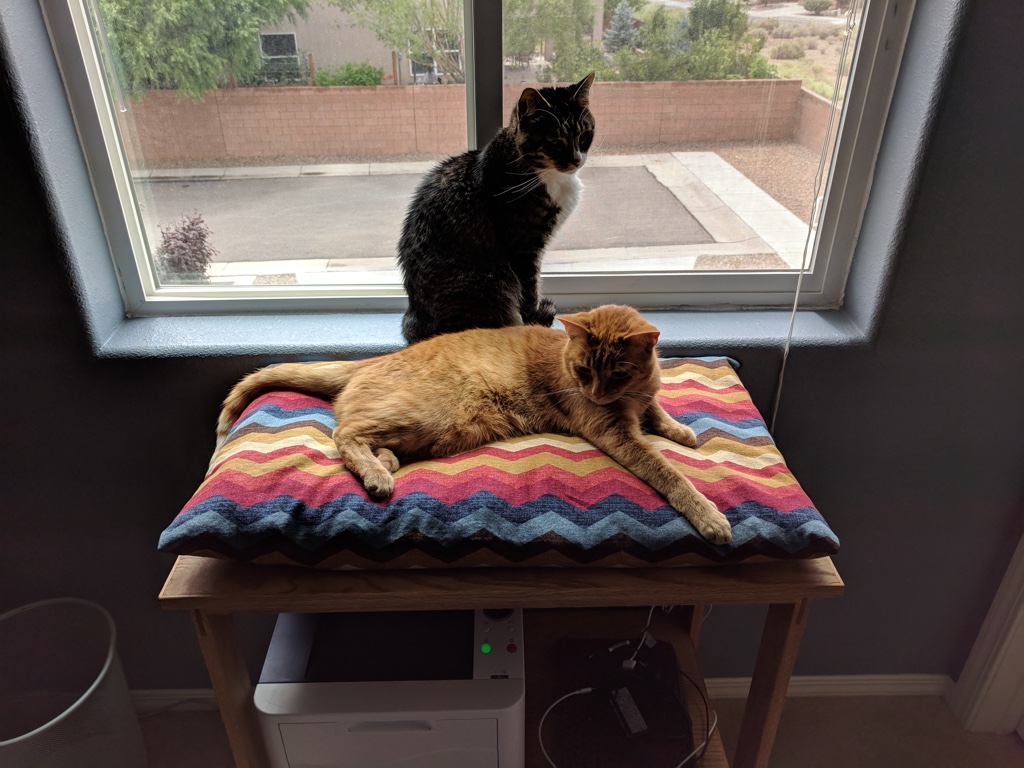
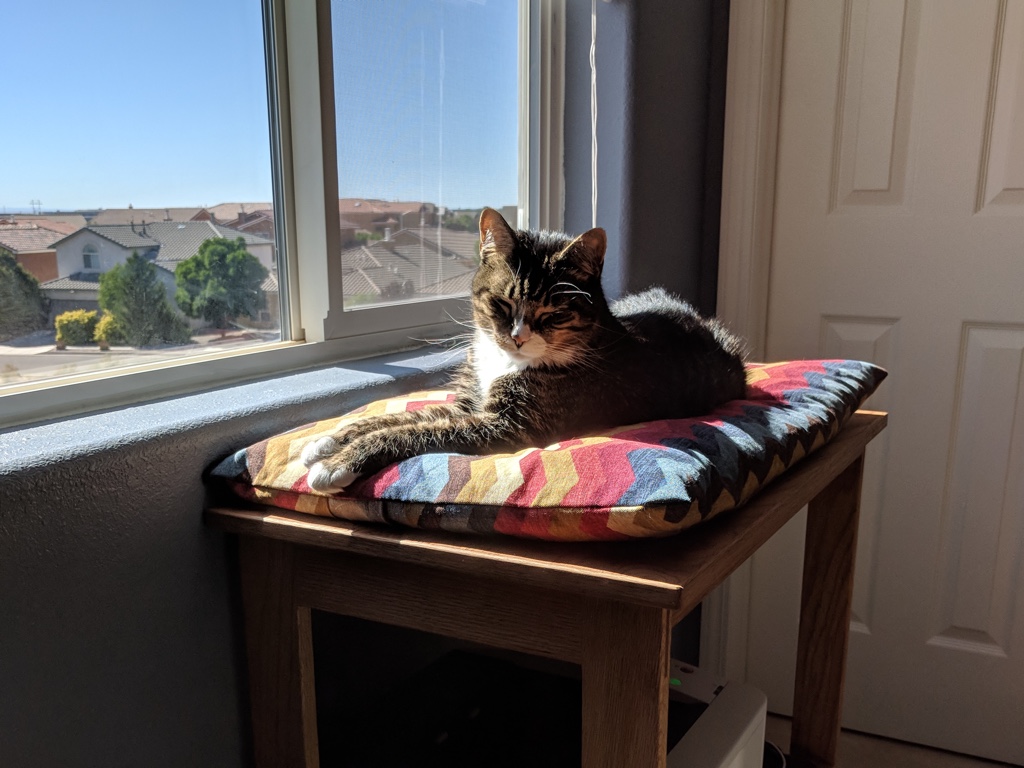
I've been at it again! We needed a stand for our printer to get it off the floor, and obviously another place for the cats to sleep. All surfaces will eventually be cat beds, it's just a matter of time. It turned out really well!
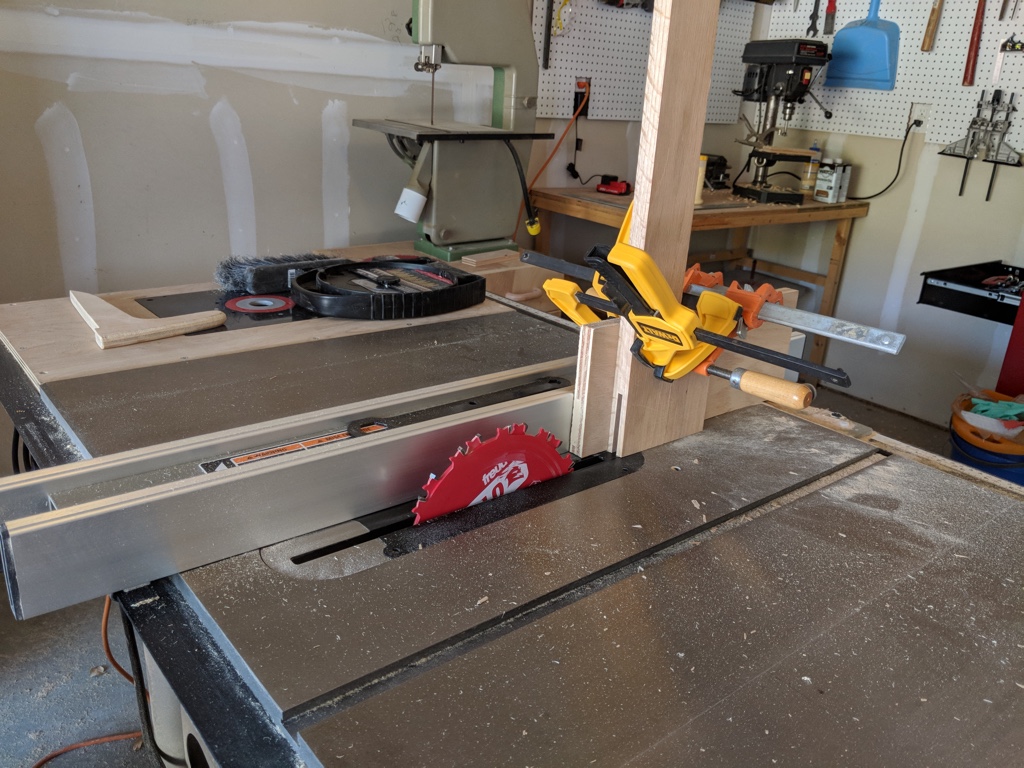
For the legs/side frames, I did a simple bridle joint. It's quicker than doing a mortise & tenon joint, and I like the way it looks. This picture shows how I cut the inside cut on the table saw.
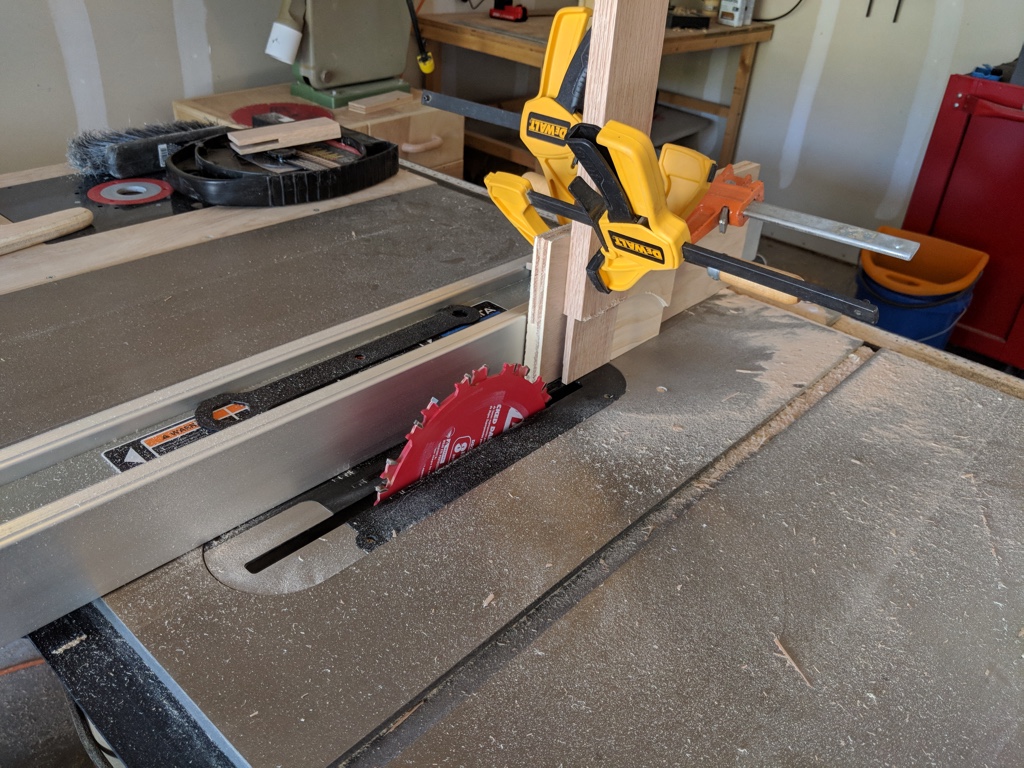
I tried making the outer cuts using the same method, but it required too much fine tuning to get it to fit well. I cut the rest of them the way I have in the past, which is with the workpiece flat on the table.
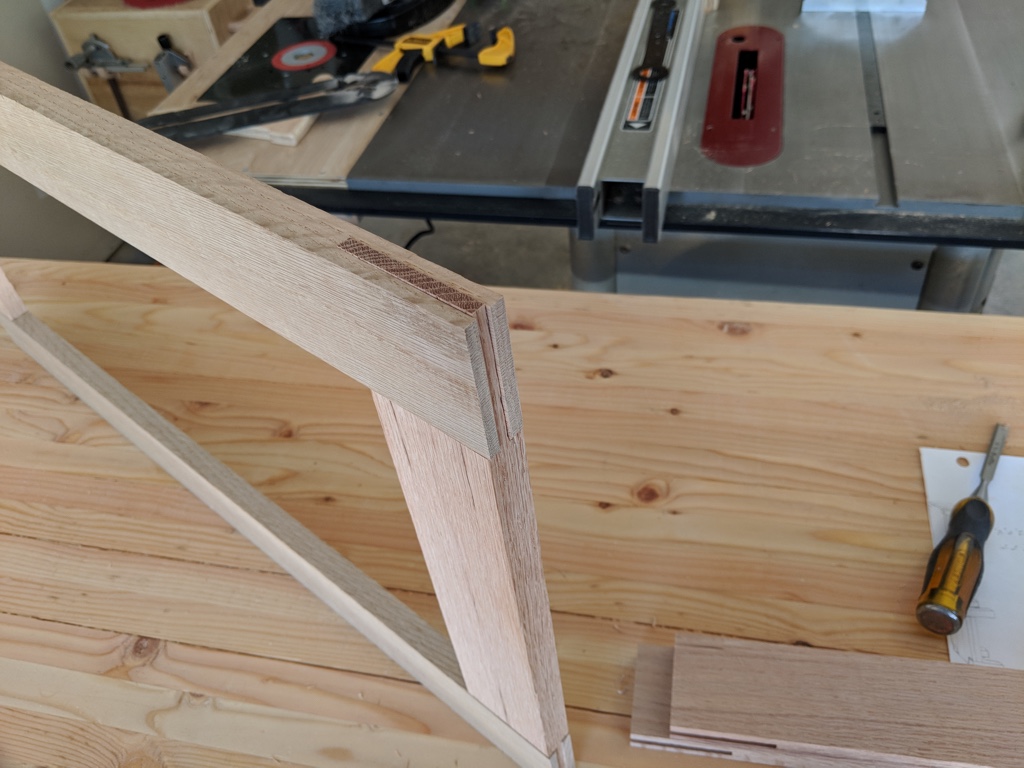
Here's a shot of the finished joint.
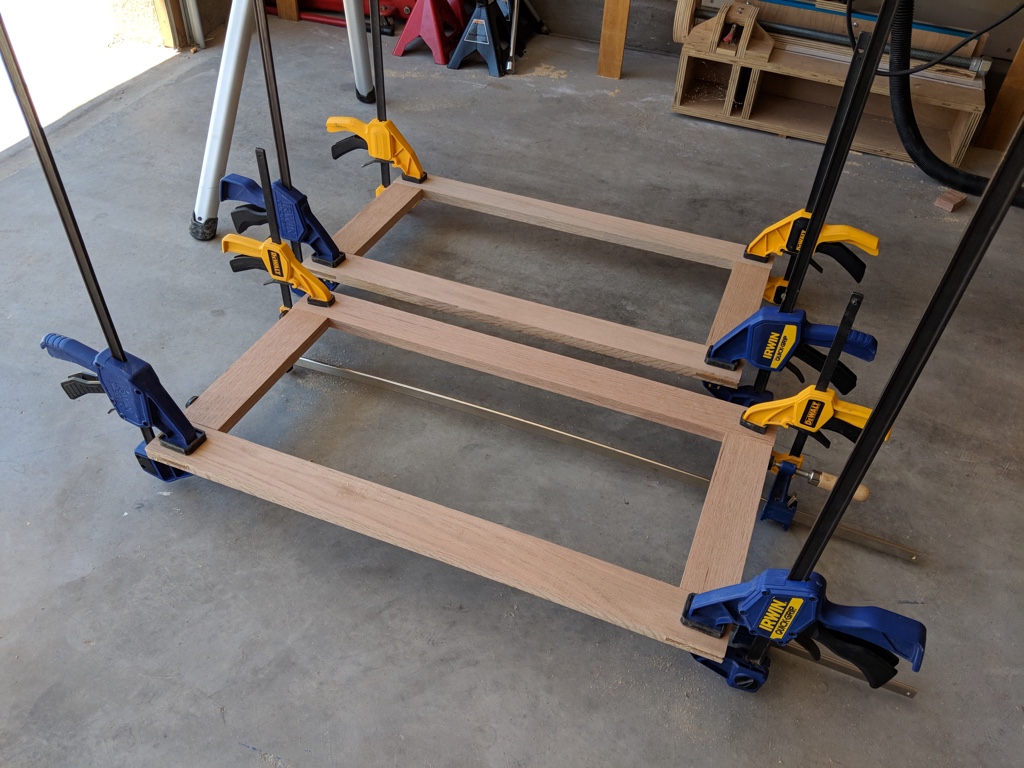
Next I glued up both side assemblies and set them aside to dry.
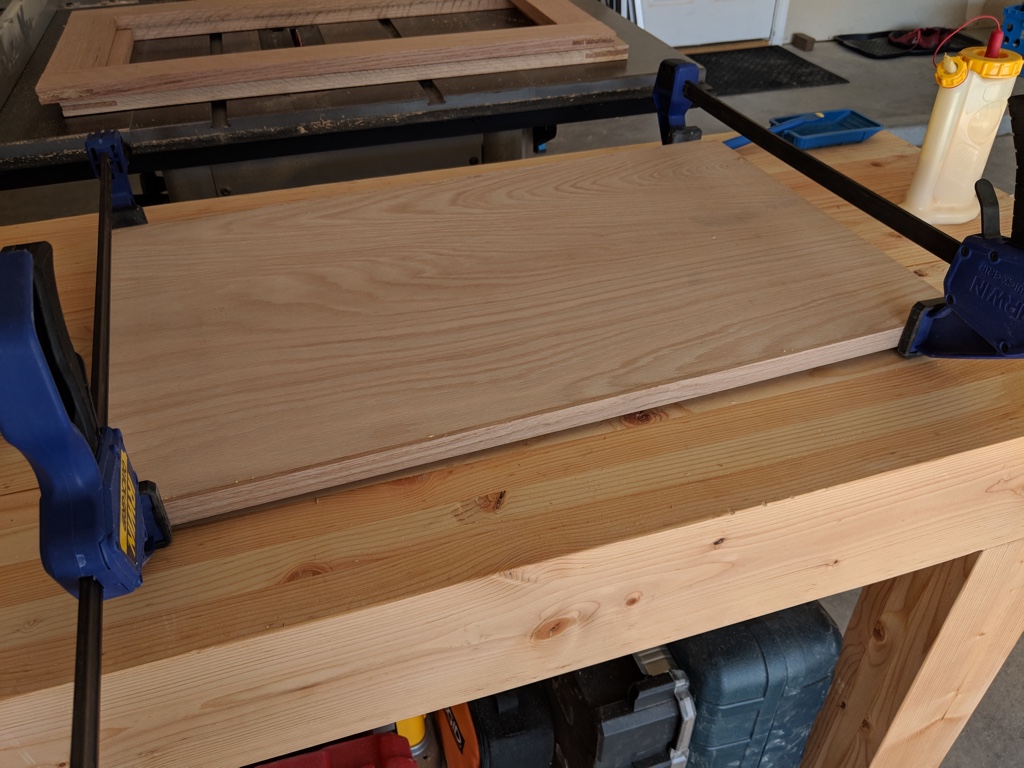
I was using plywood for the top and for the shelf, so I needed to do something about the edges. I ripped the remaining oak board I had left into thin strips to use as edge banding.

Then I clamped it to the edge of the plywood to hide the raw edge.
While the glue set, I returned to the side assemblies and started attaching the cross braces. These joints are hidden, so I used pocket holes to speed things up.
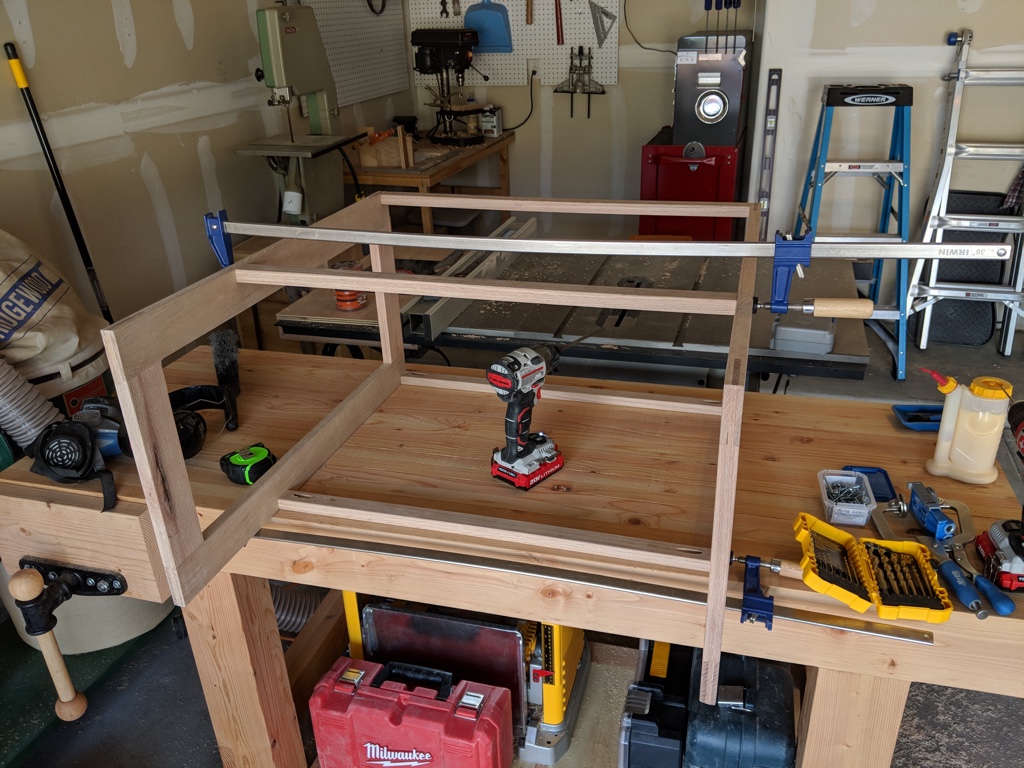
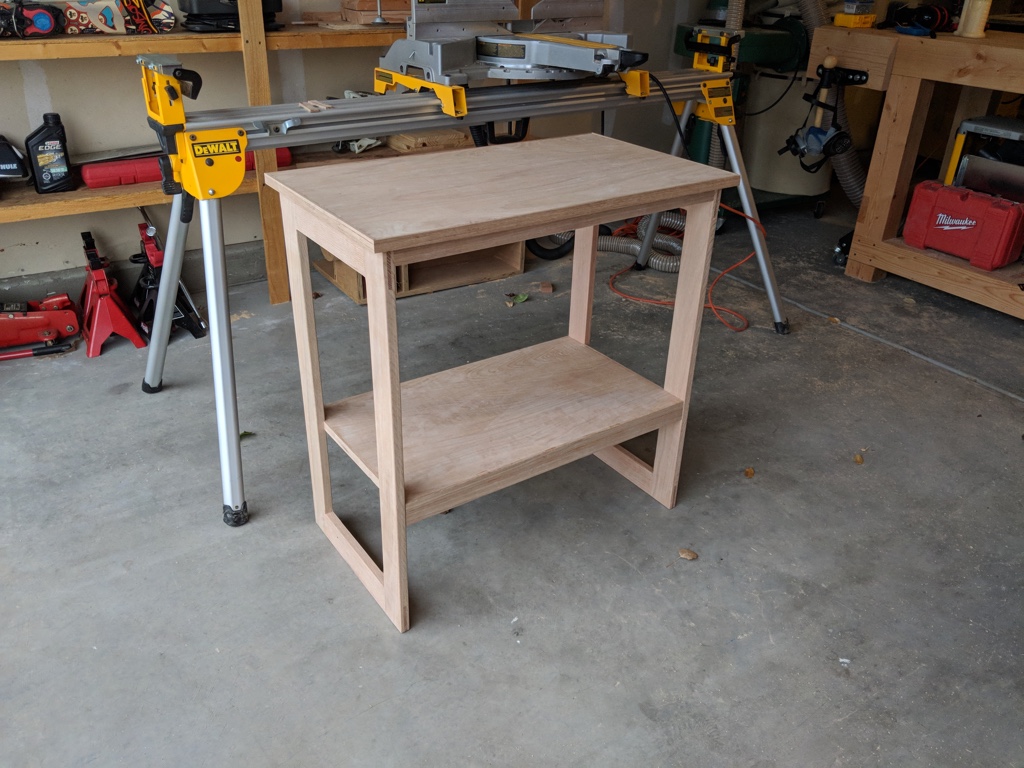
Here you can see the lower shelf glued into place on top of the rails.
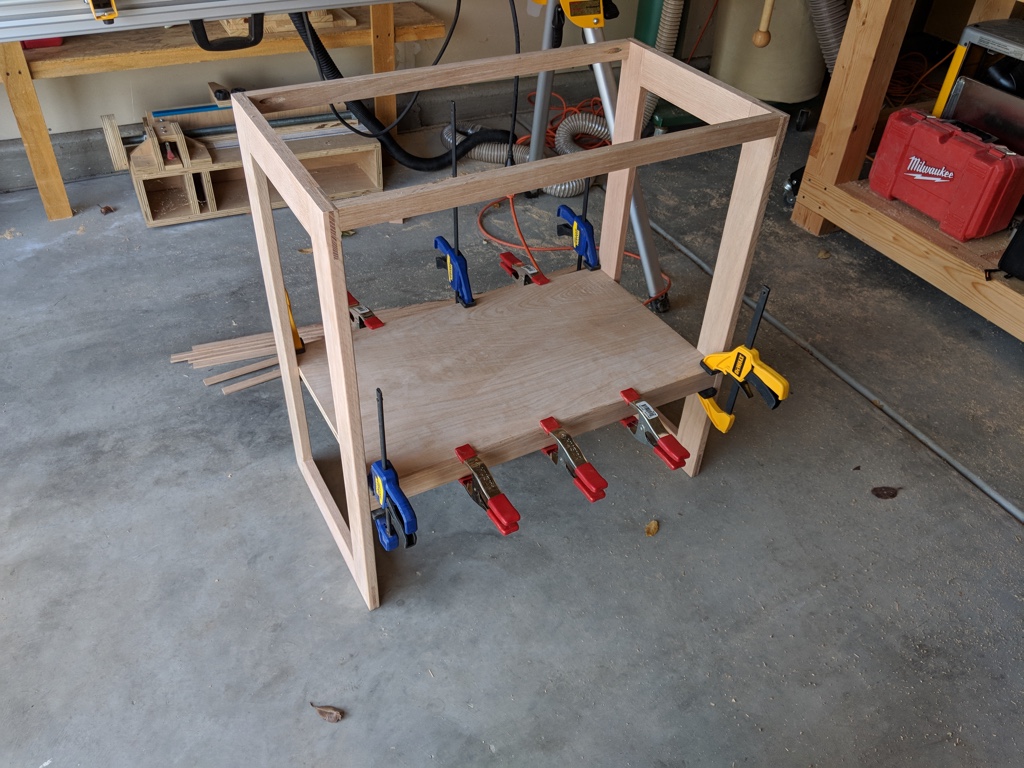
I did similar edge banding around the top piece, which in this picture is just sitting on top of the base.
After attaching the top to the base, I rubbed in some tinted danish oil to seal and protect it.
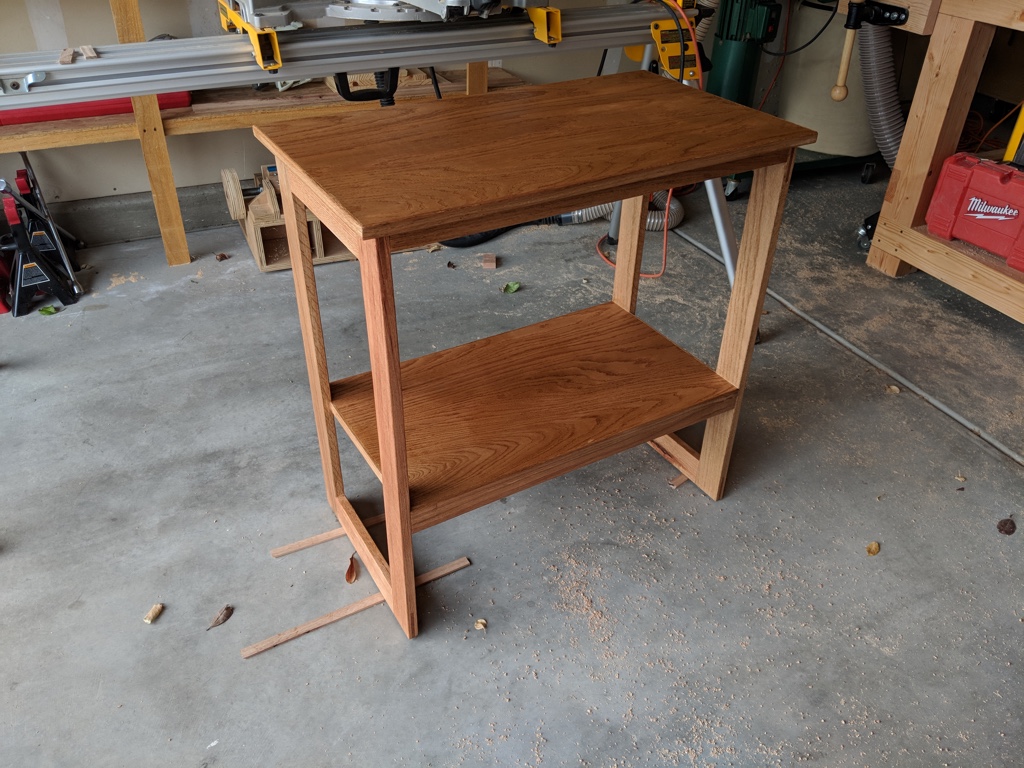
And that's it! It was an easy project that I knocked out in two days. Carrie made a cushion to go on top, and the cats seem to enjoy it.
Not sure what I want to work on next, probably more cat furniture.