Patio furniture! It's starting to cool off here in Albuquerque, and I've been working on patio furniture to hopefully be ready for fall so we can eat on the back porch. I finished two chairs this past weekend (took 4 weekends total), and I'm planning to knock out a table over labor day weekend. Sometime down the road, I'll build two more chairs, but that's not urgent.
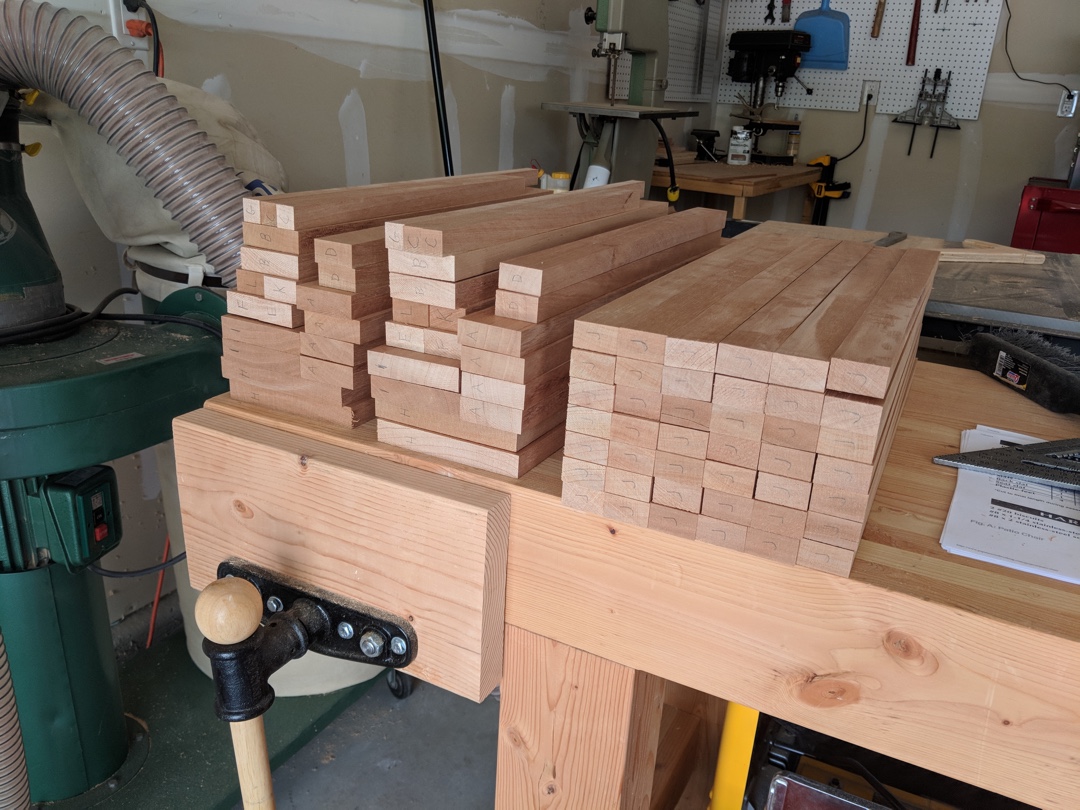
I found some free plans on popularwoodworking.com that looked comfortable but not overly complicated, and went for it. The nice thing about working from plans is that you can make all your cuts up front. Wood is Spanish cedar, which has a nice grain pattern and was easy to work with, though it set off my allergies enough that I wore a respirator almost the entire time I was working.
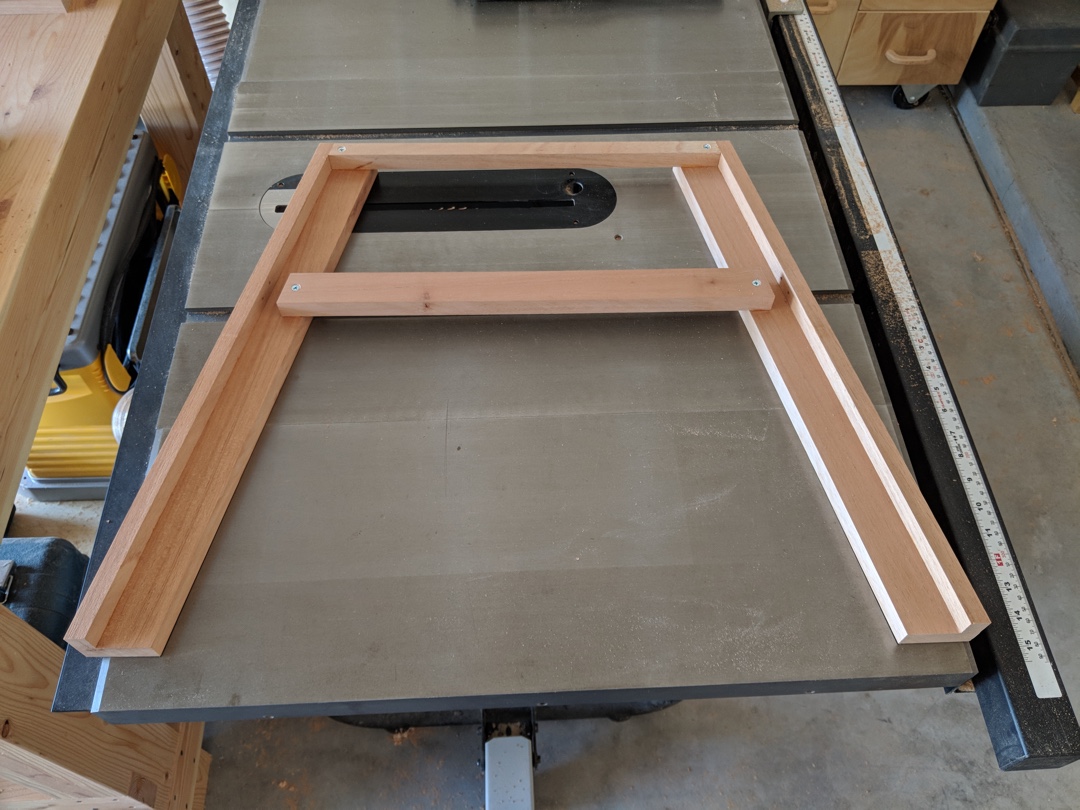
Here's the simple A-frame that forms the side supports:
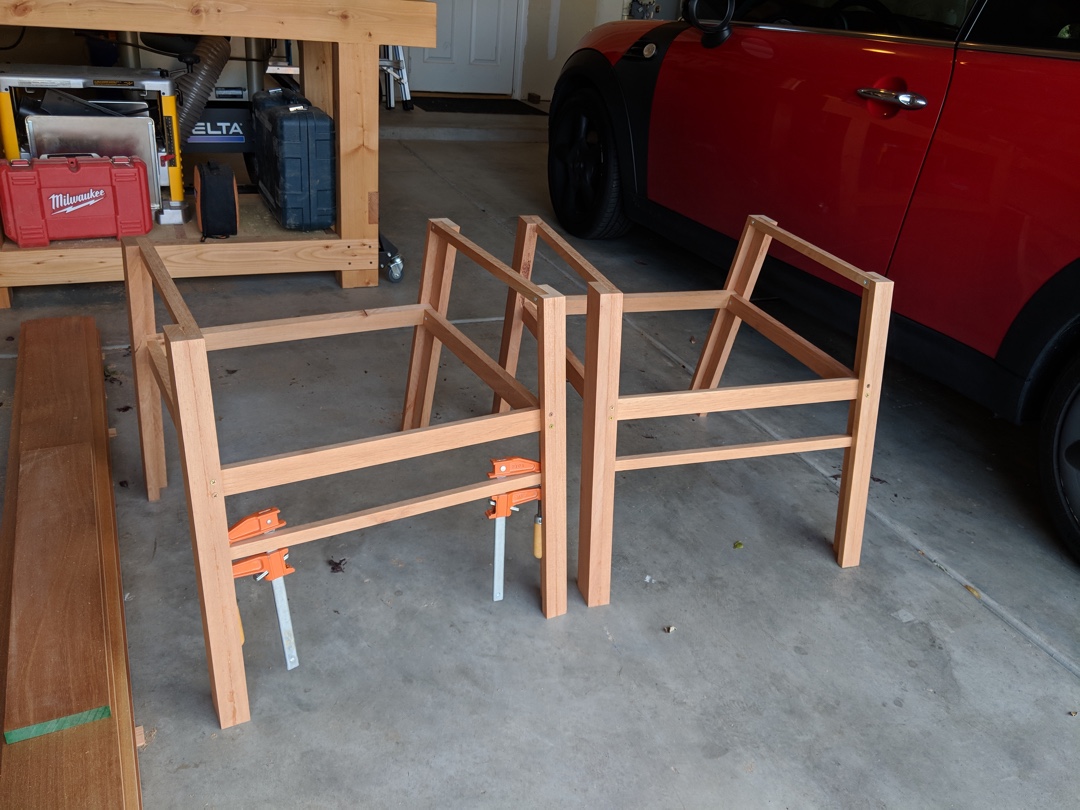
Next I added the cross-braces and set them aside to dry (though working with screws, drying isn't really necessary as long as you don't over-stress anything).
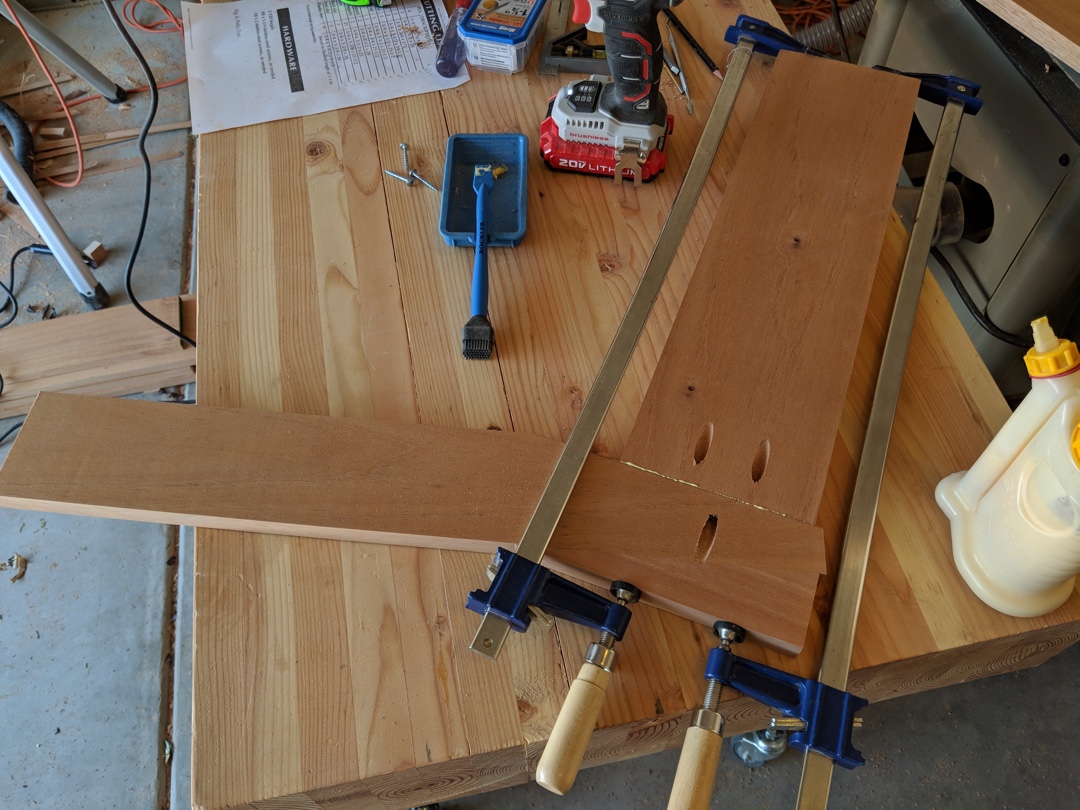
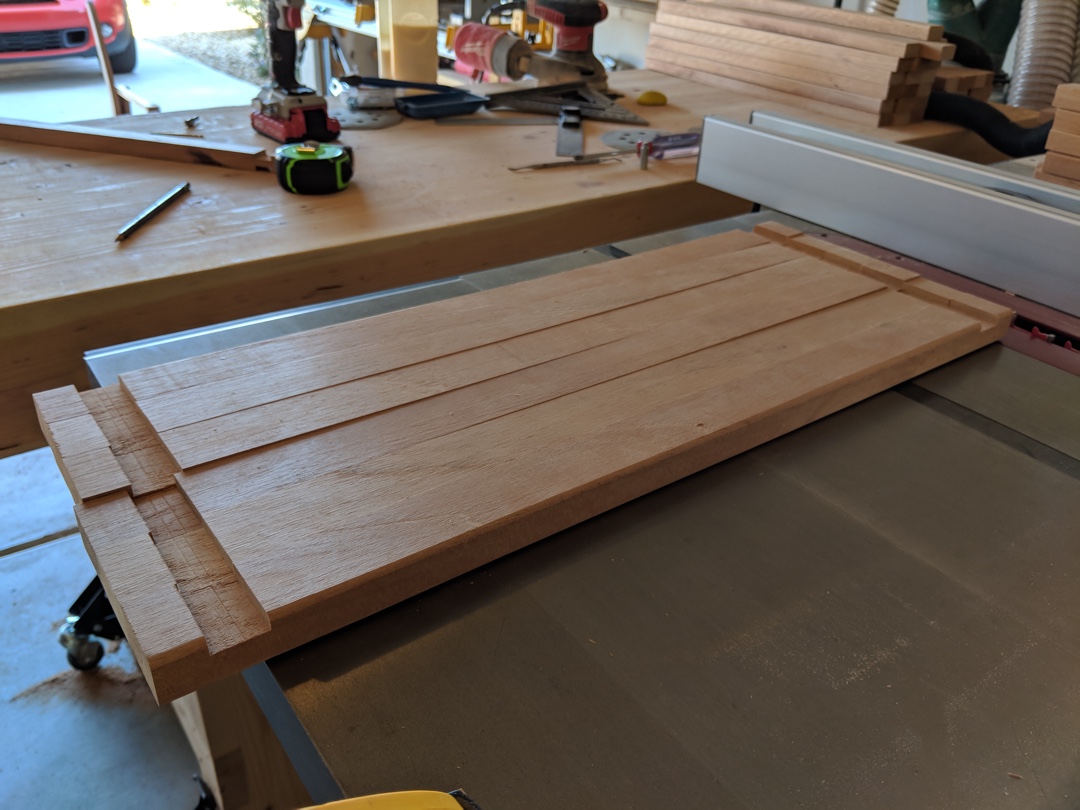
The seat support pieces are all one big L-shaped piece, which required joining two boards together. I used pocket holes to hold them together, along with some glue.
Here's the piece after cutting it out on the bandsaw and sanding it smooth.
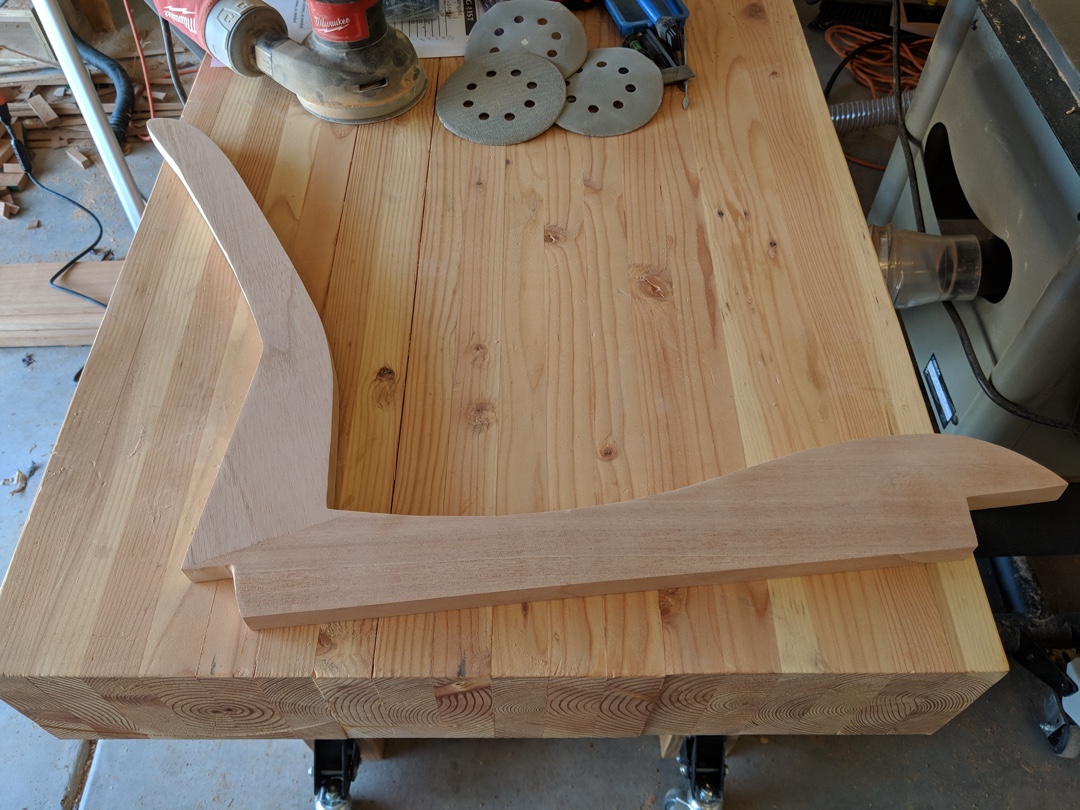
I then used it to trace the outline onto the next piece (first one was traced from paper, which is a pain). Then I rough cut three more on the bandsaw and used the sanded one as a guide with my router to create three exact copies.

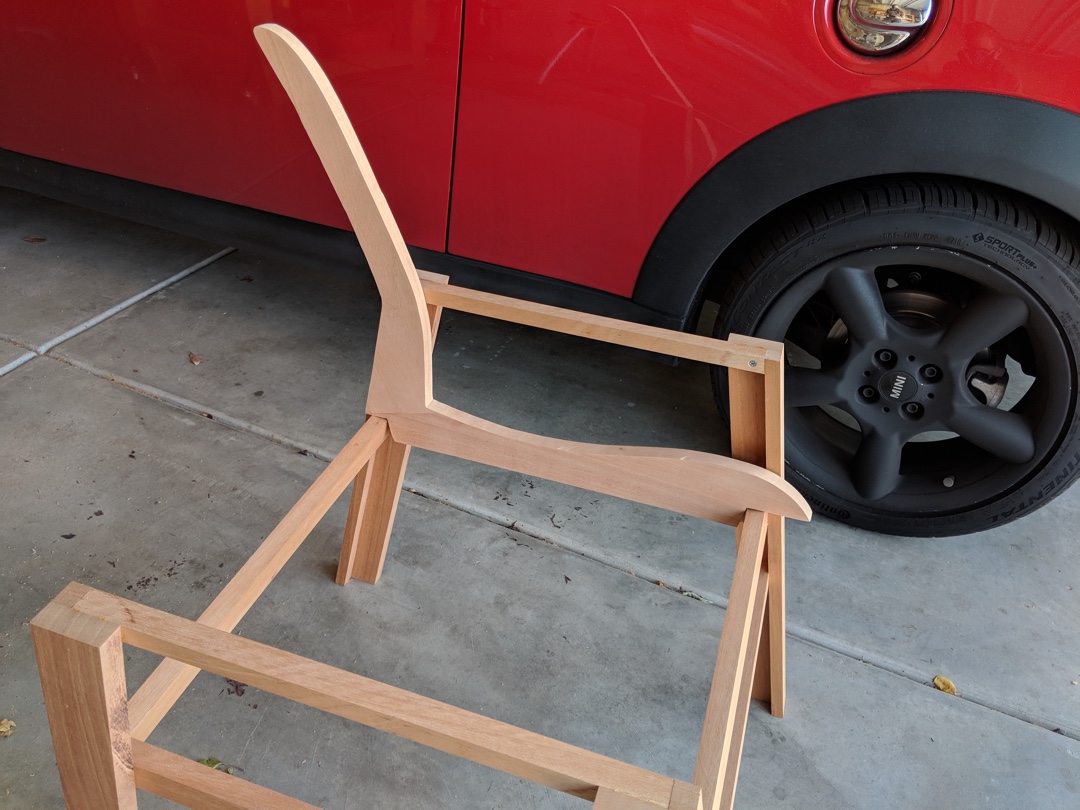
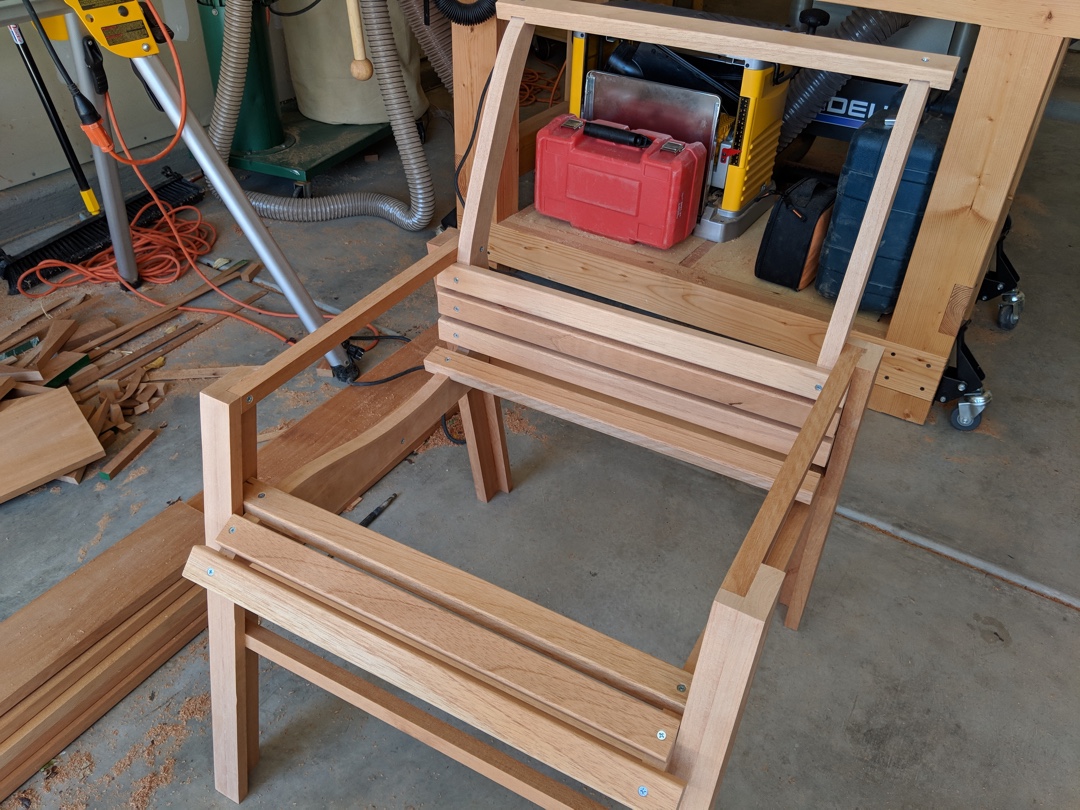
Here's a shot dry-fitting it on the chair base.
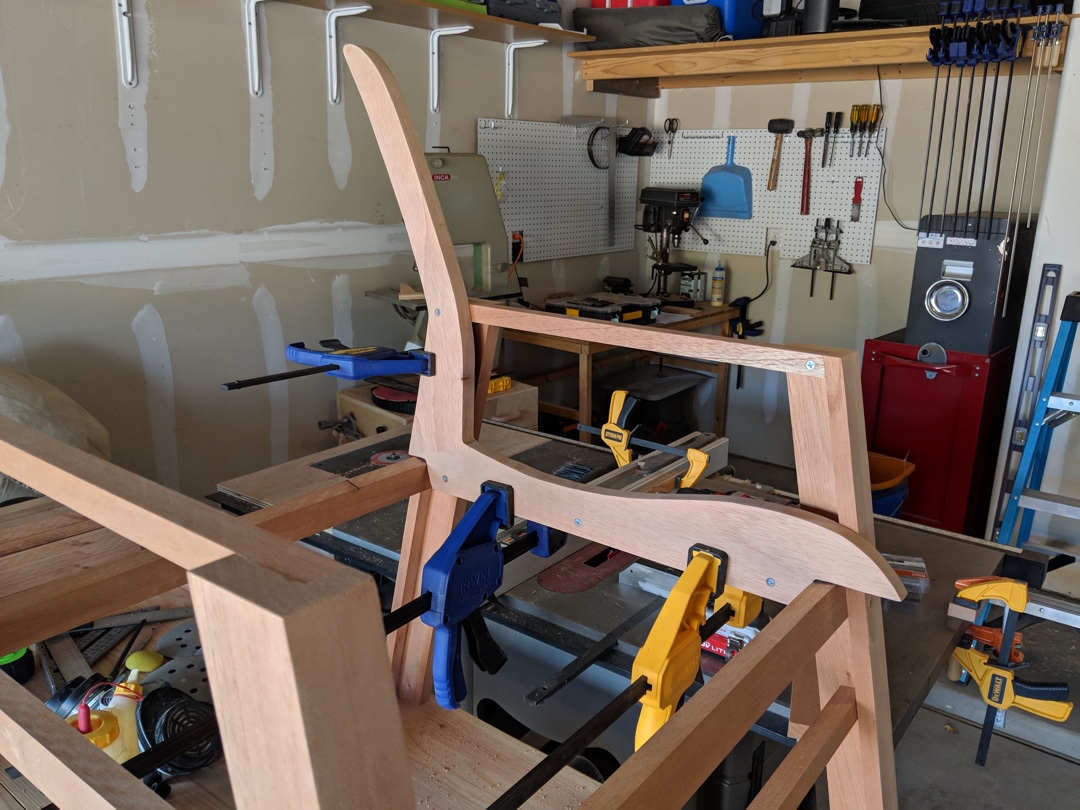
Next I glued and screwed the seat supports to the chair frame.
Then I set those aside and started getting the seat slats ready by cutting dados in each end to straddle the seat support pieces. Here's a handful of them (46 total!).
I started by aligning the ones at the front and top of the chair, as well as the transition point from seat to back.
Then I filled in the gaps, spacing them by eye with roughly equal gaps between.
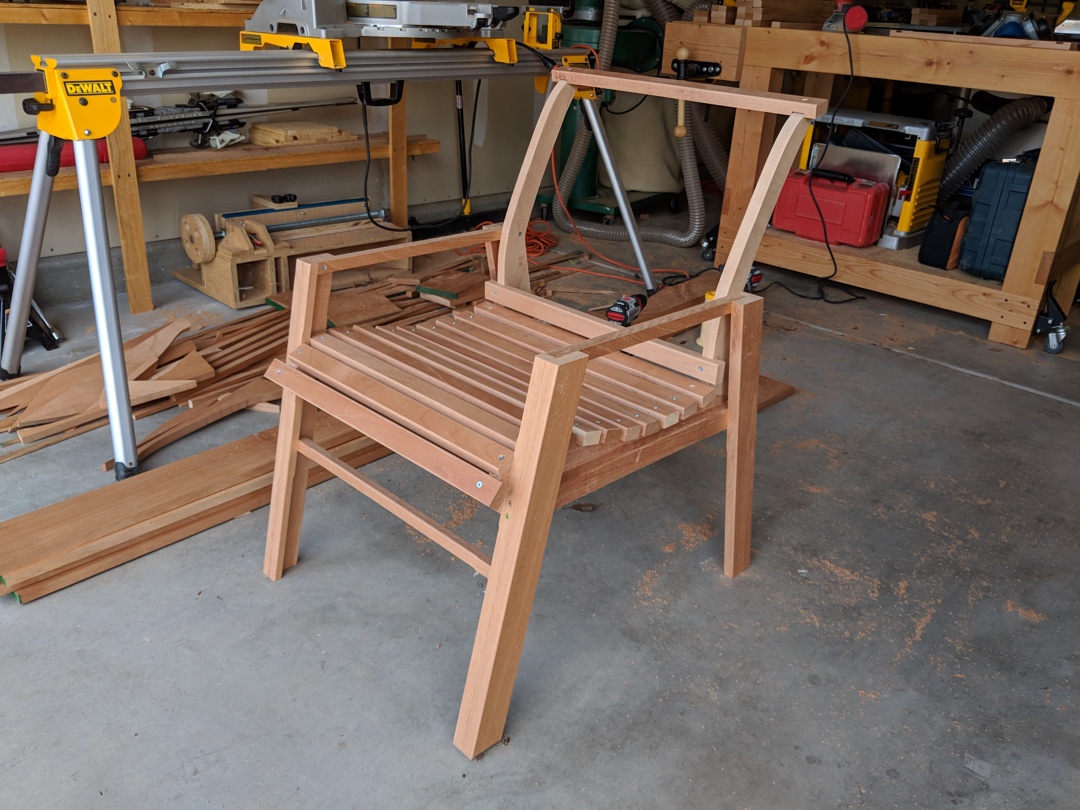

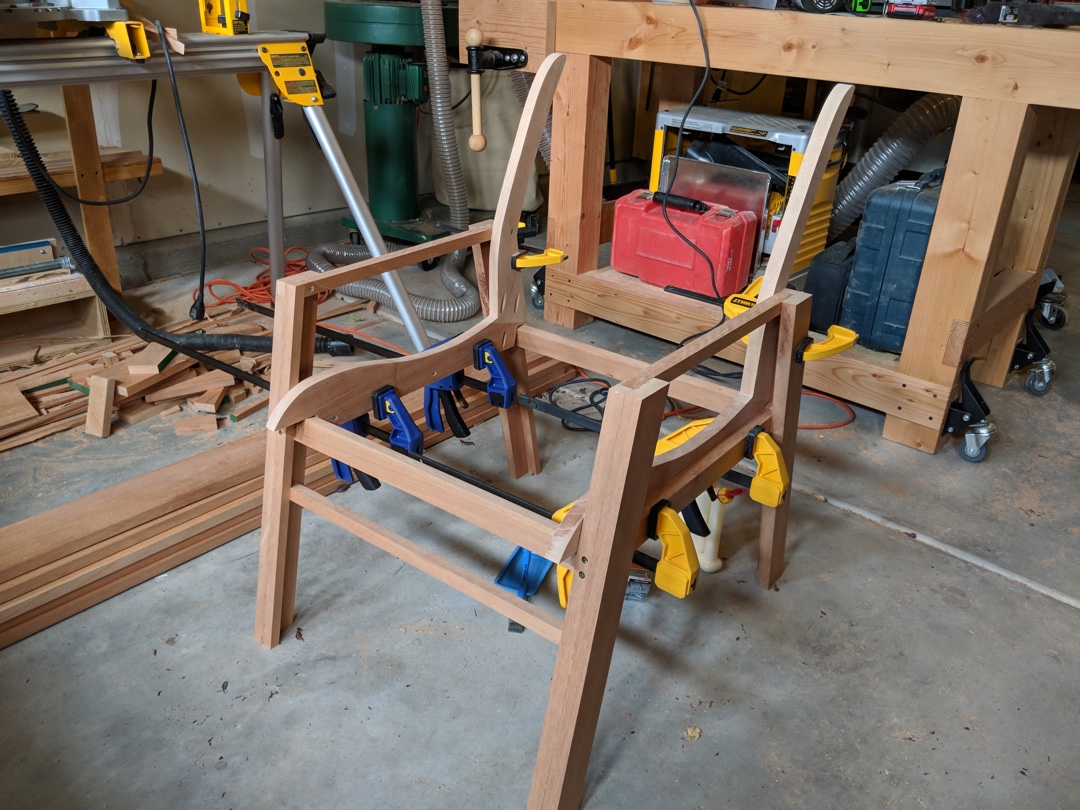
Next I attached the arms and they were ready for sanding and staining.
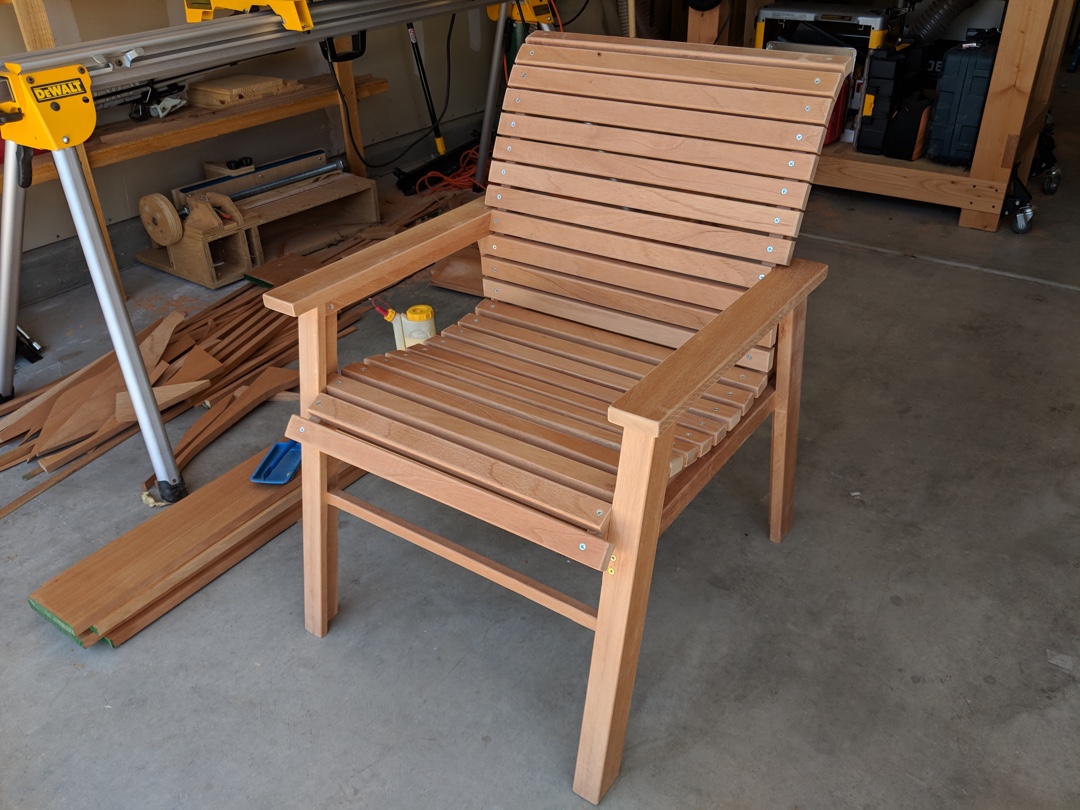
I rubbed Danish oil into each one to seal it. I'm hoping it holds up ok on the back porch. We don't get a ton of rain, so they should be fine from a moisture standpoint, but the sun is brutal here. I'm sure they'll fade over time, but they have a really nice luster right now.
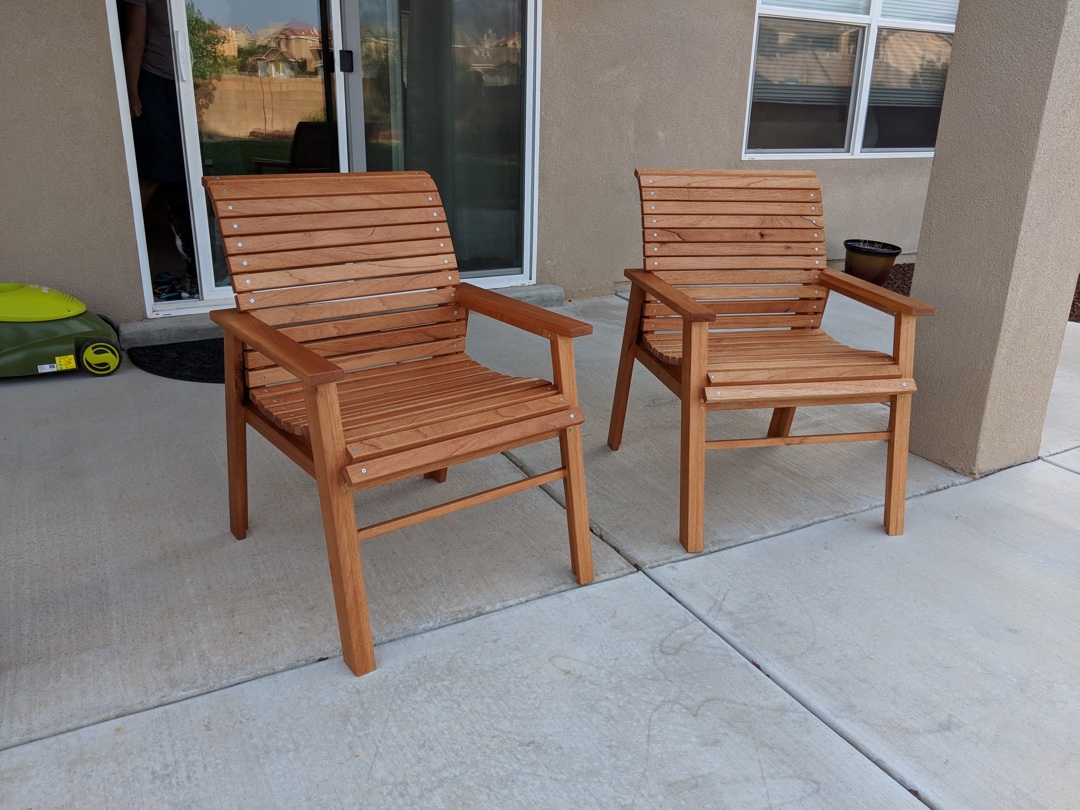
They turned out really well overall. My only nitpick is that the arms are about an inch low, which I'll try to fix with the second set. Otherwise they're comfortable and look fantastic.