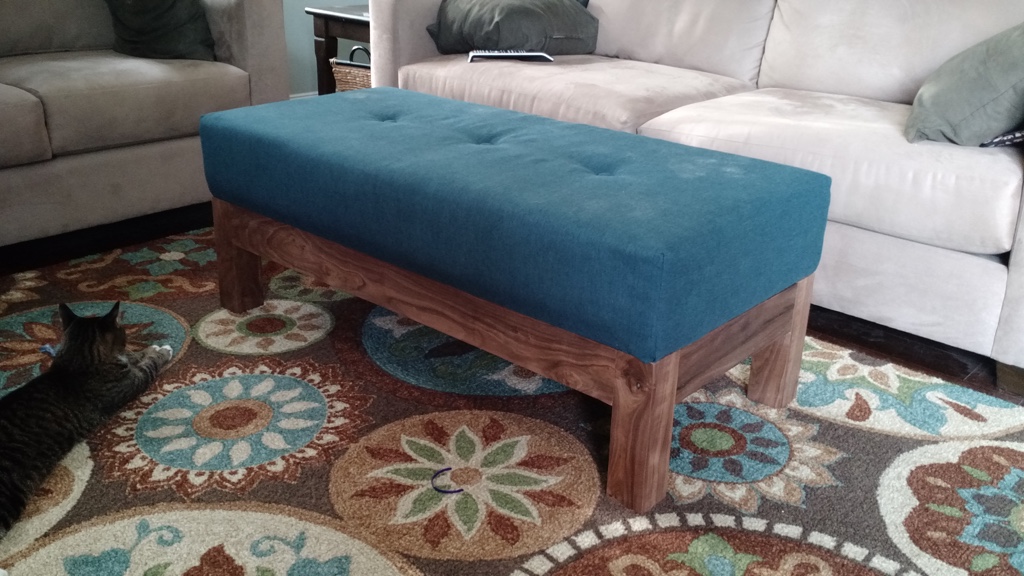
Carrie was talking about recovering the cushion on our 10 year old ottoman, so I thought it would be a good project to rebuild the base out of decent wood. It turned out very nicely!
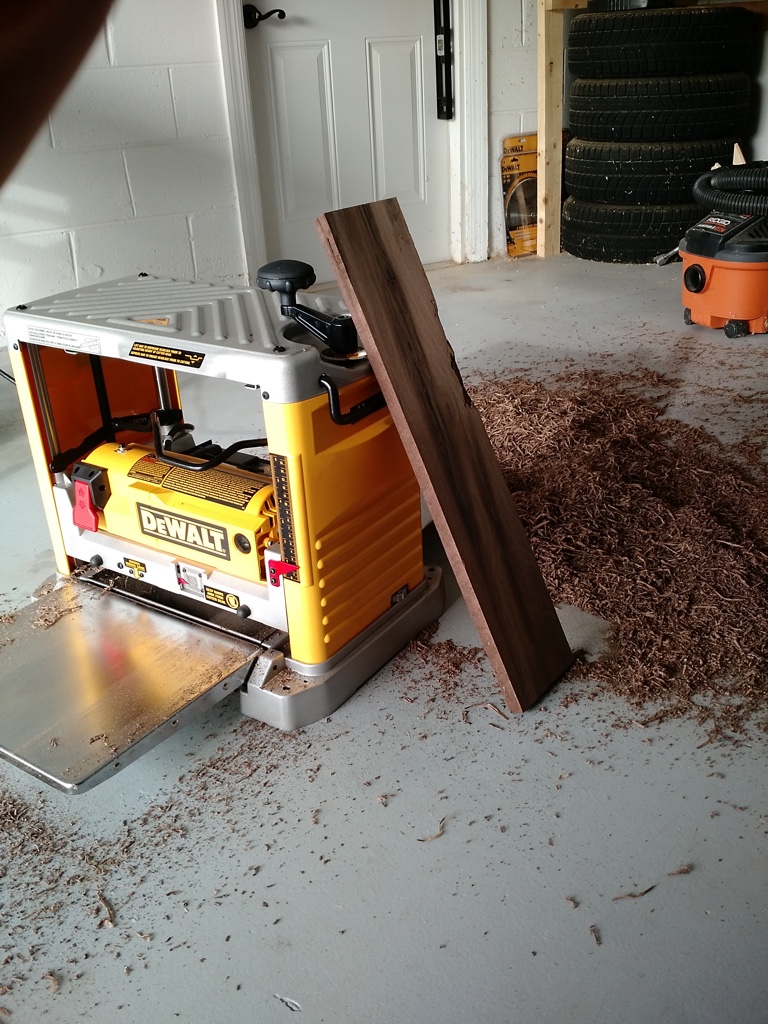
I decided to build it out of American Walnut, which only comes in rough-cut boards that require a lot of cleanup to get to a usable state. Here’s a picture of a rough board next to one that has been planed and squared up.
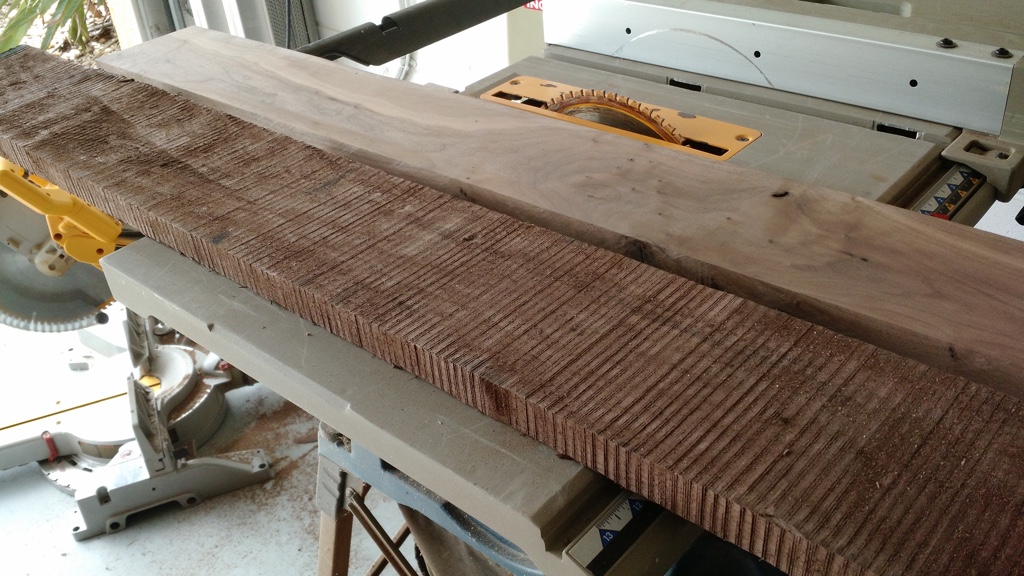
The planer produces an obscene amount of wood shavings, but the boards come out extremely smooth.
I debated for a long time how to build the legs and ended up gluing them up like this. I considered a simple 45 degree miter, but that’s really hard to do without creating gaps along the edges and clamping would be a nightmare.
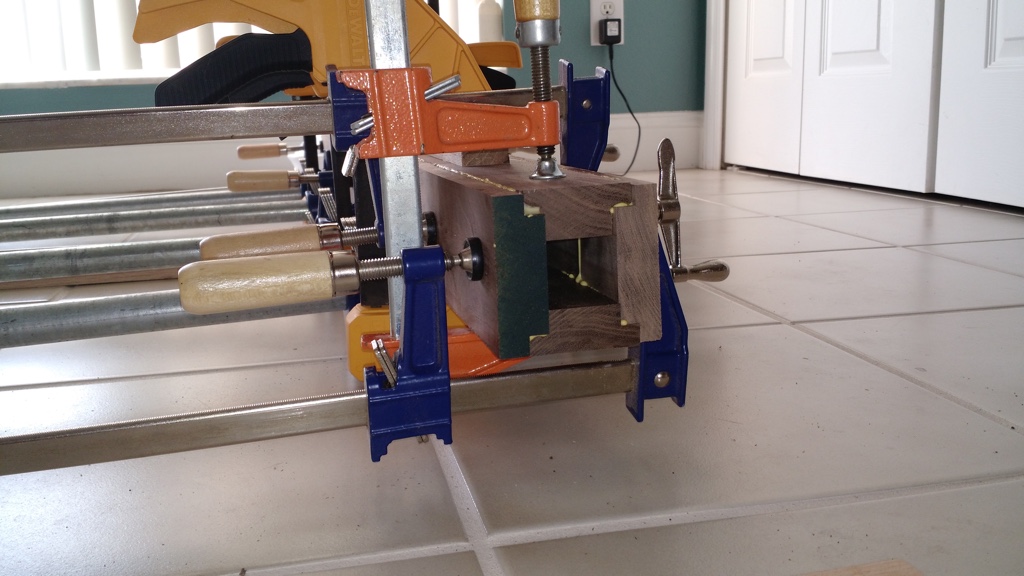
I think I used every clamp I own to squeeze out all the gaps. A couple of the boards had a slight twist to them, which made things more difficult.
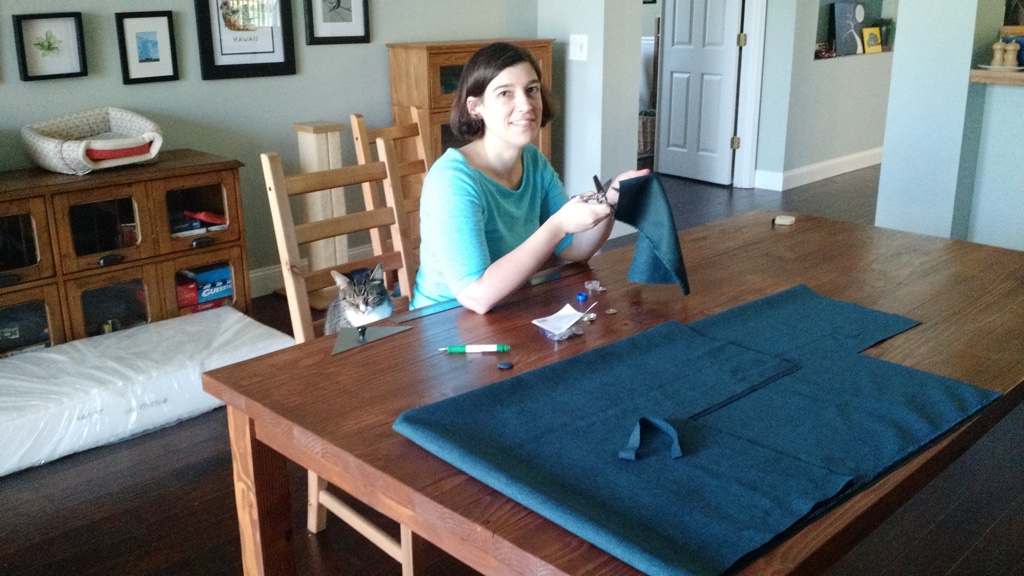
In the meantime, Carrie started sewing the new cover, with assistance from her special helper.
By the time Carrie finished, I had only one side rail and leg done!
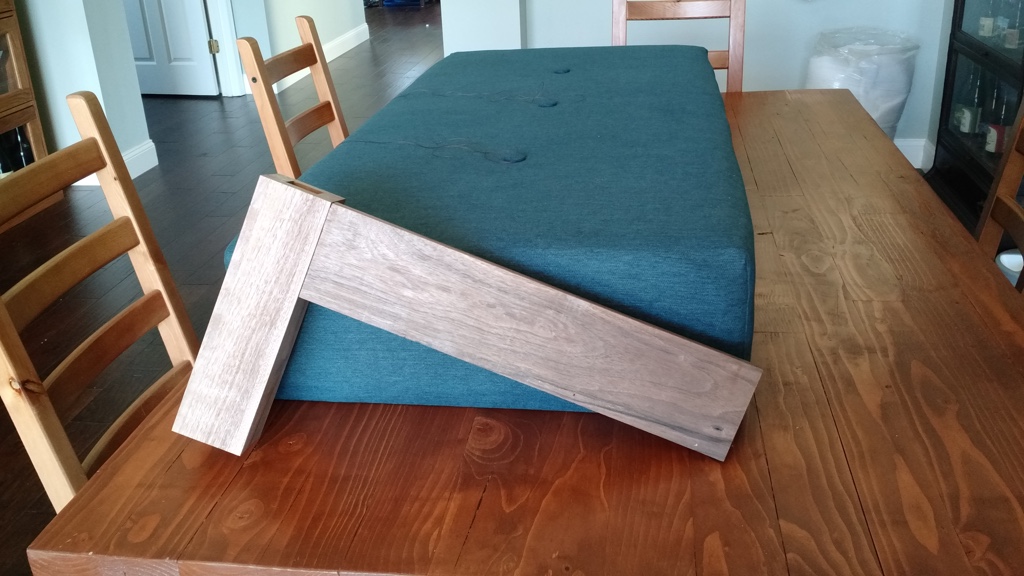
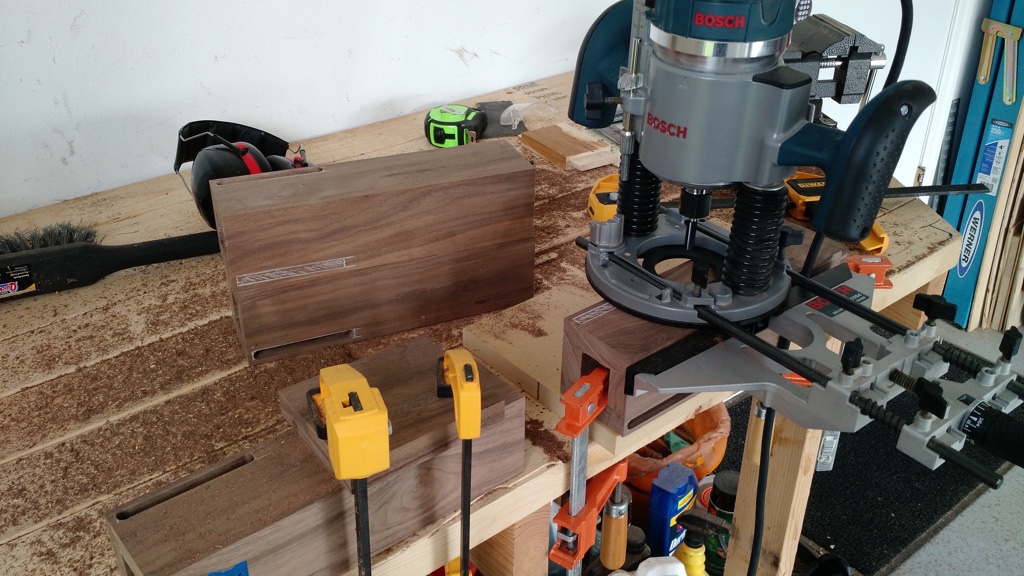
The biggest thing slowing me down was that I decided to connect the rails to the legs with mortise and tenon joints, which take some time to get right.
The mortises went pretty fast once I got all the boundaries marked and my workspace laid out. The tenons, on the other hand, took a lot longer. I rough cut them to size on the table saw, but then had to pare them down with a knife to match the appropriate mortise. It was time-consuming, but it was worth it since they fit really well.
Once I had all the joints cut, I did a quick test fit.
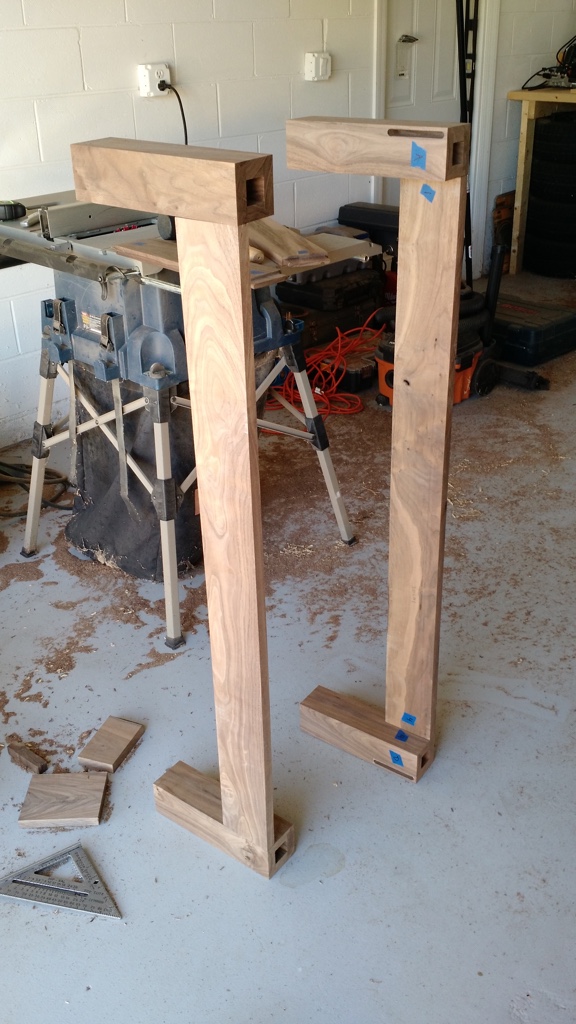
It ended up really good, though one of the rails had a slight inward bow so it was narrower in the middle. Not really a big deal, since I was planning on a couple of cross beams anyway.
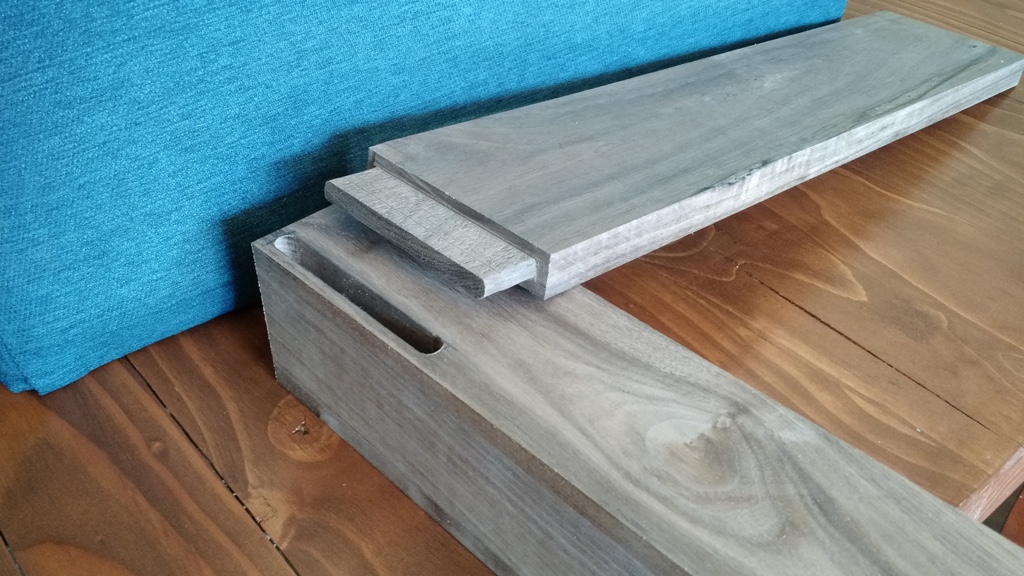
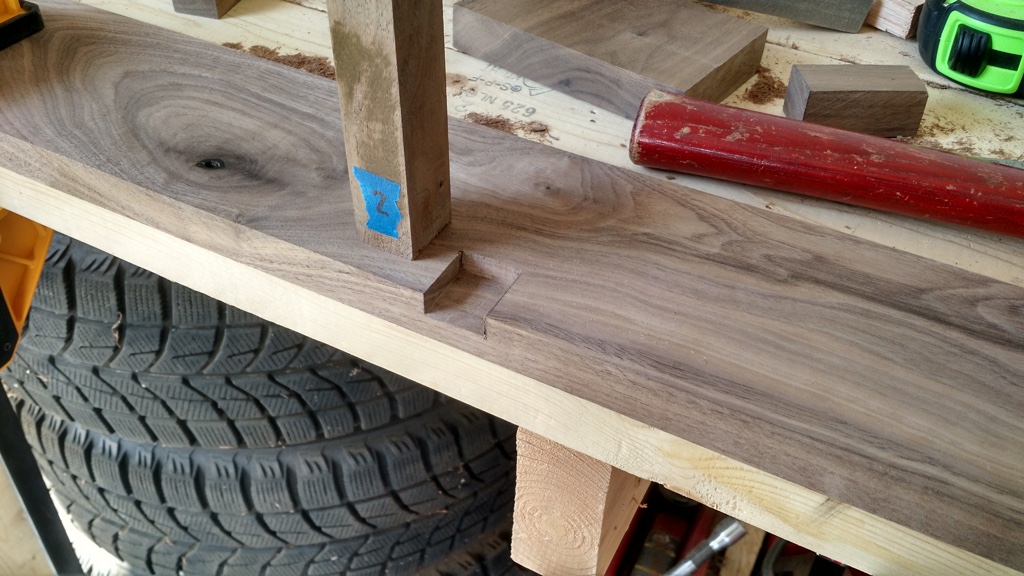
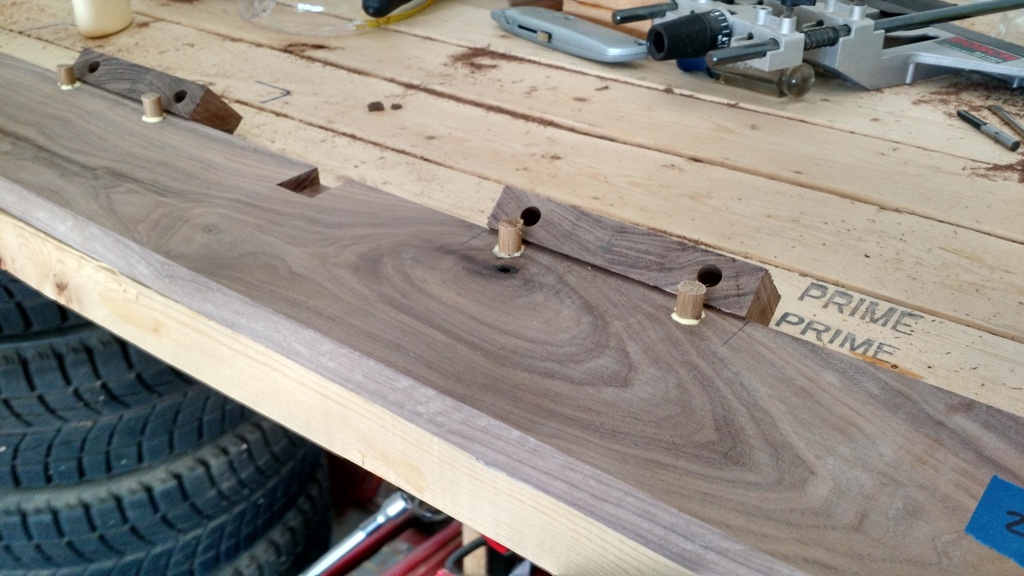
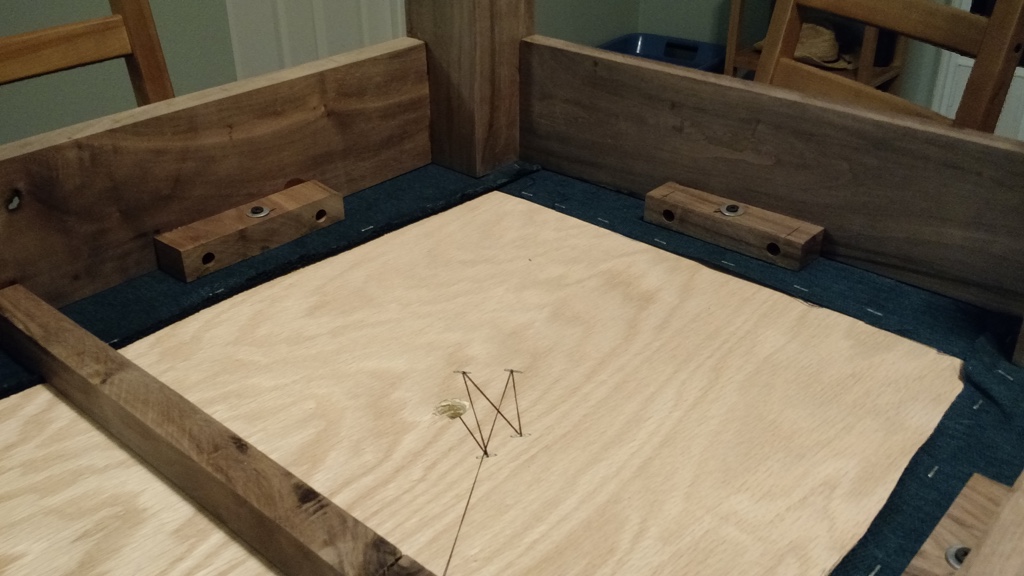
I notched out a rectangle for a cross beam to fit into. I didn’t really plan on making this out of walnut, but I had a scrap that was perfect for cutting both cross beams.
Next I added anchors around the perimeter to screw into the ottoman top. Again, I didn’t plan on using walnut for these since they aren’t visible, but I had some scraps that were the right dimensions.
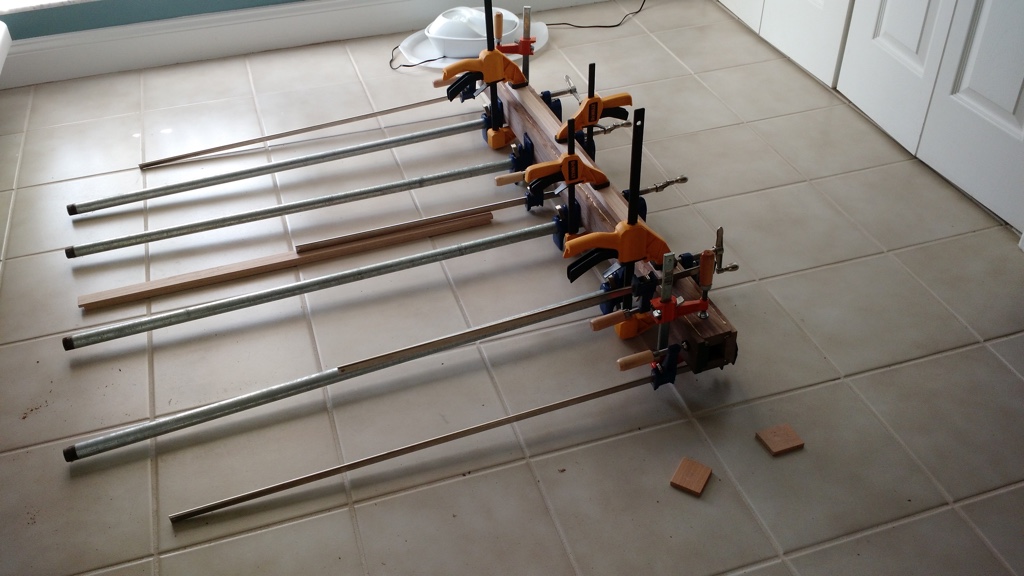
With everything cut, it was finally time to start gluing! This is always the most exciting part, though it can be frustrating trying to get everything in place and clamped before the glue sets. I didn’t have a long enough clamp for the long sides of the base, so I had to daisy chain two clamps to apply pressure.
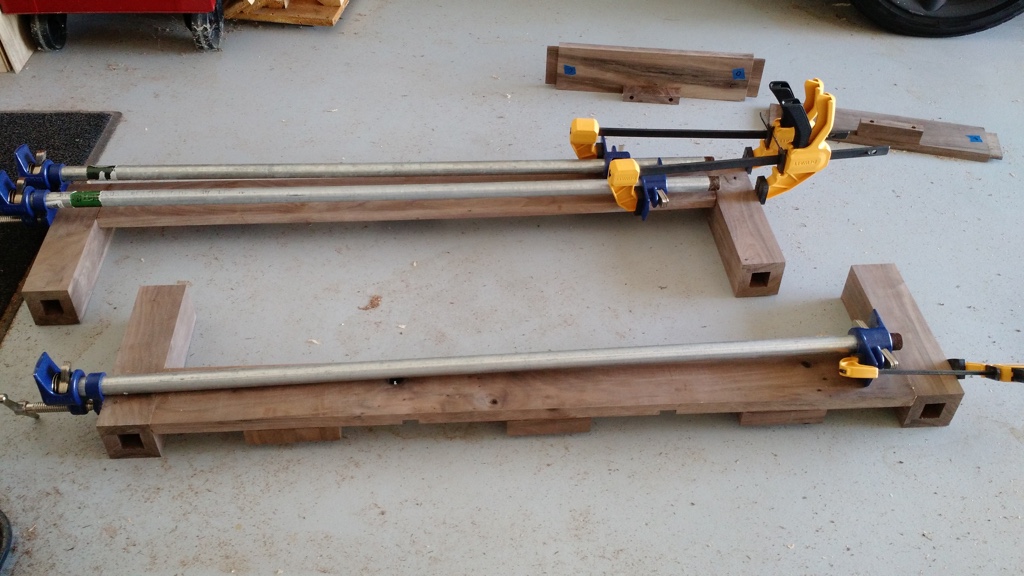
Clamping across the shorter side was much easier.
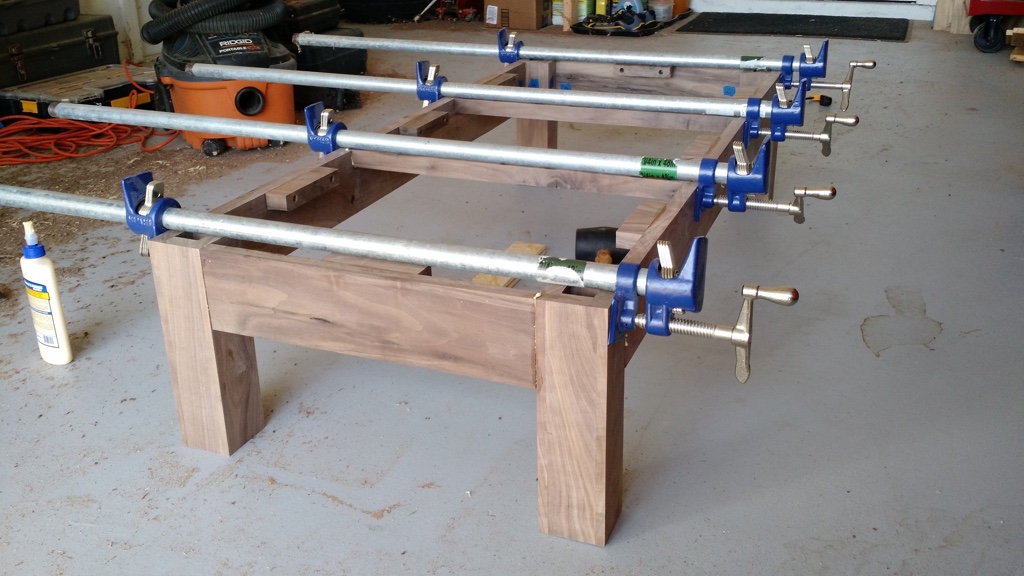
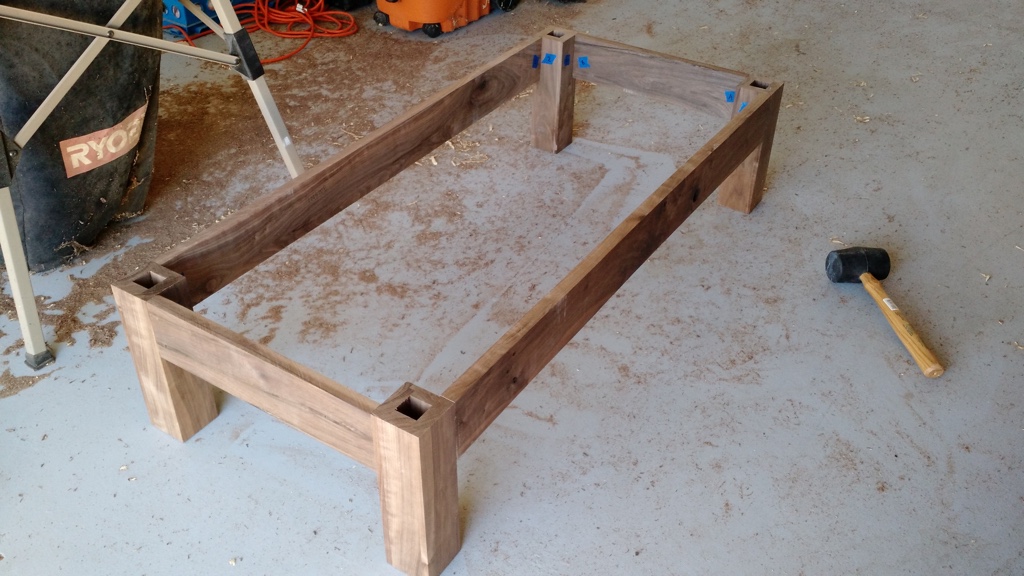
Here’s a shot of the assembled base. Since each mortise and tenon joint was unique, I labeled them with painters tape to make sure I didn’t mix them up.
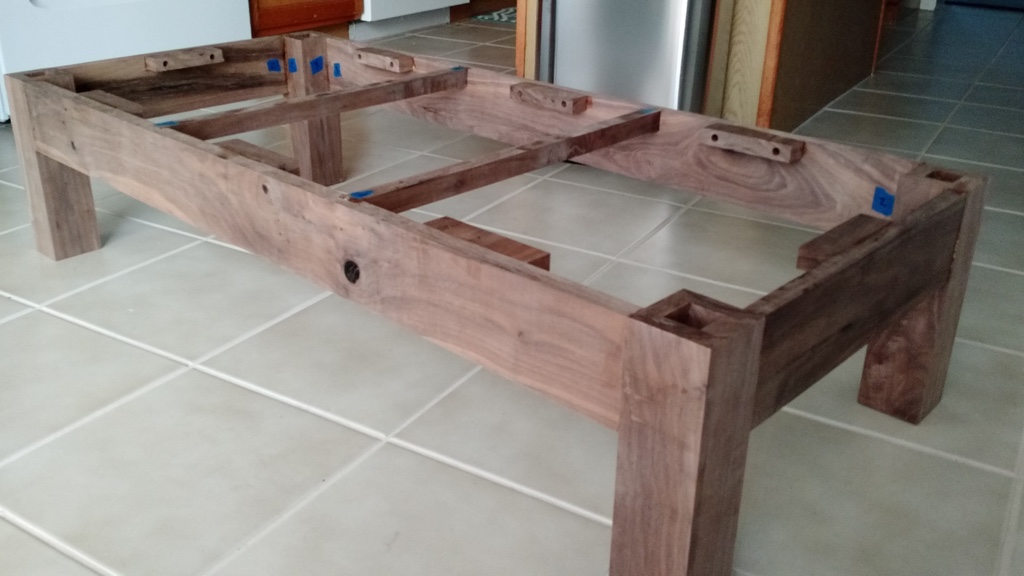
The base attaches to the top with screws, into the plywood that’s under the cushion.
To protect the wood, I used tung oil, which gives it a little richer color without changing the tint of the wood like stain does. I really like the way it turned out.