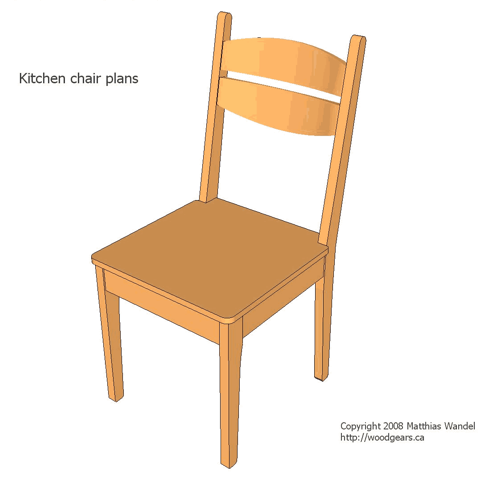
This chair was made using Matthias Wandel's free kitchen chair plans, which very helpfully included a SketchUp file. That made it very east to convert from metric to english units as well as get some 1:1 printouts.
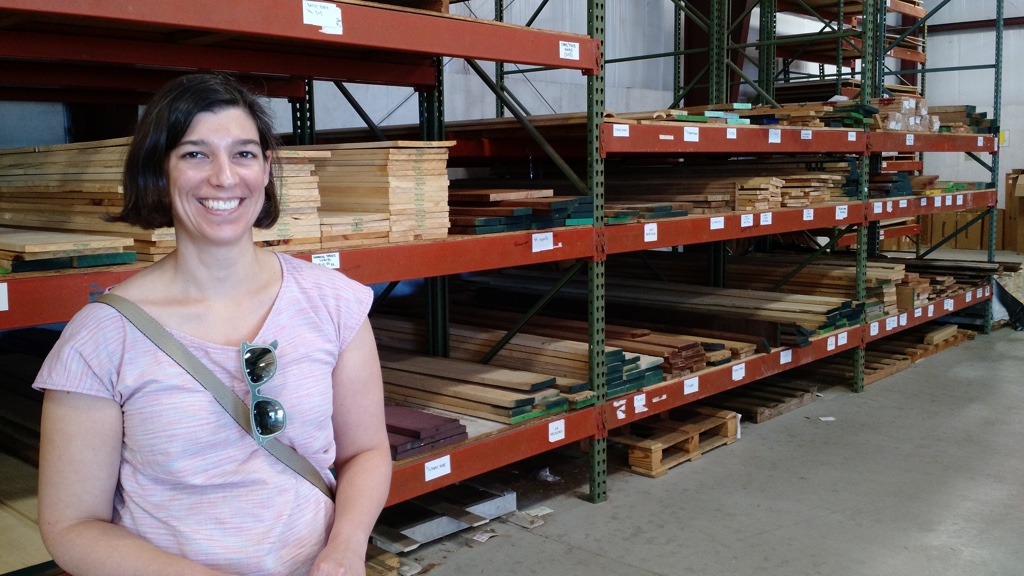
Step one was to go buy some wood! I wasn't sure what I wanted before I got to the store, but I ended up with some rough cut 4/4 cherry. Here's Carrie at the cabinet place near me that sells hardwoods.
Step two was to plane the boards down smooth. Planing makes a shitload of shavings.

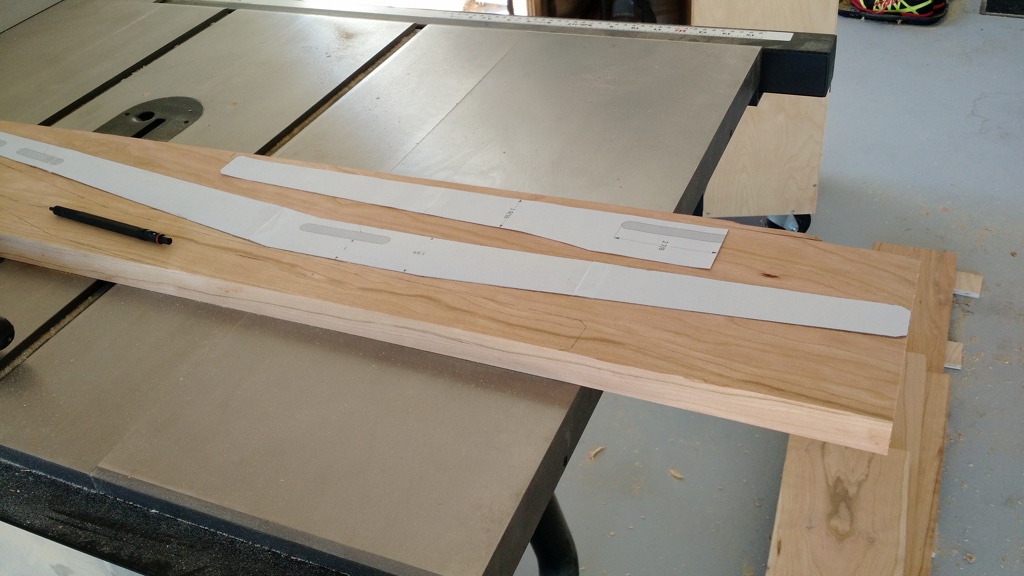
Next I traced some of the weird shaped pieces onto the wood, arranging them as best as I could to minimize waste. Being able to print 1:1 from SketchUp made this a breeze.
Here are the pieces after I cut them out on the bandsaw.

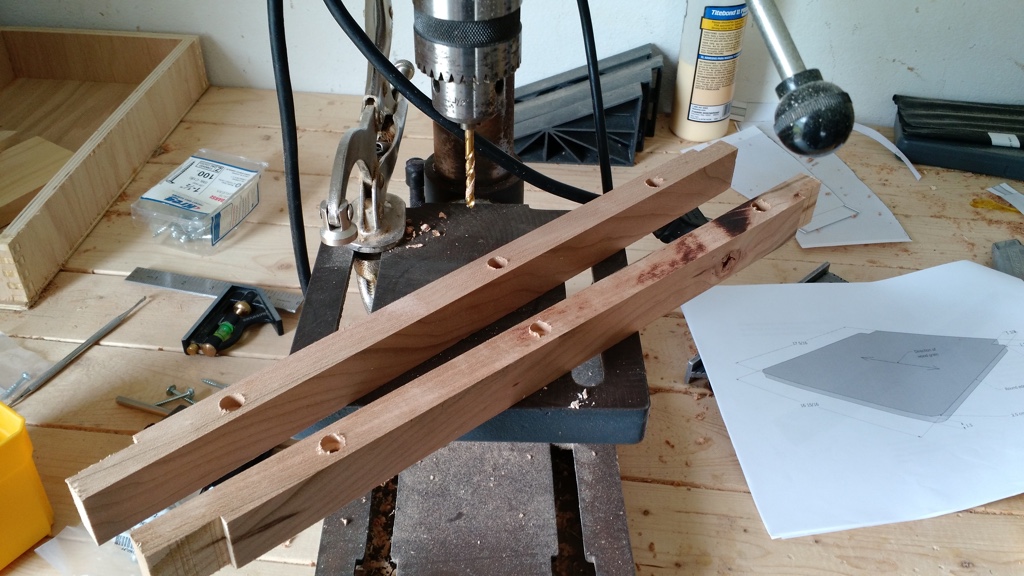
For the back rungs, I needed pieces ~1.5 inches thick, which I didn’t have, so I glued up two boards into one board.

Cutting the mortises on the front legs was very easy on the router table.

Cutting the mortises on the back legs was trickier, but the edge guide on the router kept things mostly square and neat.

Here’s a picture of all the mortises cut.

Next was to cut the tenons on the apron pieces to fit into the mortises. I cut the long sides on the table saw using a dado blade, then trimmed up the short ends to match the corresponding tenon. It takes a little longer this way, but it makes for a nicer fit because each mortise is slightly different.

Here’s a test fit I did on the first completed mortise and tenon joint. It looks really nice!

Once all the tenons were cut on the apron, I did a test fit to make sure everything lined up reasonably well. It rocks a little bit, so I’ll have to trim the legs at the end to get it to sit flat.

Here’s a closeup of the two joints on the front legs.

Next was to cut the back rungs, so I started by cutting the top curves on the bandsaw.

Then I cut the tenons and did another test fit.

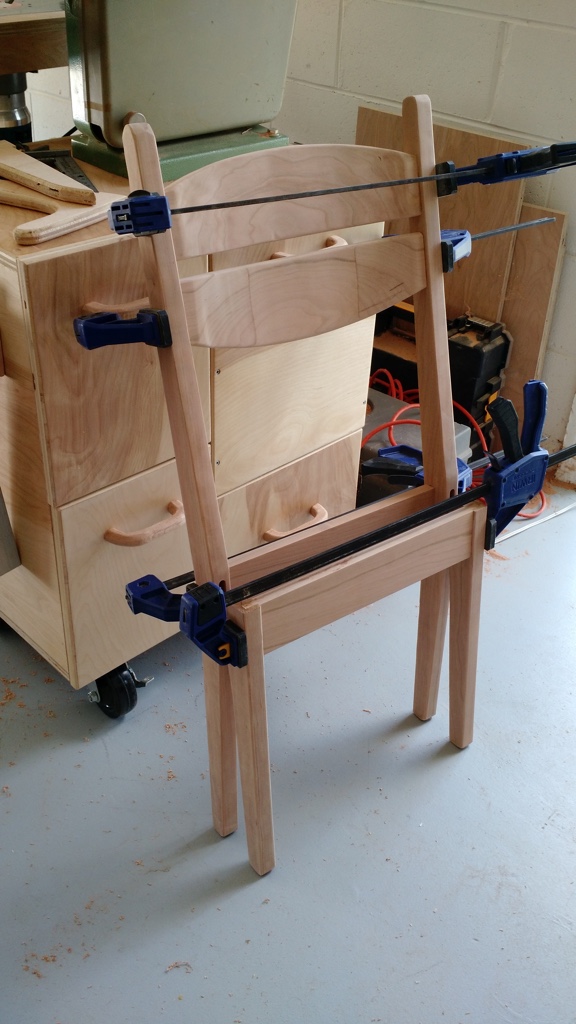
Here’s a shot from the back showing how the rungs protrude past the back of the chair.

Next I marked the curves I needed to cut on the bandsaw. It was my first time cutting something this tall (~4 inches), so I was somewhat apprehensive about the blade wandering or binding.

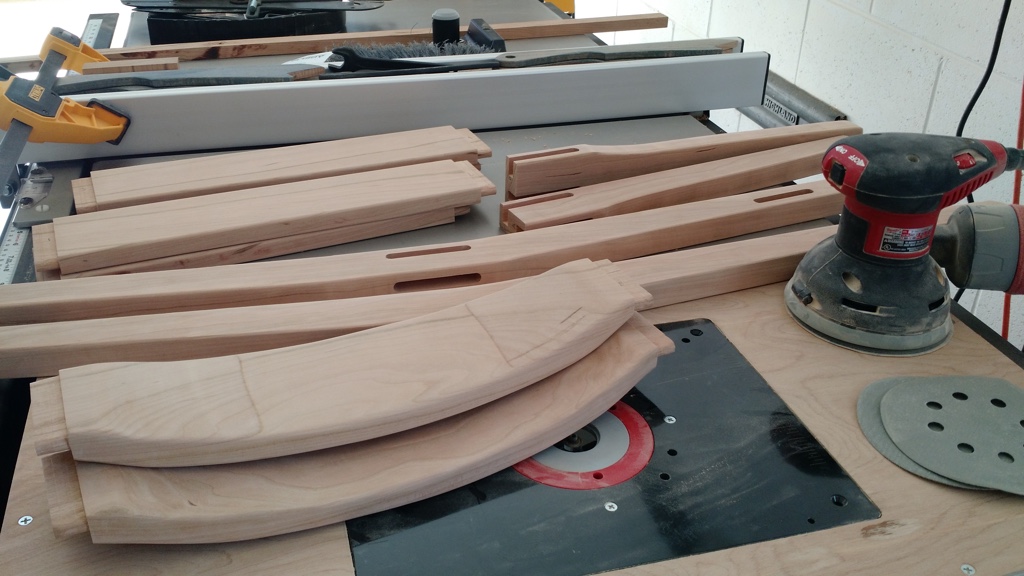
It ended up going fairly well, I just took it really slow and made sure not to overload the blade. They turned out reasonably well, if a bit rough. Nothing a bit of sanding won’t fix.

I sanded the back rungs and rounded over all the rough edges, and they look tons better. Here are the pieces all sanded up.
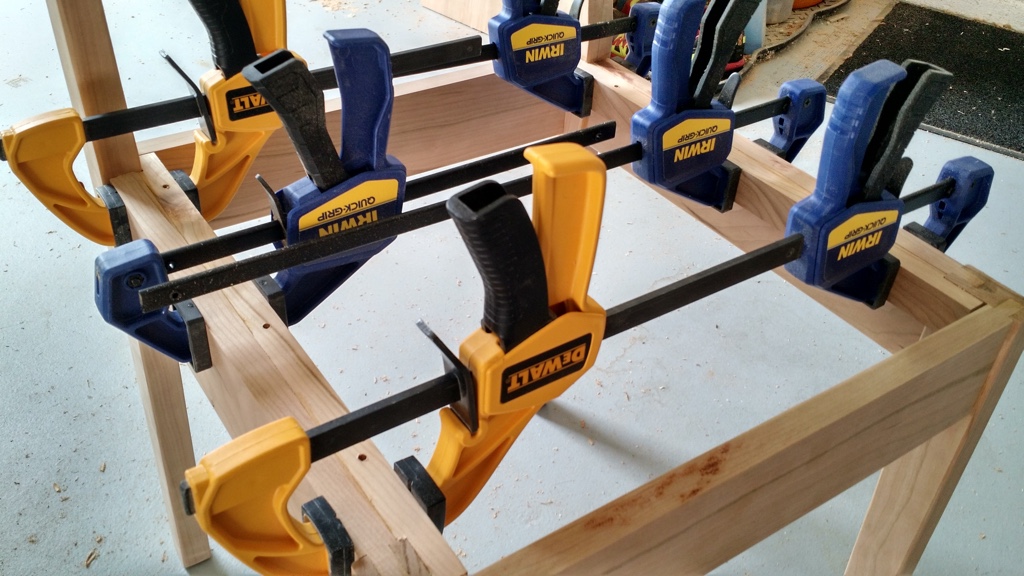
First I glued the back pieces together and the front pieces together, and then let the glue set for a bit.
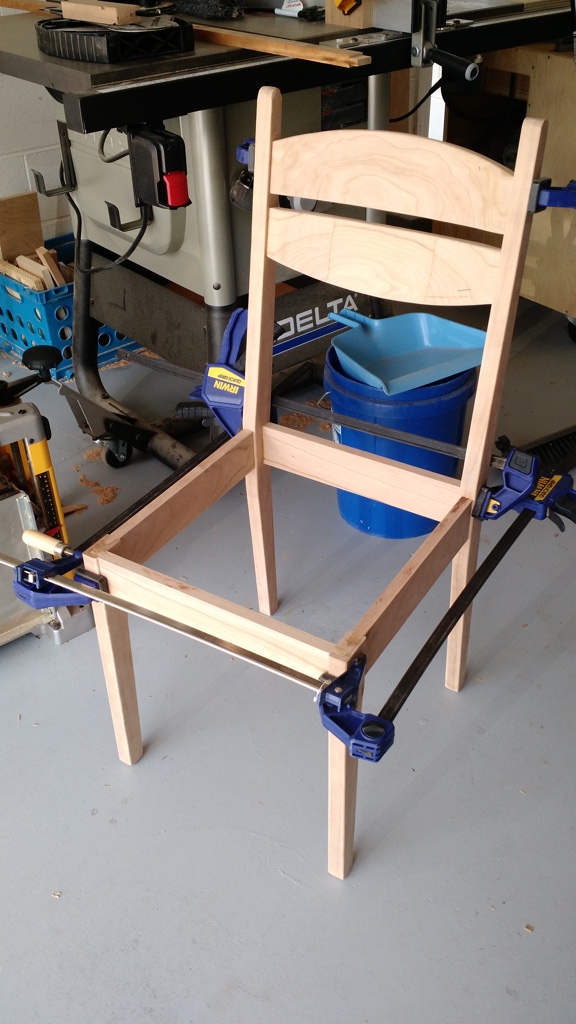
Next, I glued the front to the back.
While that dried, I cut a couple rails to hold the seat in place with screws.
Once I got them just right, I glued them in place.
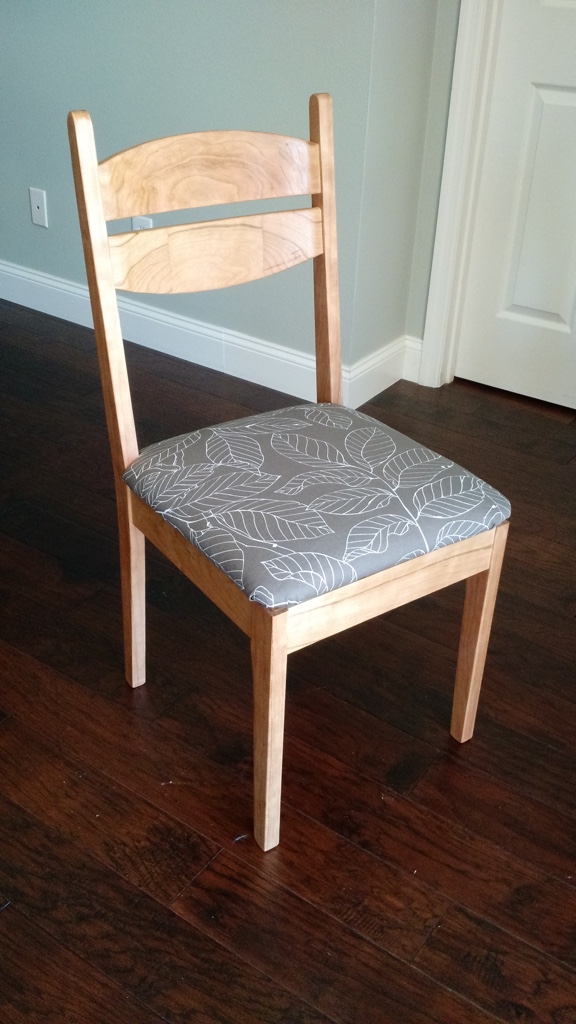
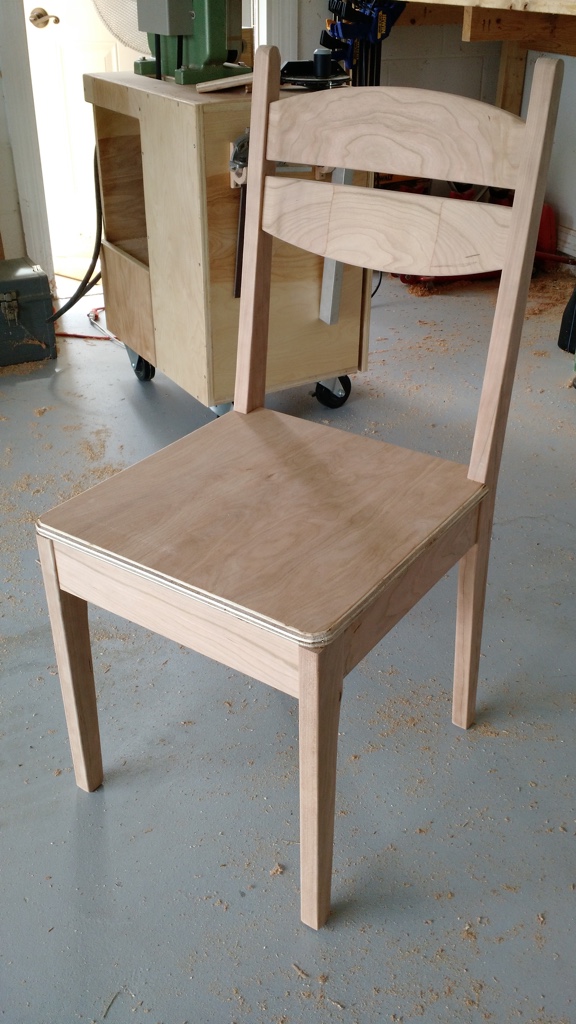
Carrie wanted a covered seat, so I cut a seat out of some scrap plywood rather than make it out of cherry.
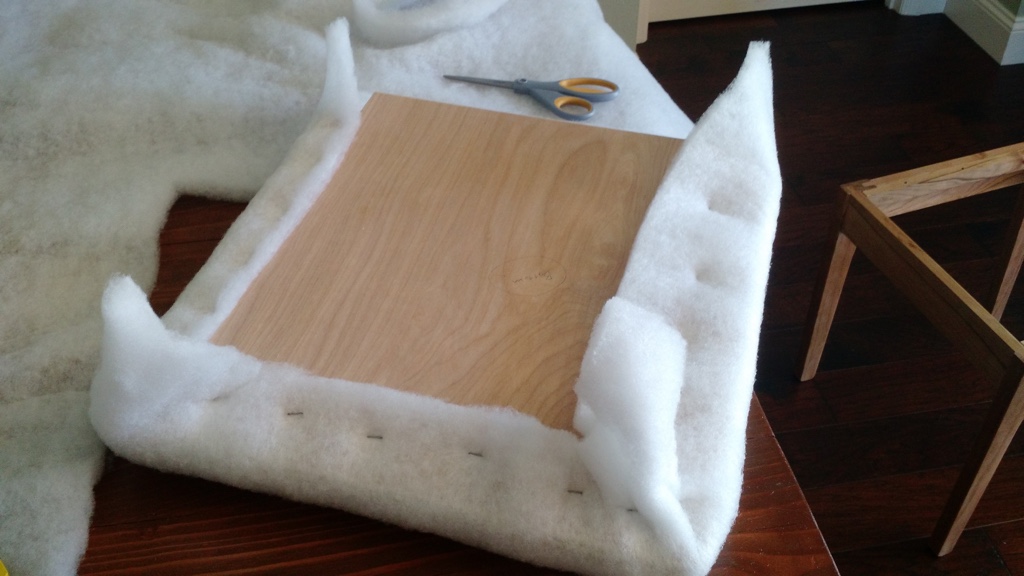
First we wrapped some padding on the seat and stapled it in place.
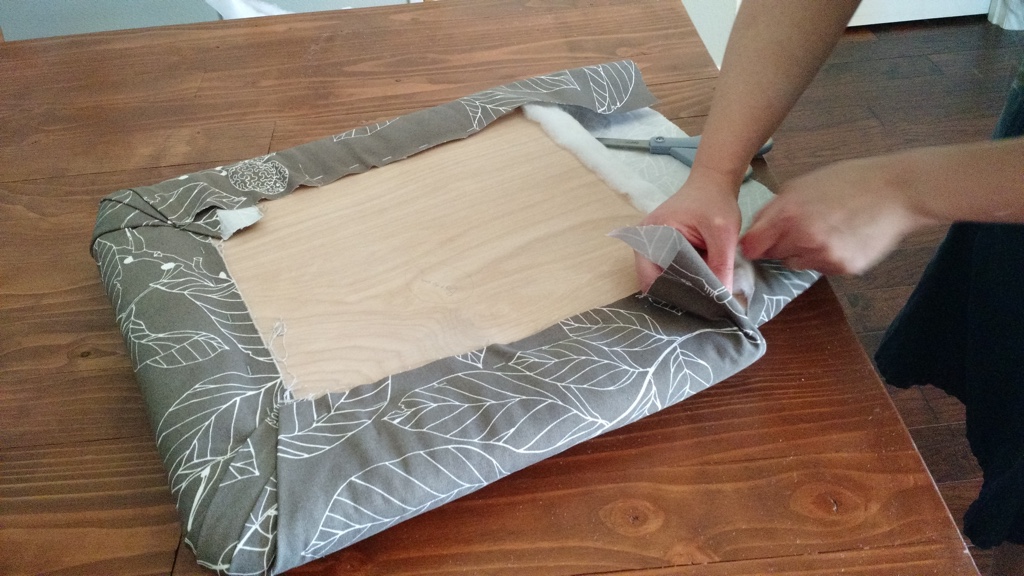
Then we wrapped the fabric around and stapled it in place as well.
Finally, I attached the seat to the chair and now it’s all done!