This is a project I've avoided for a long time for two reasons. 1) Chairs are complicated and 2) Making 6 of the same project sounds incredibly boring. But our old iKea chairs are definitely showing their age, so I bit the bullet and started making chairs.
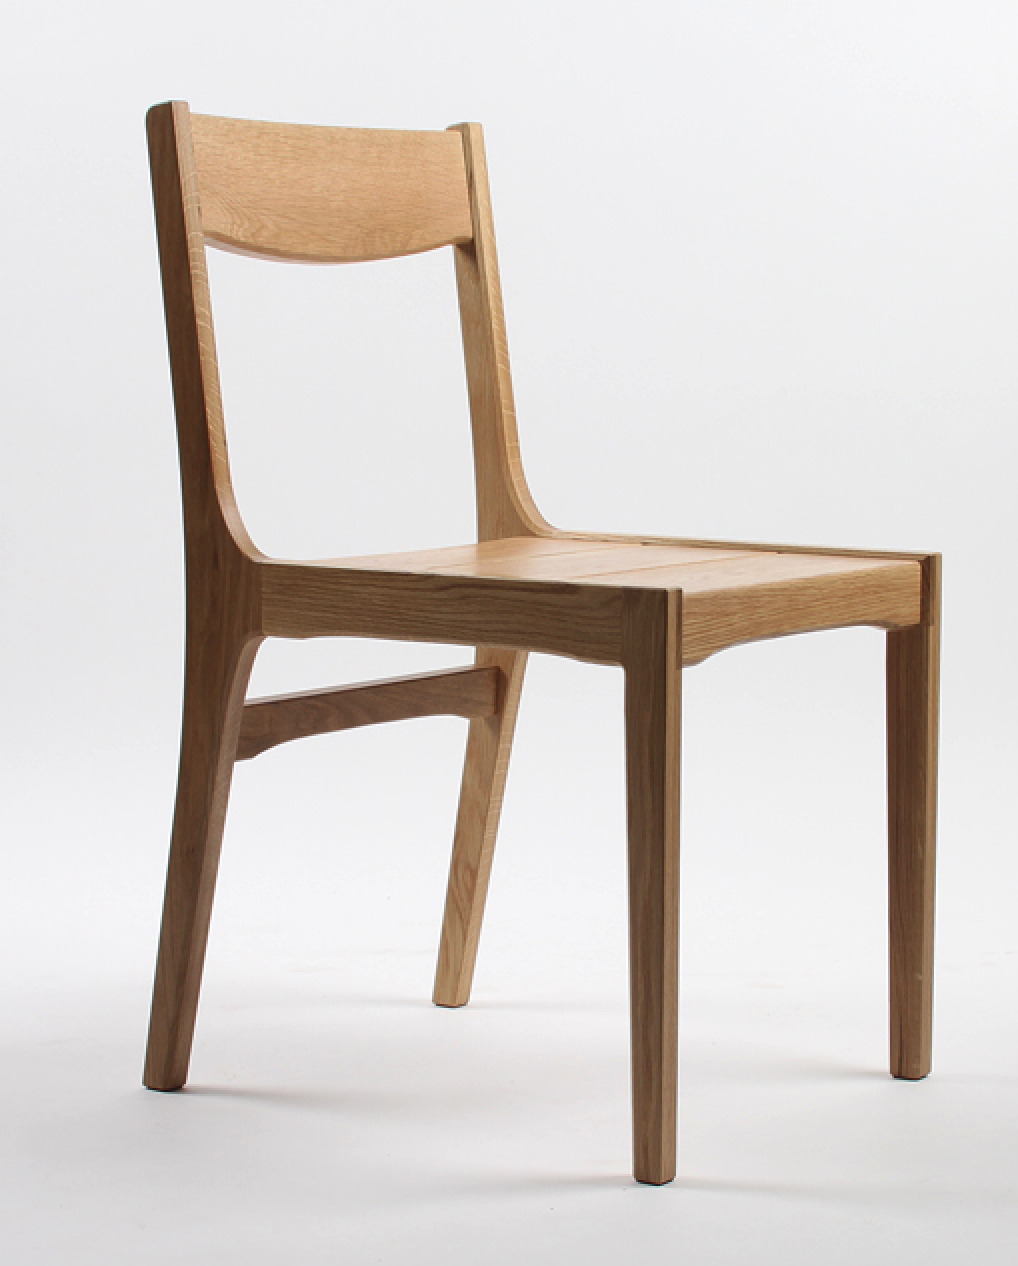
I saw the chair below on a YouTube video a few years ago and bookmarked it as a possible contender. I haven't really found any other designs that I liked as much, so I did my best to copy it (with a few very minor changes).
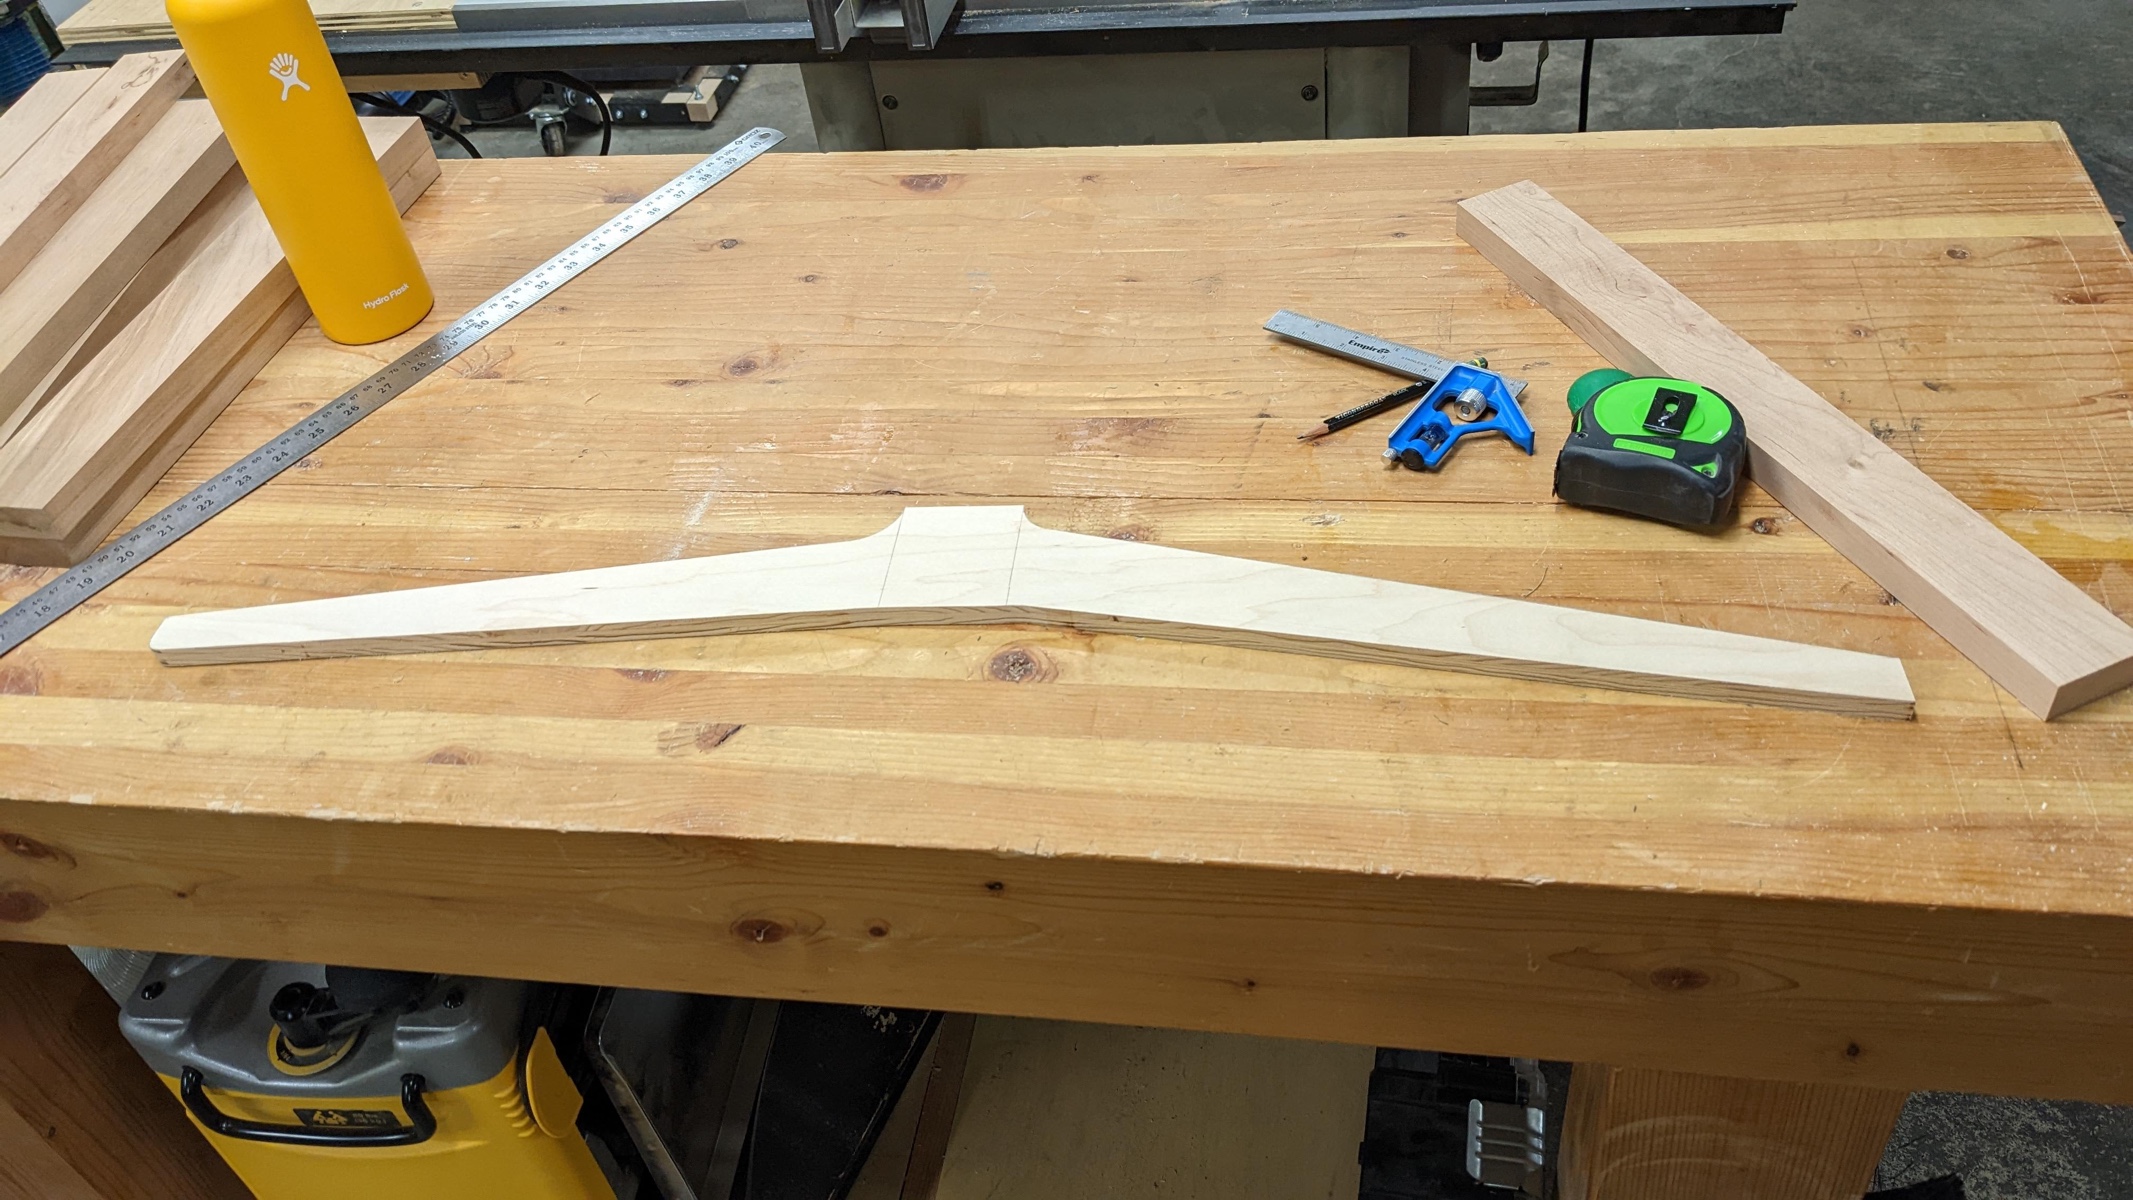
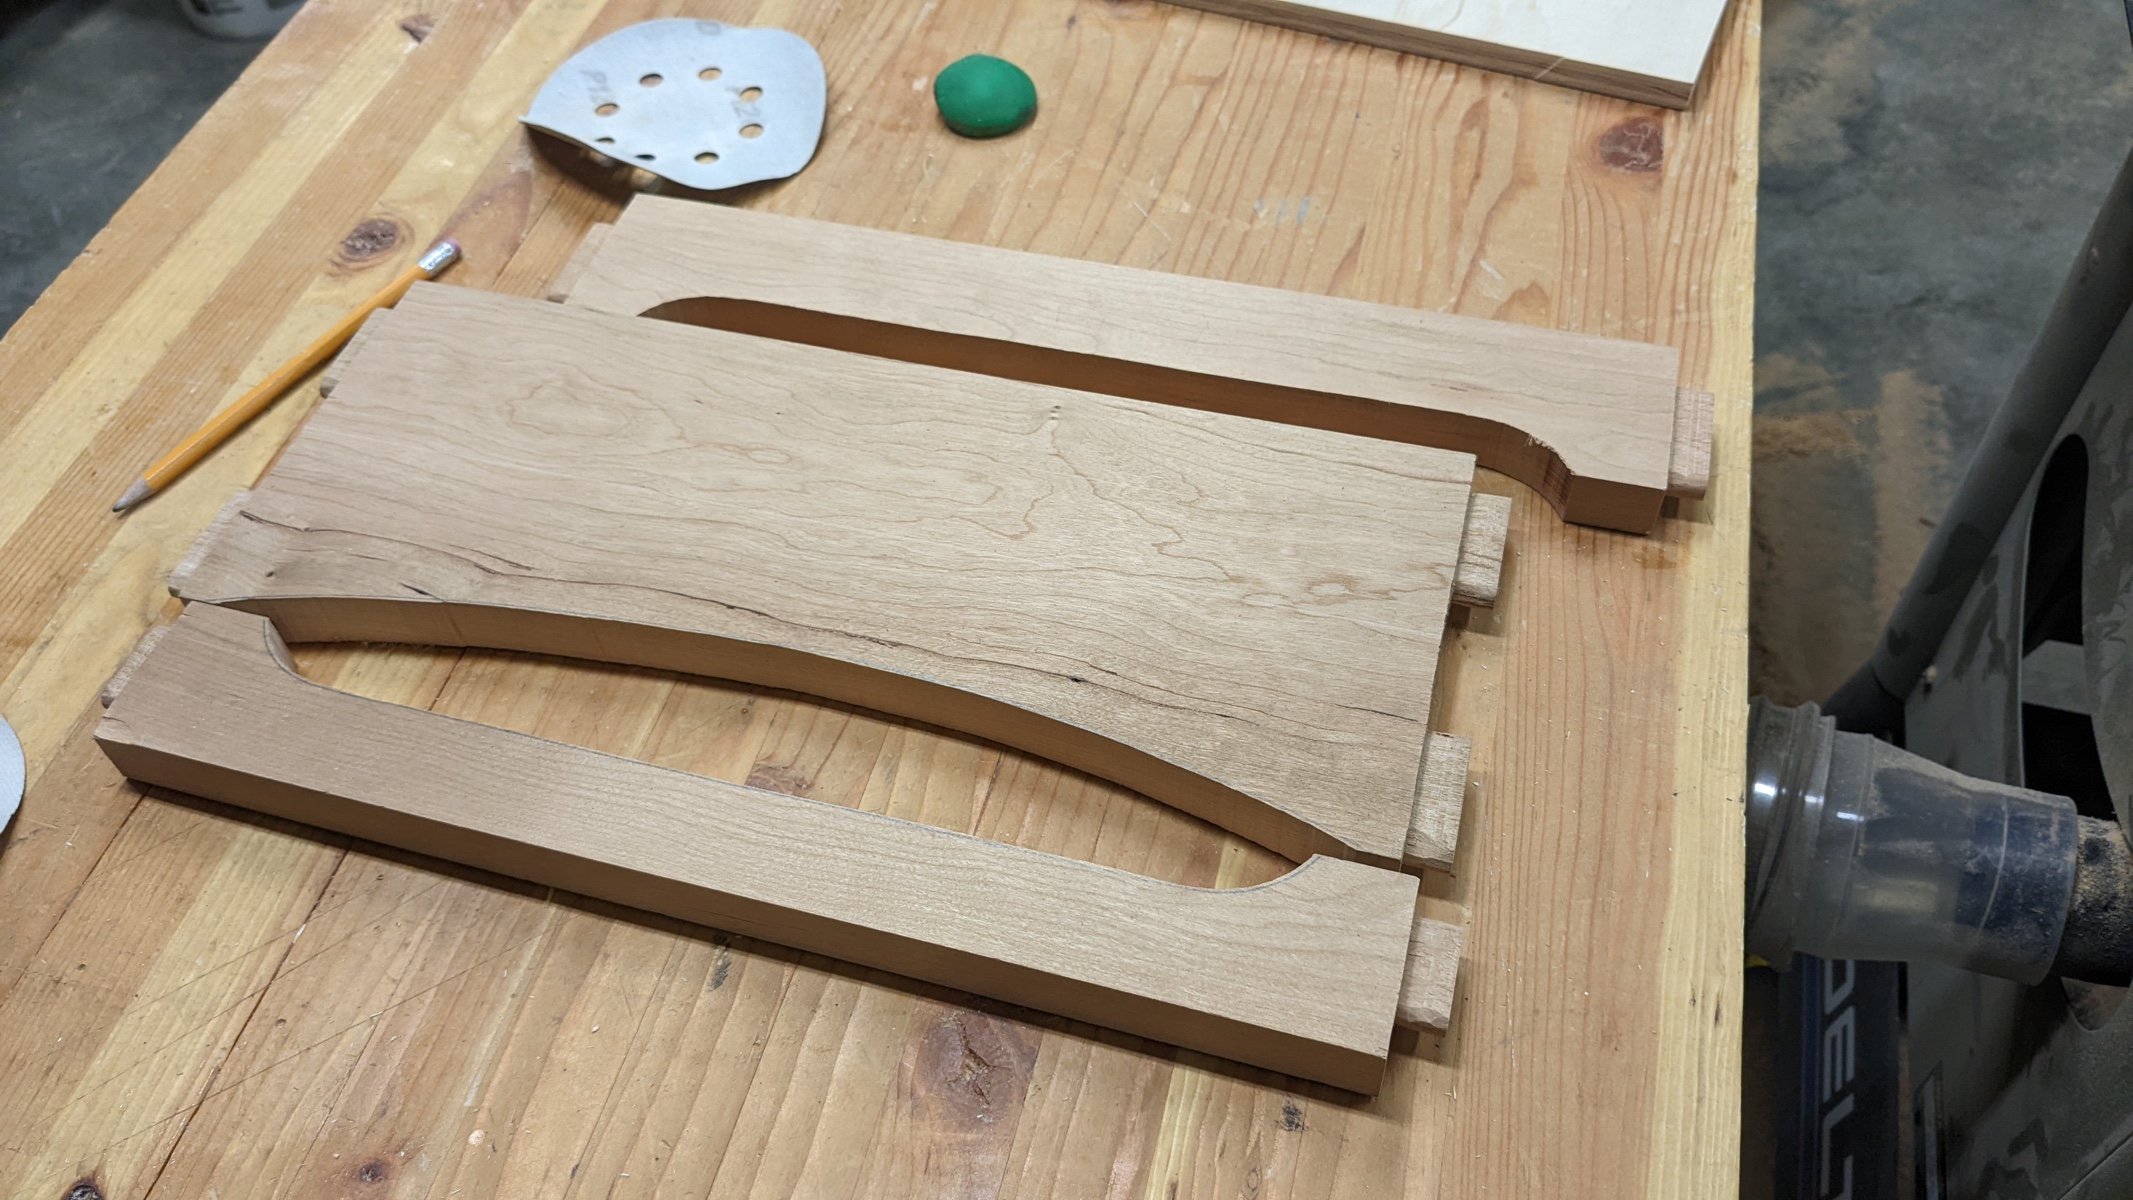
I started by making a template for the back leg out of a half inch piece of plywood.
I then traced that onto a couple of boards to cut out on the bandsaw.
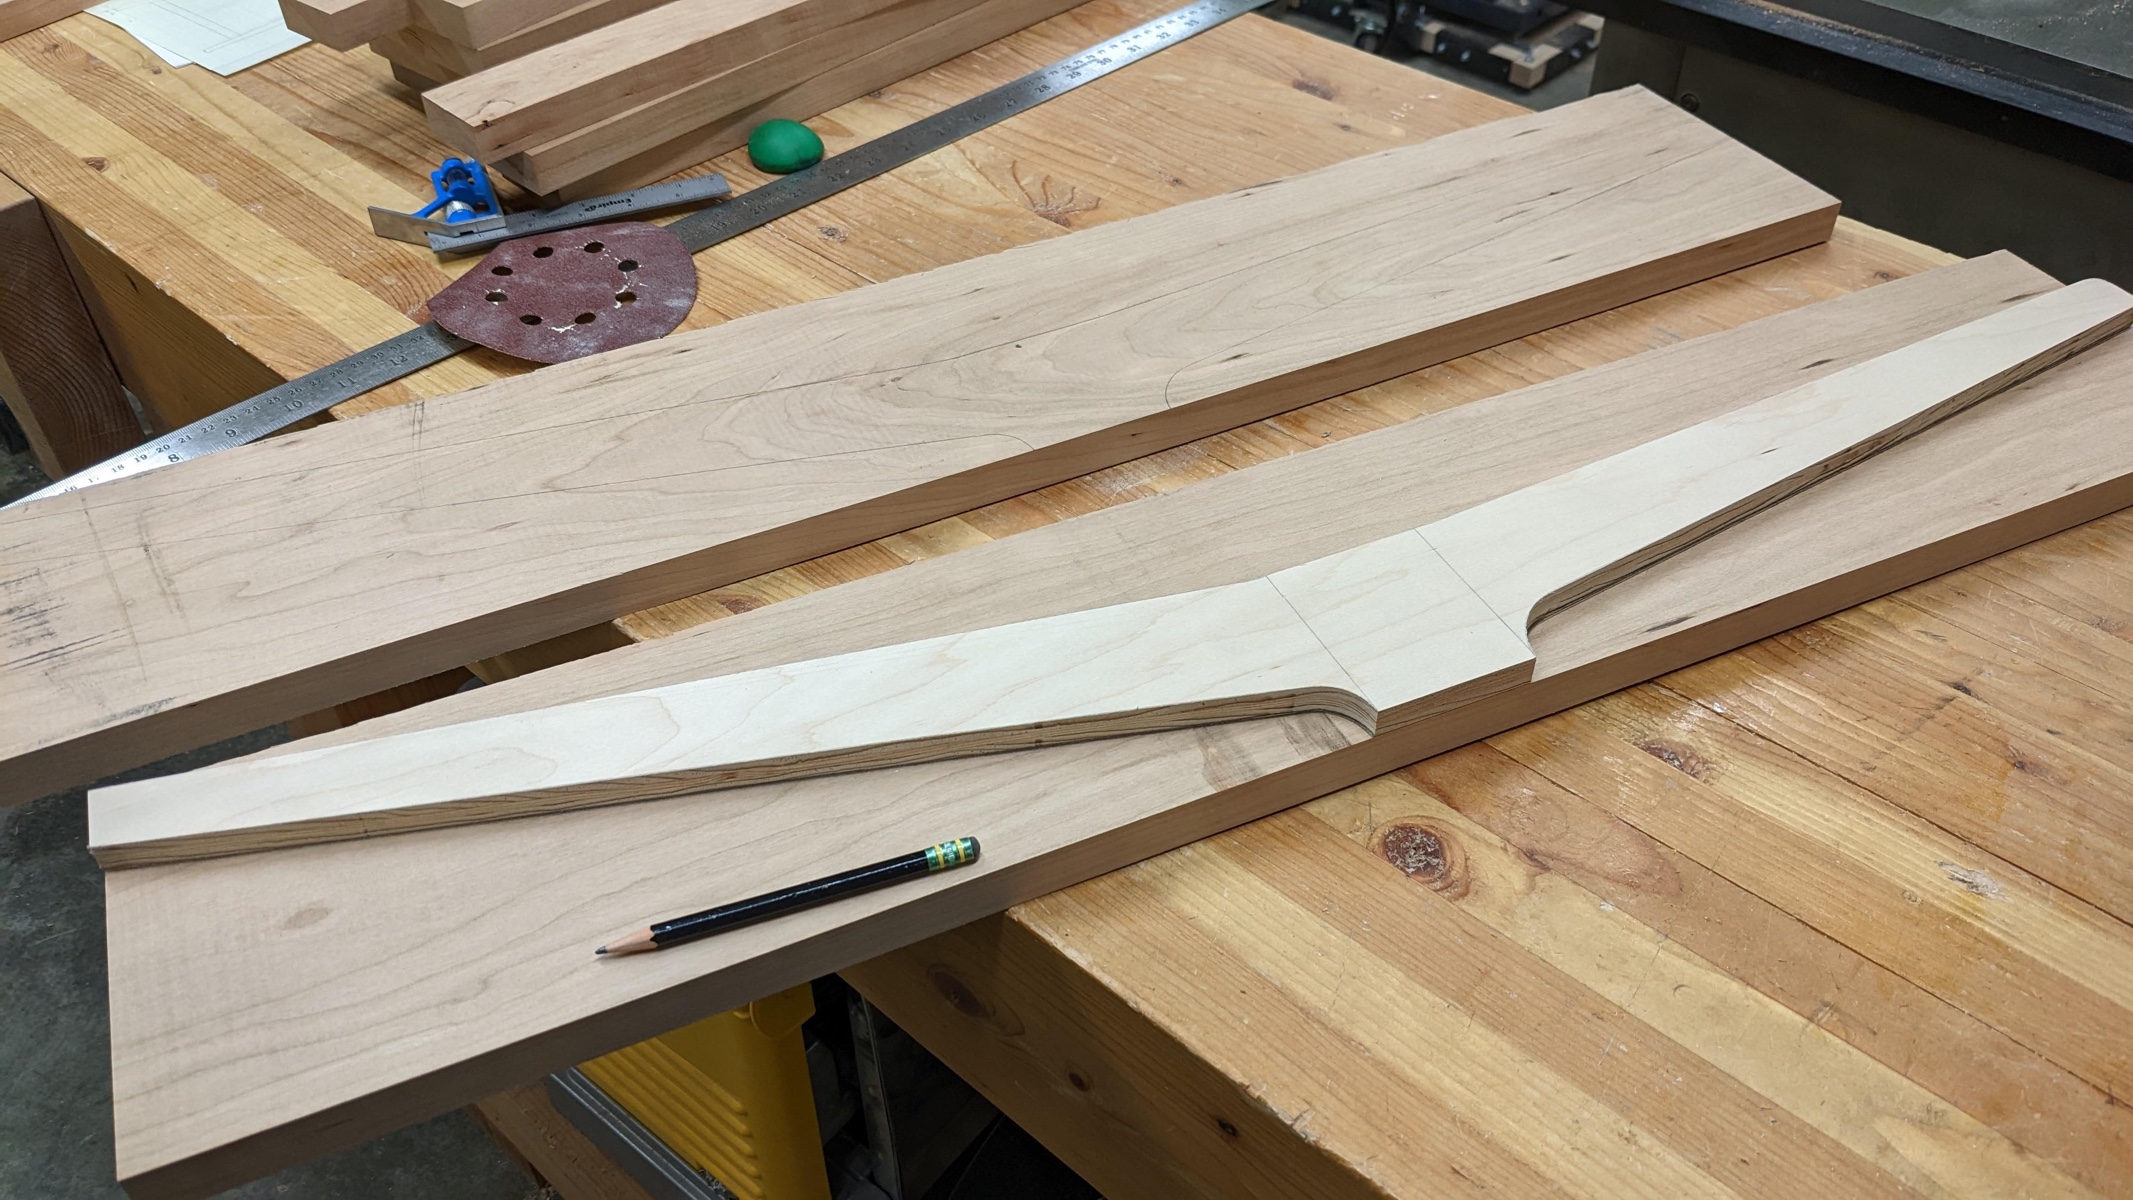
Before I cut it out, I cut the mortise for the side of the chair since it would be easier to clamp that way (which I later forgot when I made the second chair).
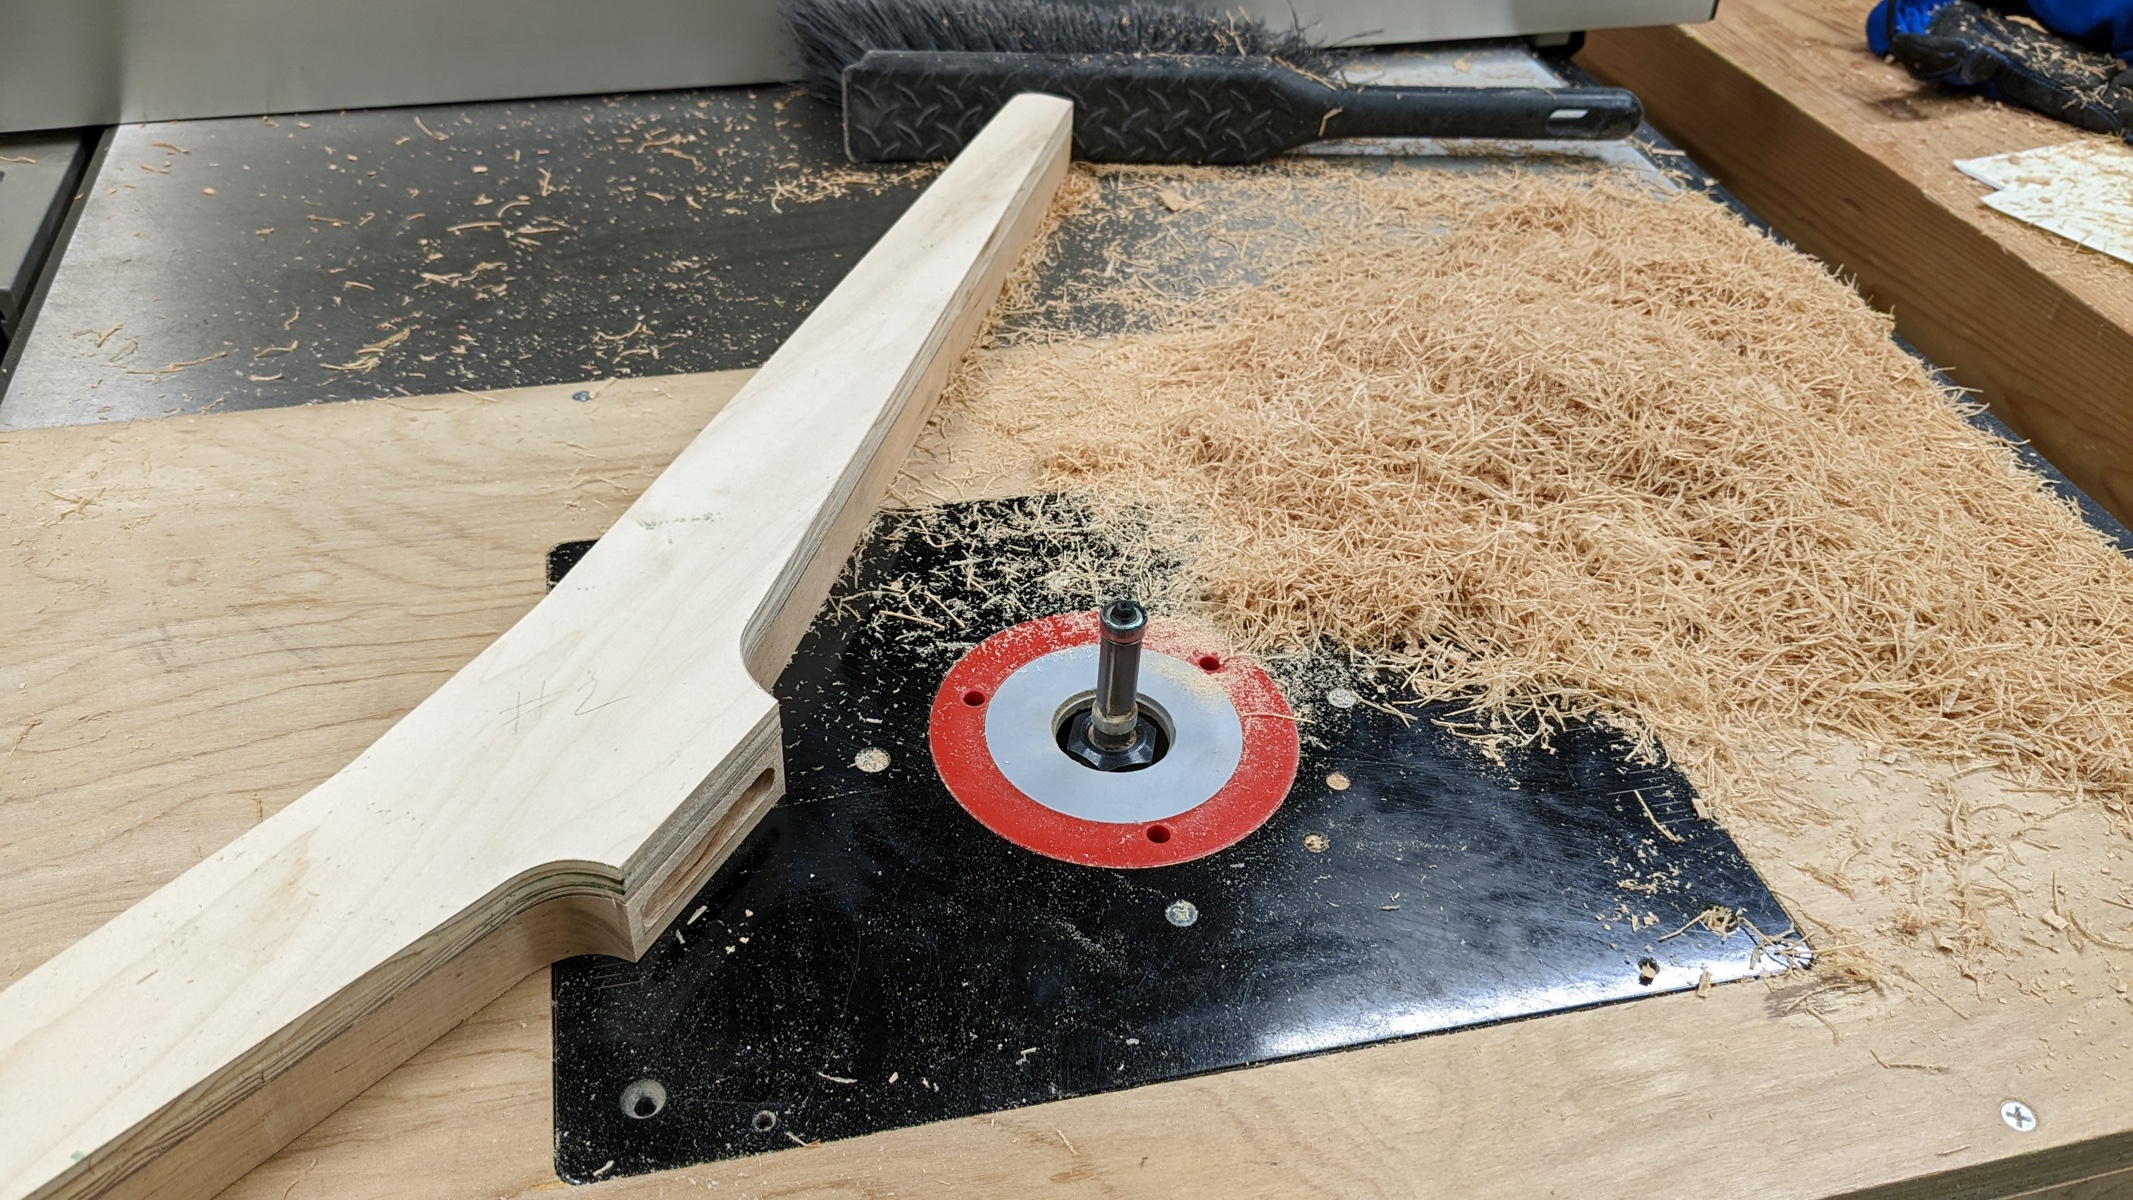
After rough cutting on the bandsaw, I used a pattern bit on the router table to trim it down to the template.
Next I cut the tenons on the chair sides.
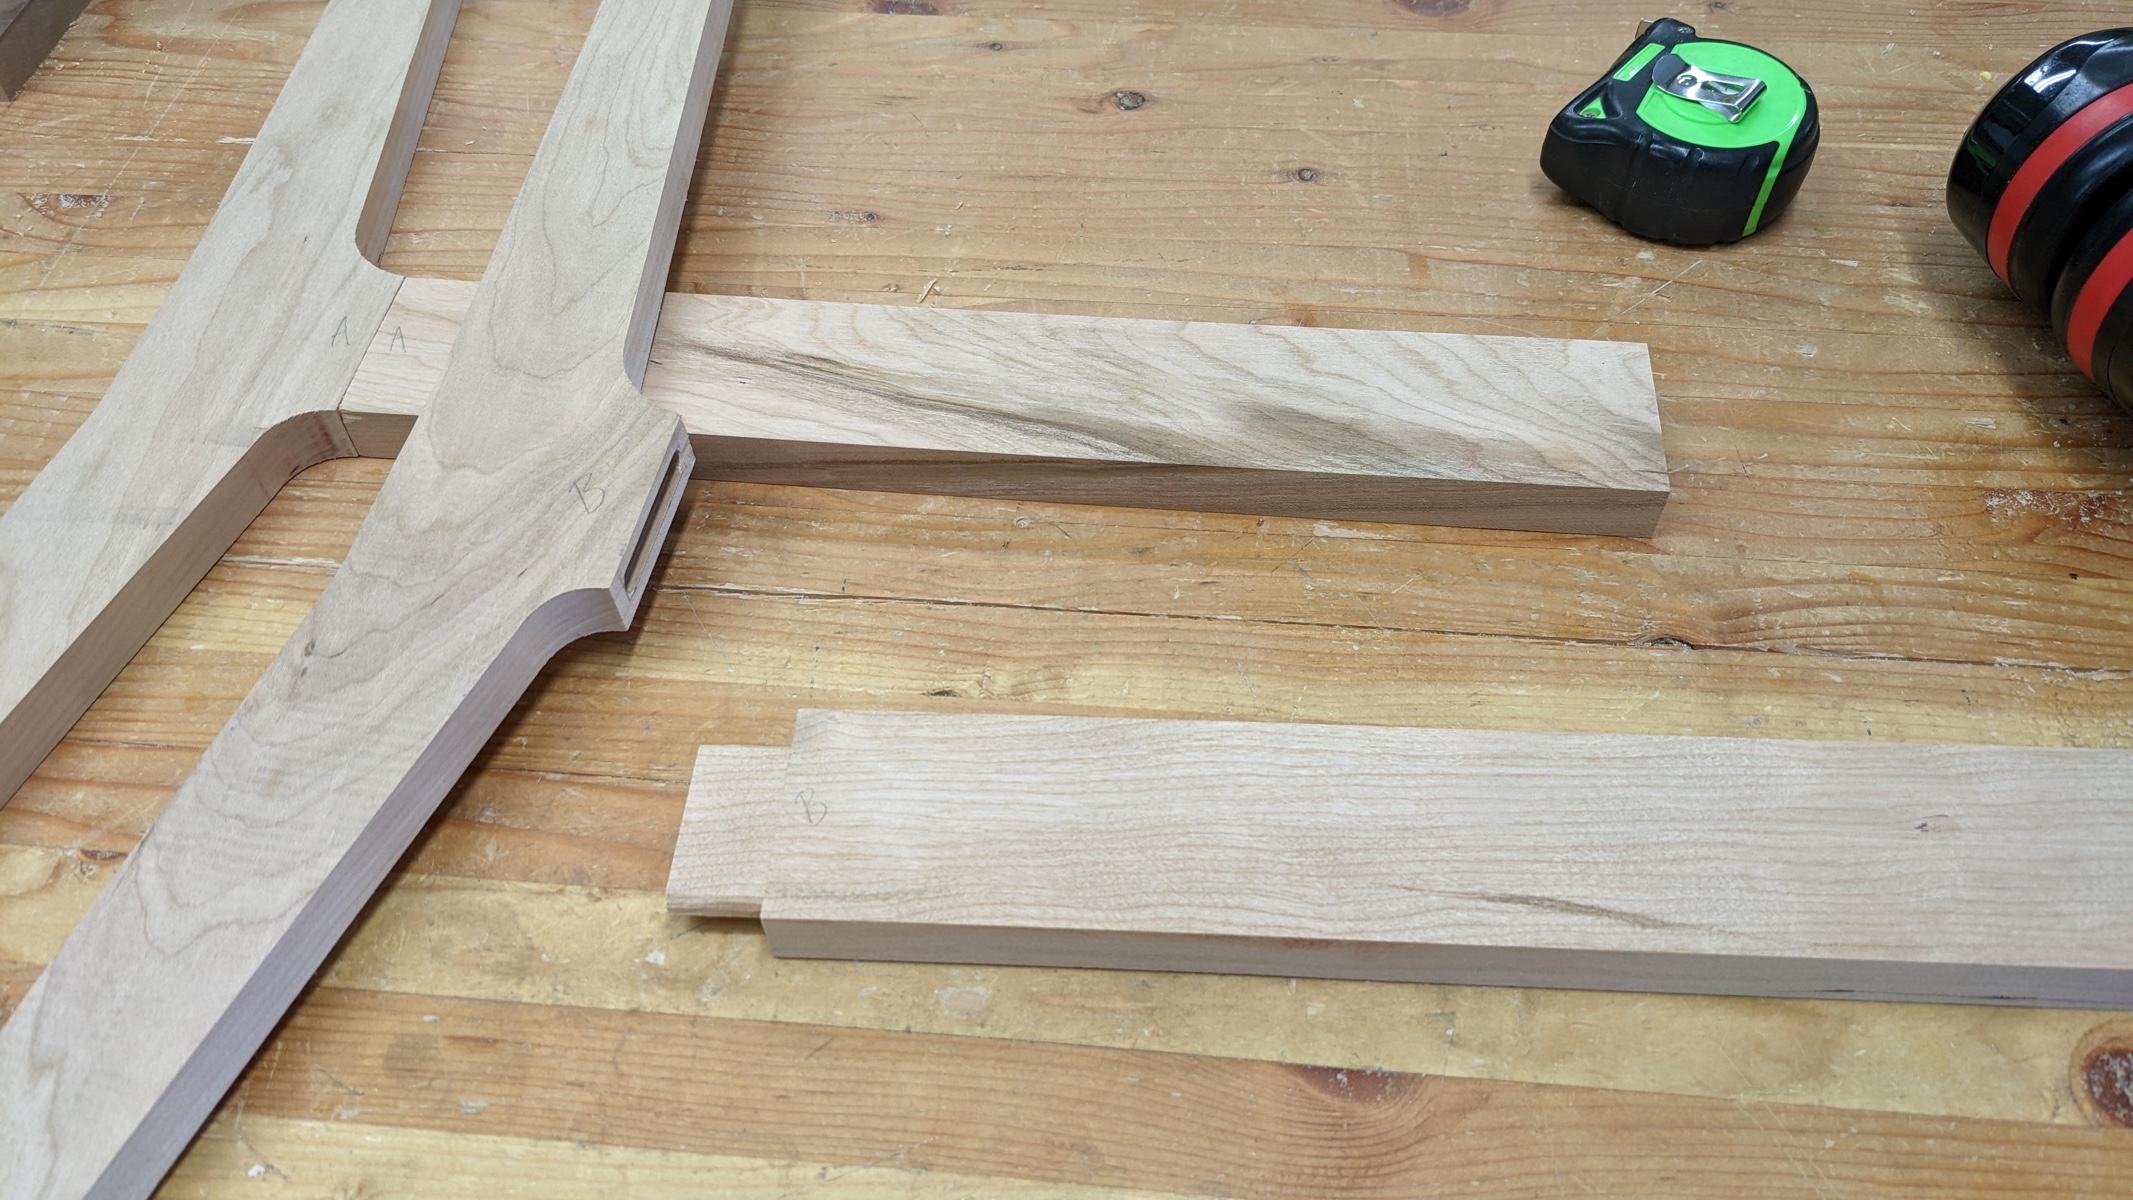
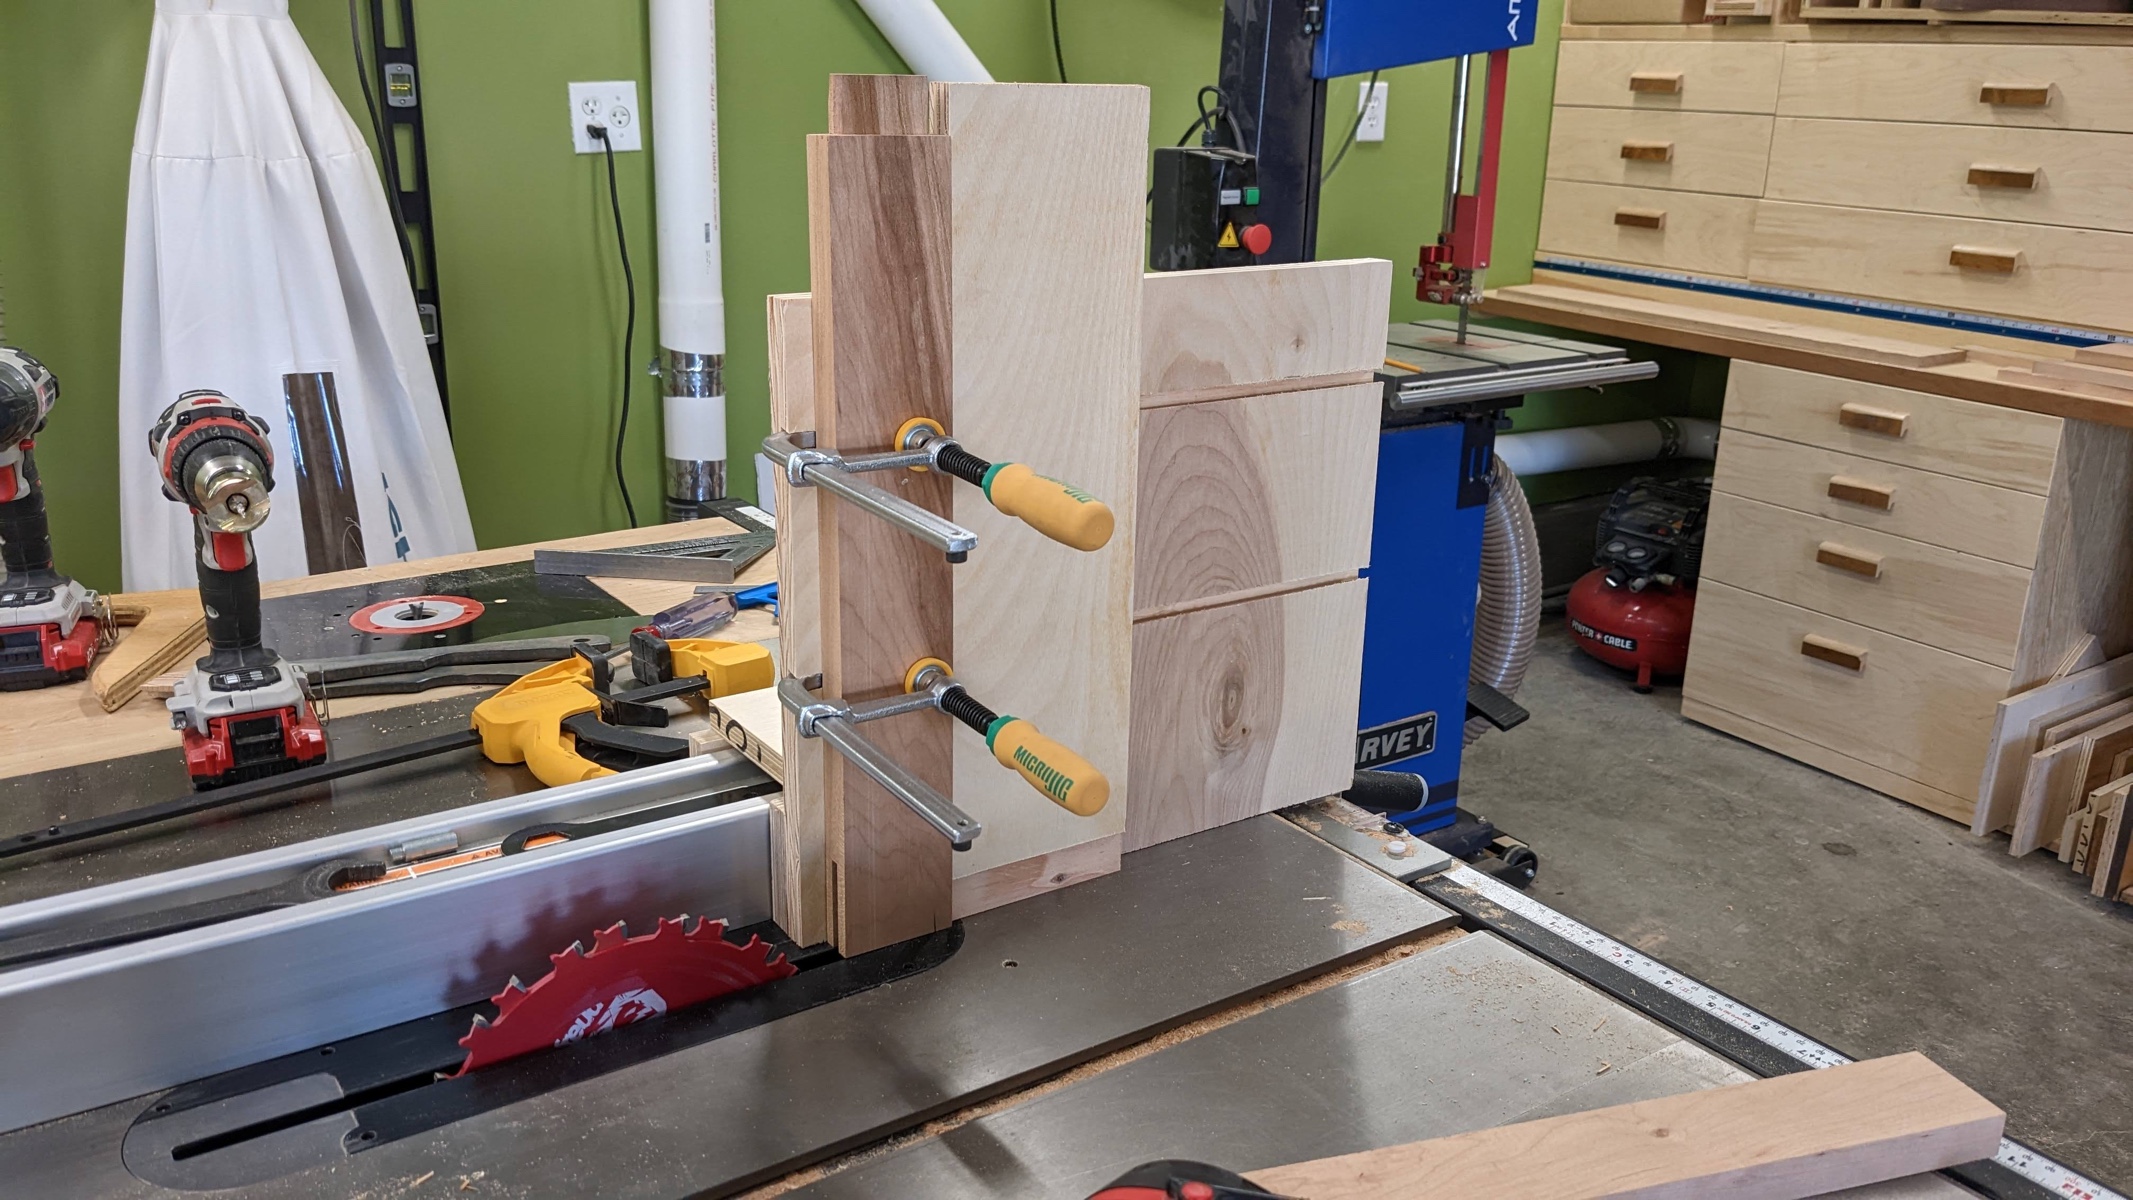
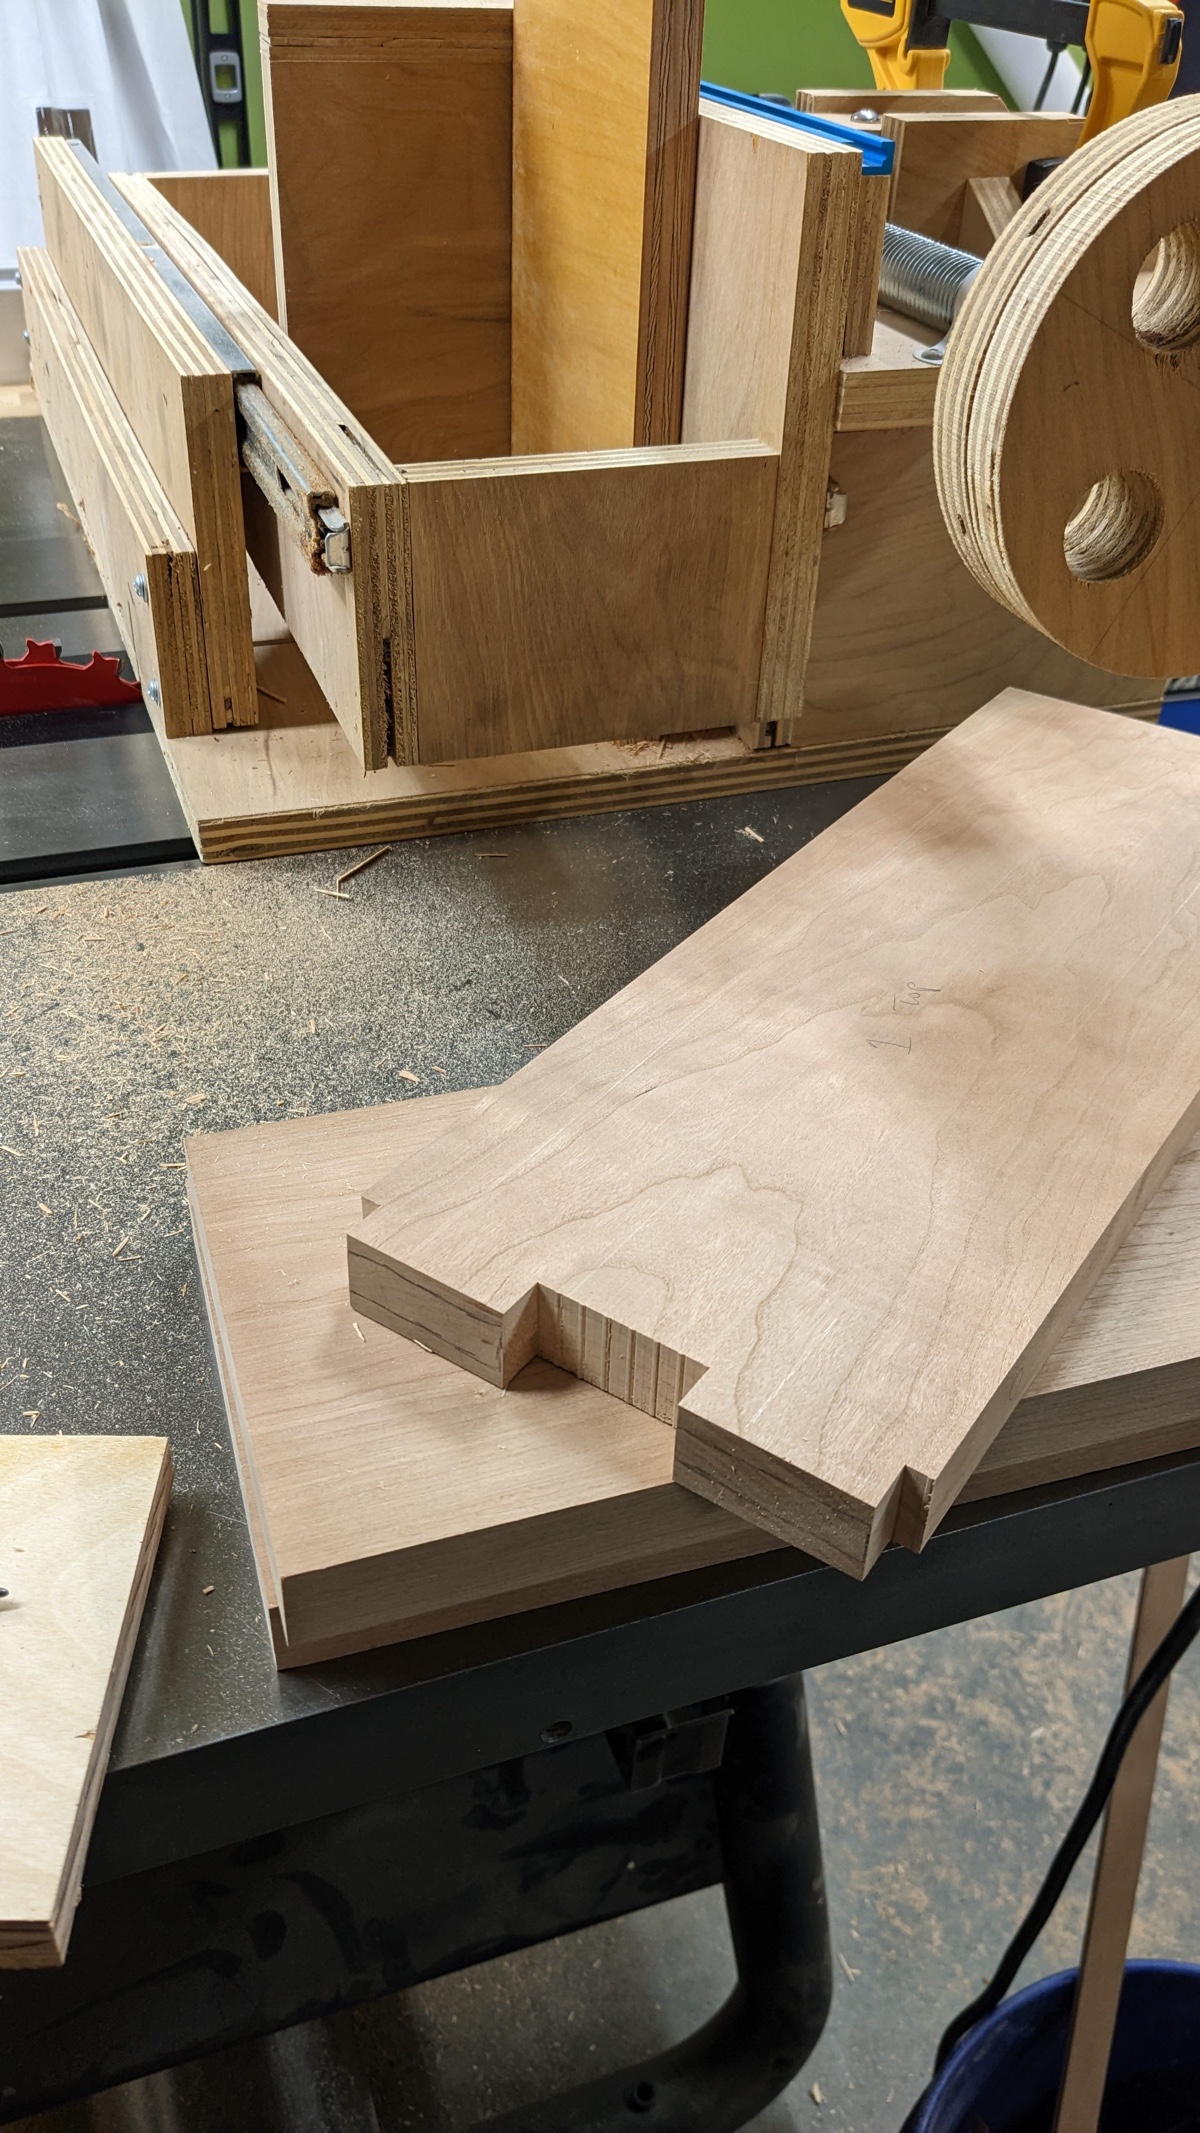
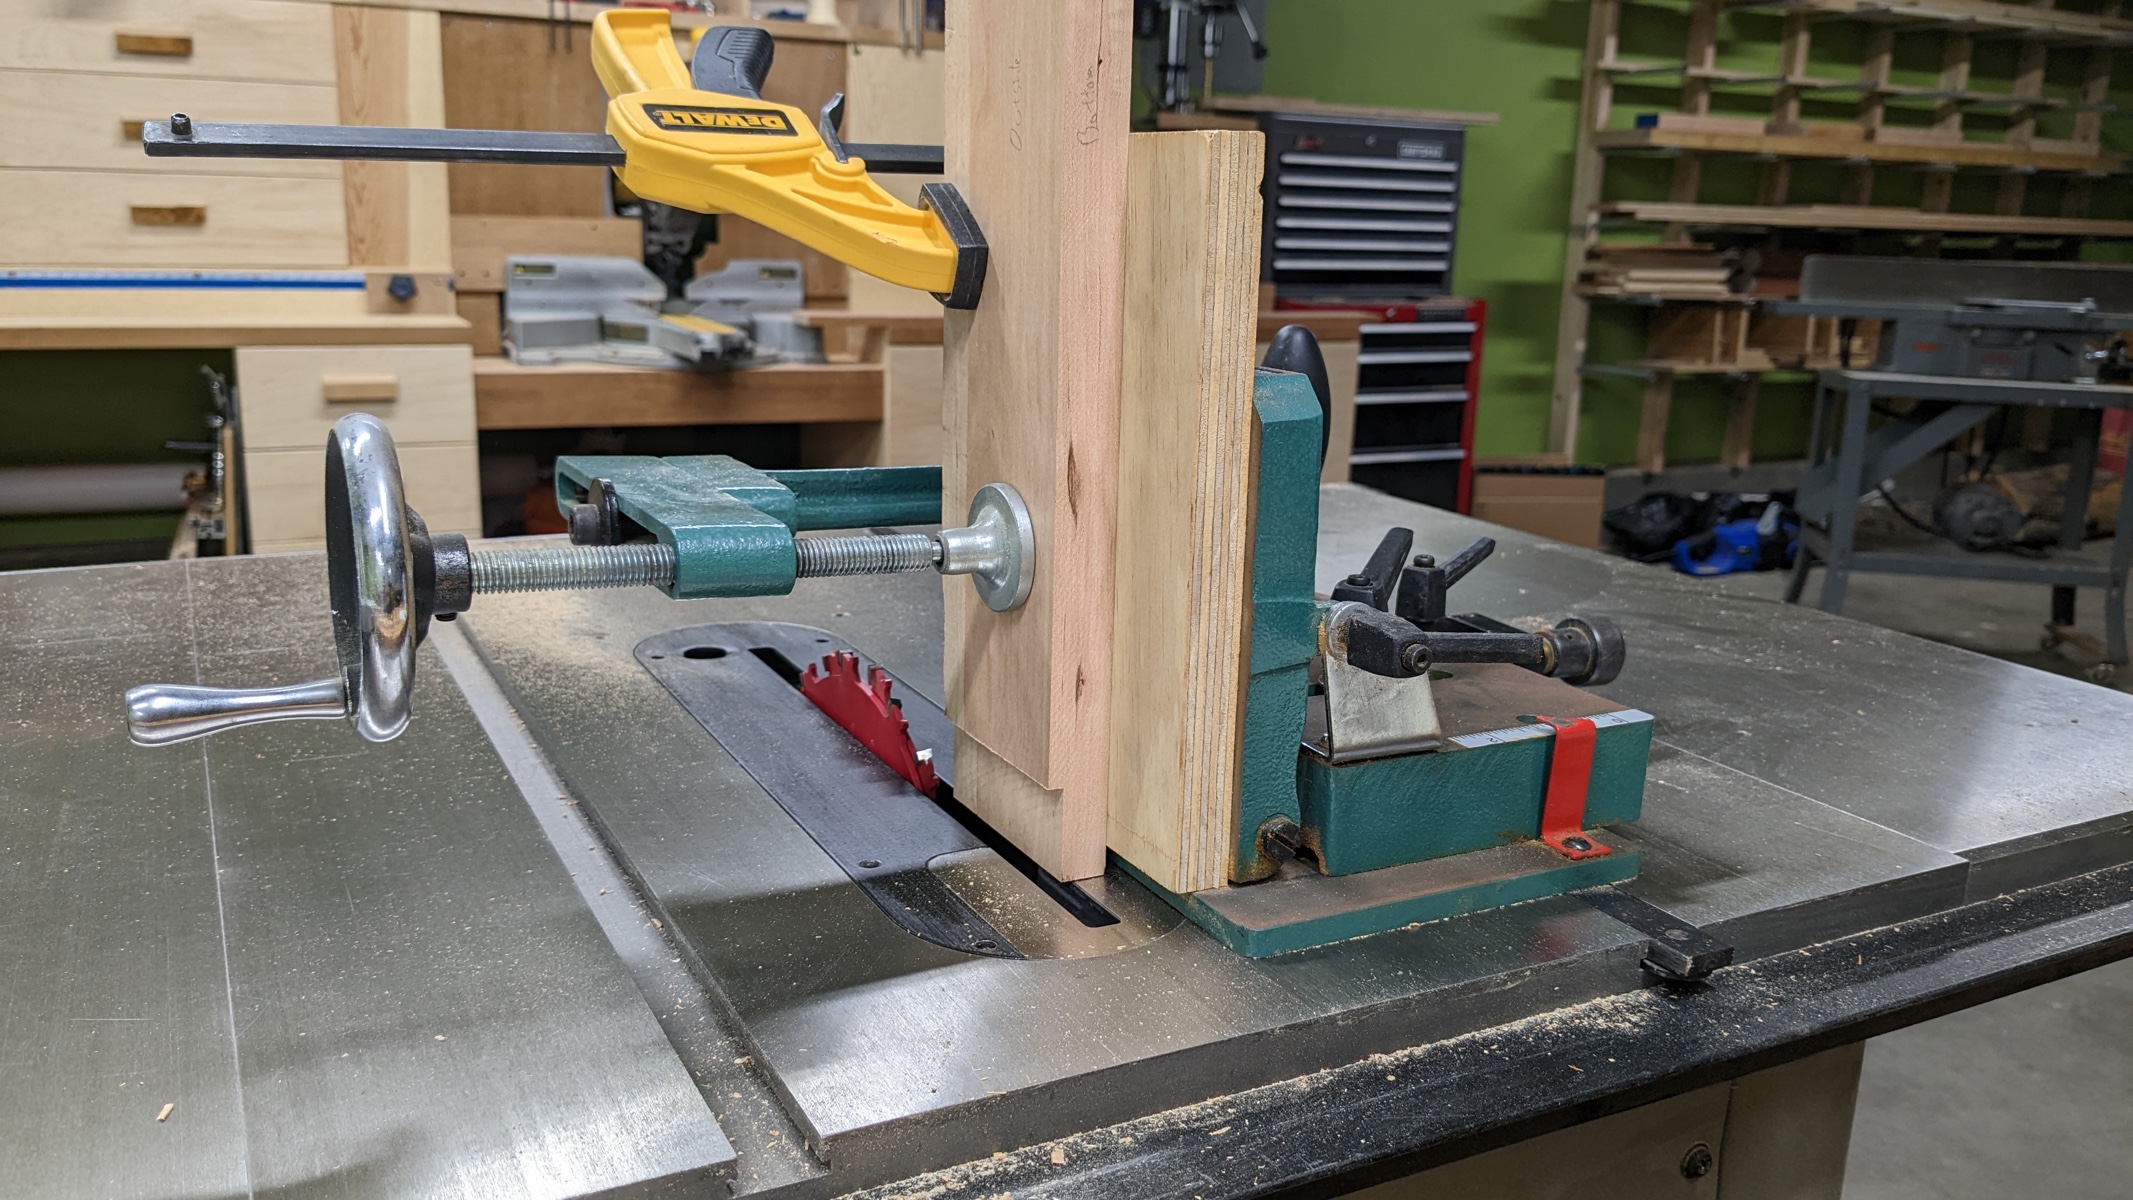
The original chair used a half-lap joint for the front leg, but I opted for a bridle joint for more gluing surface. Here is my homemade tenoning jig to cut the bridle joints.
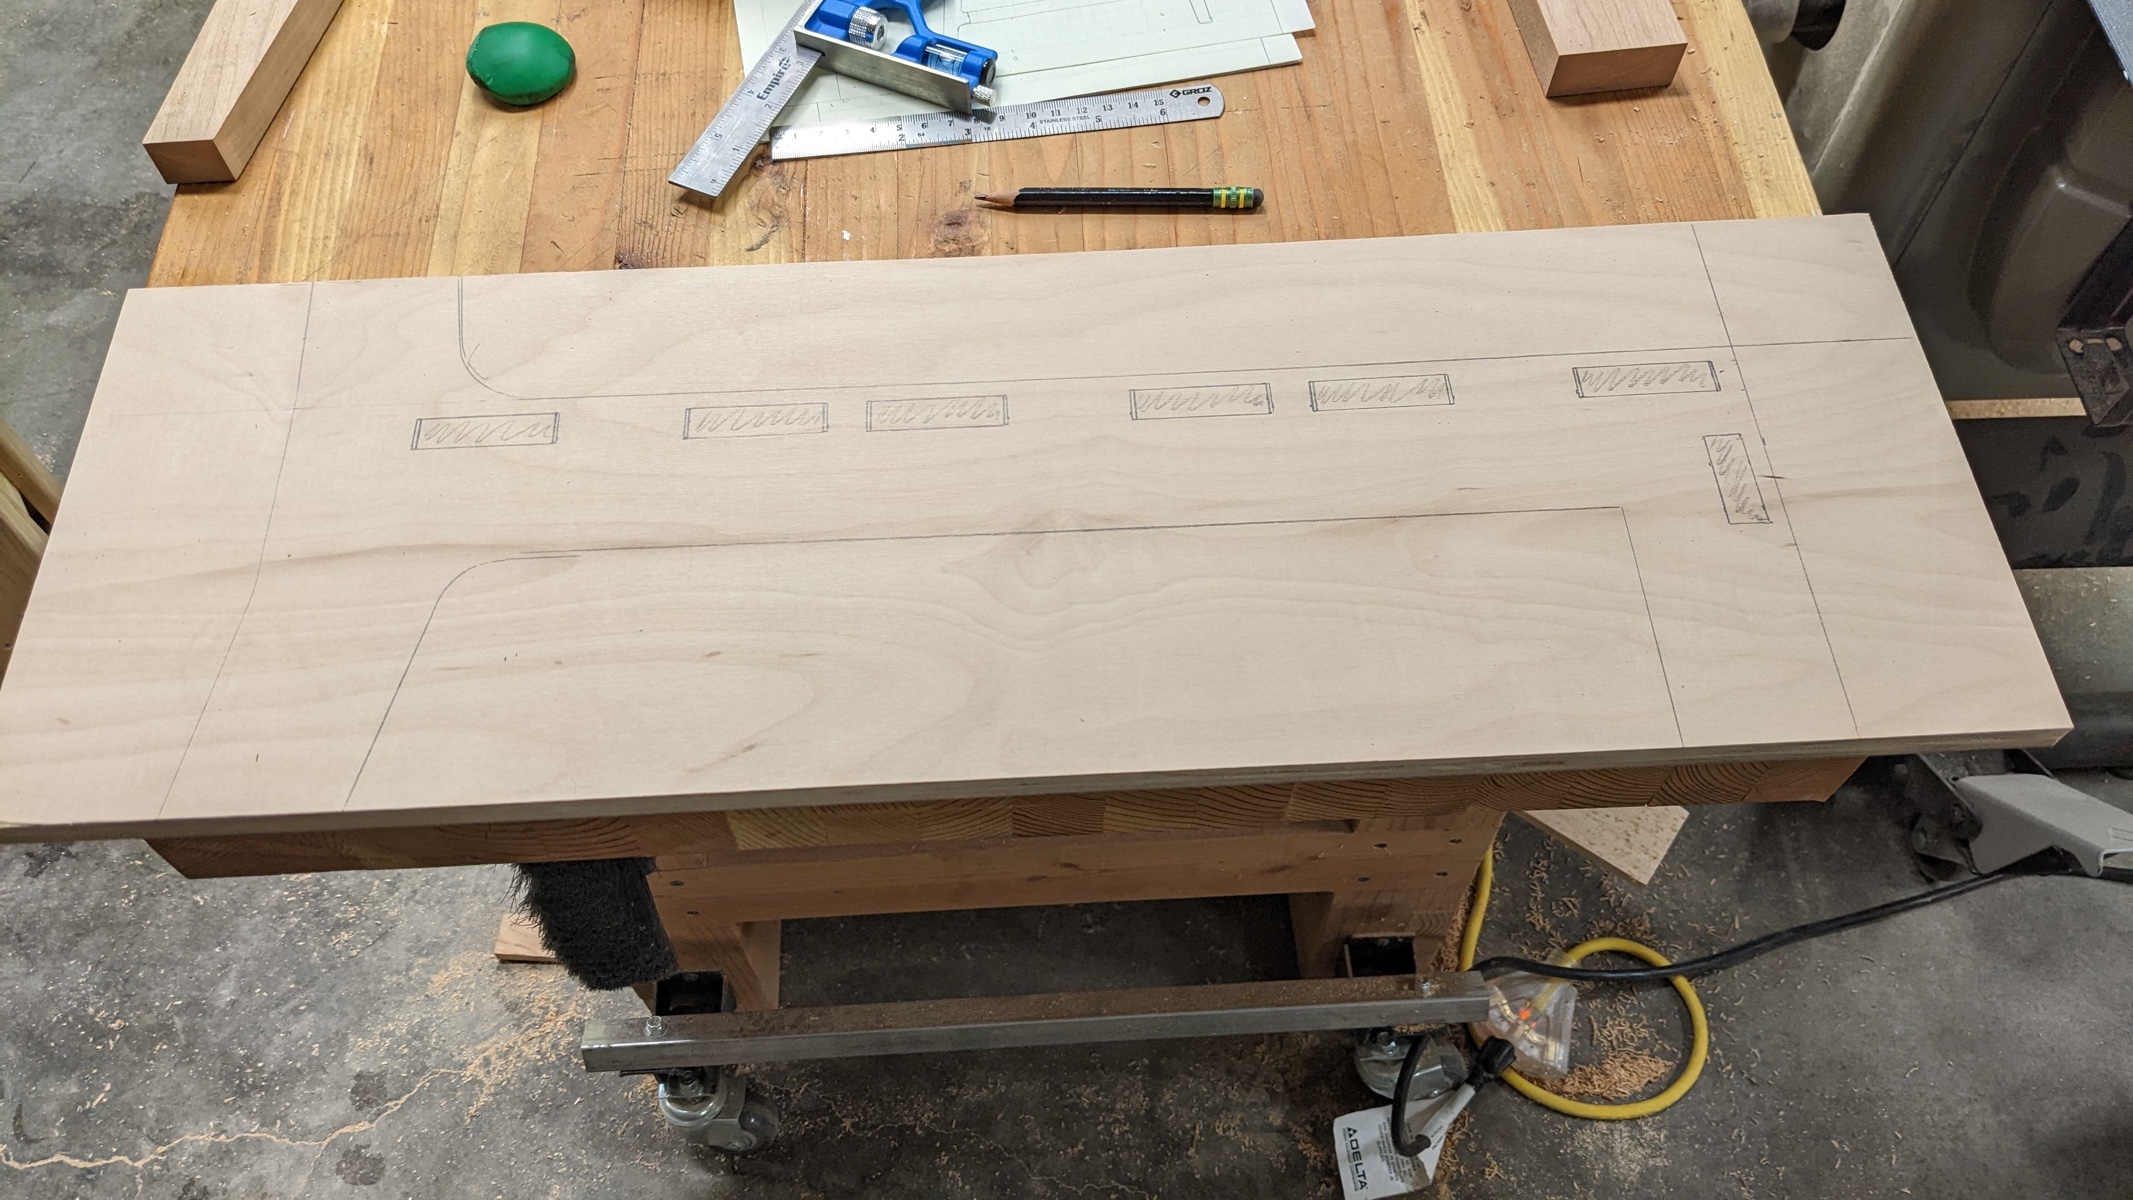
I don't normally take the time to make patterns or templates since I rarely make two of anything. But I knew I would be making at least 6 of these chairs, so I knew that making a template would pay off down the road. Here I've laid out all the mortises I need to cut in the chair frames.
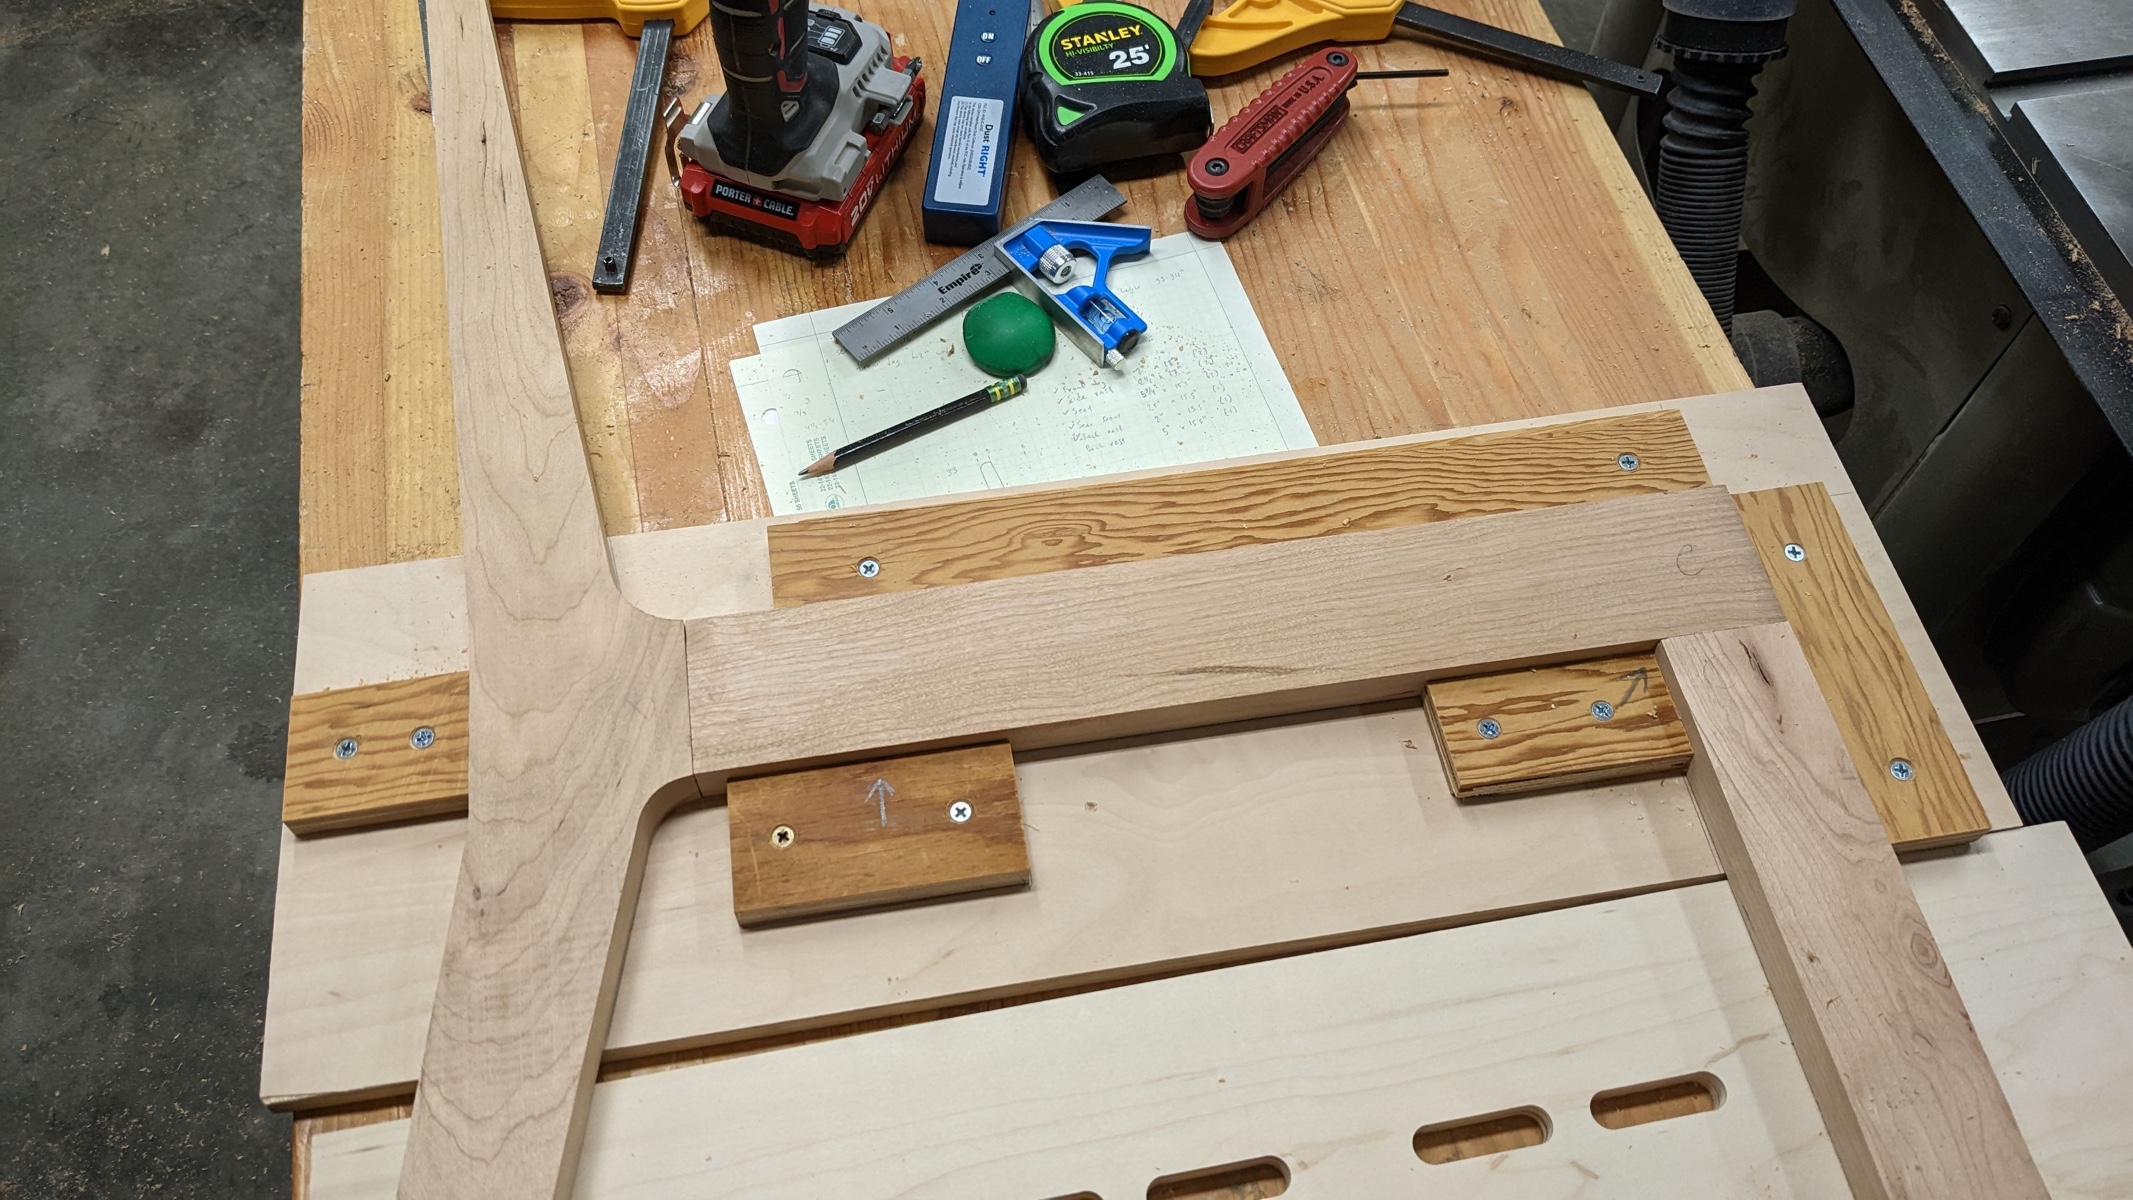
I cut the left and right sides at the same time to ensure they were identical.
I then added some blocks to each template to hold the workpiece in place while I cut the mortises.
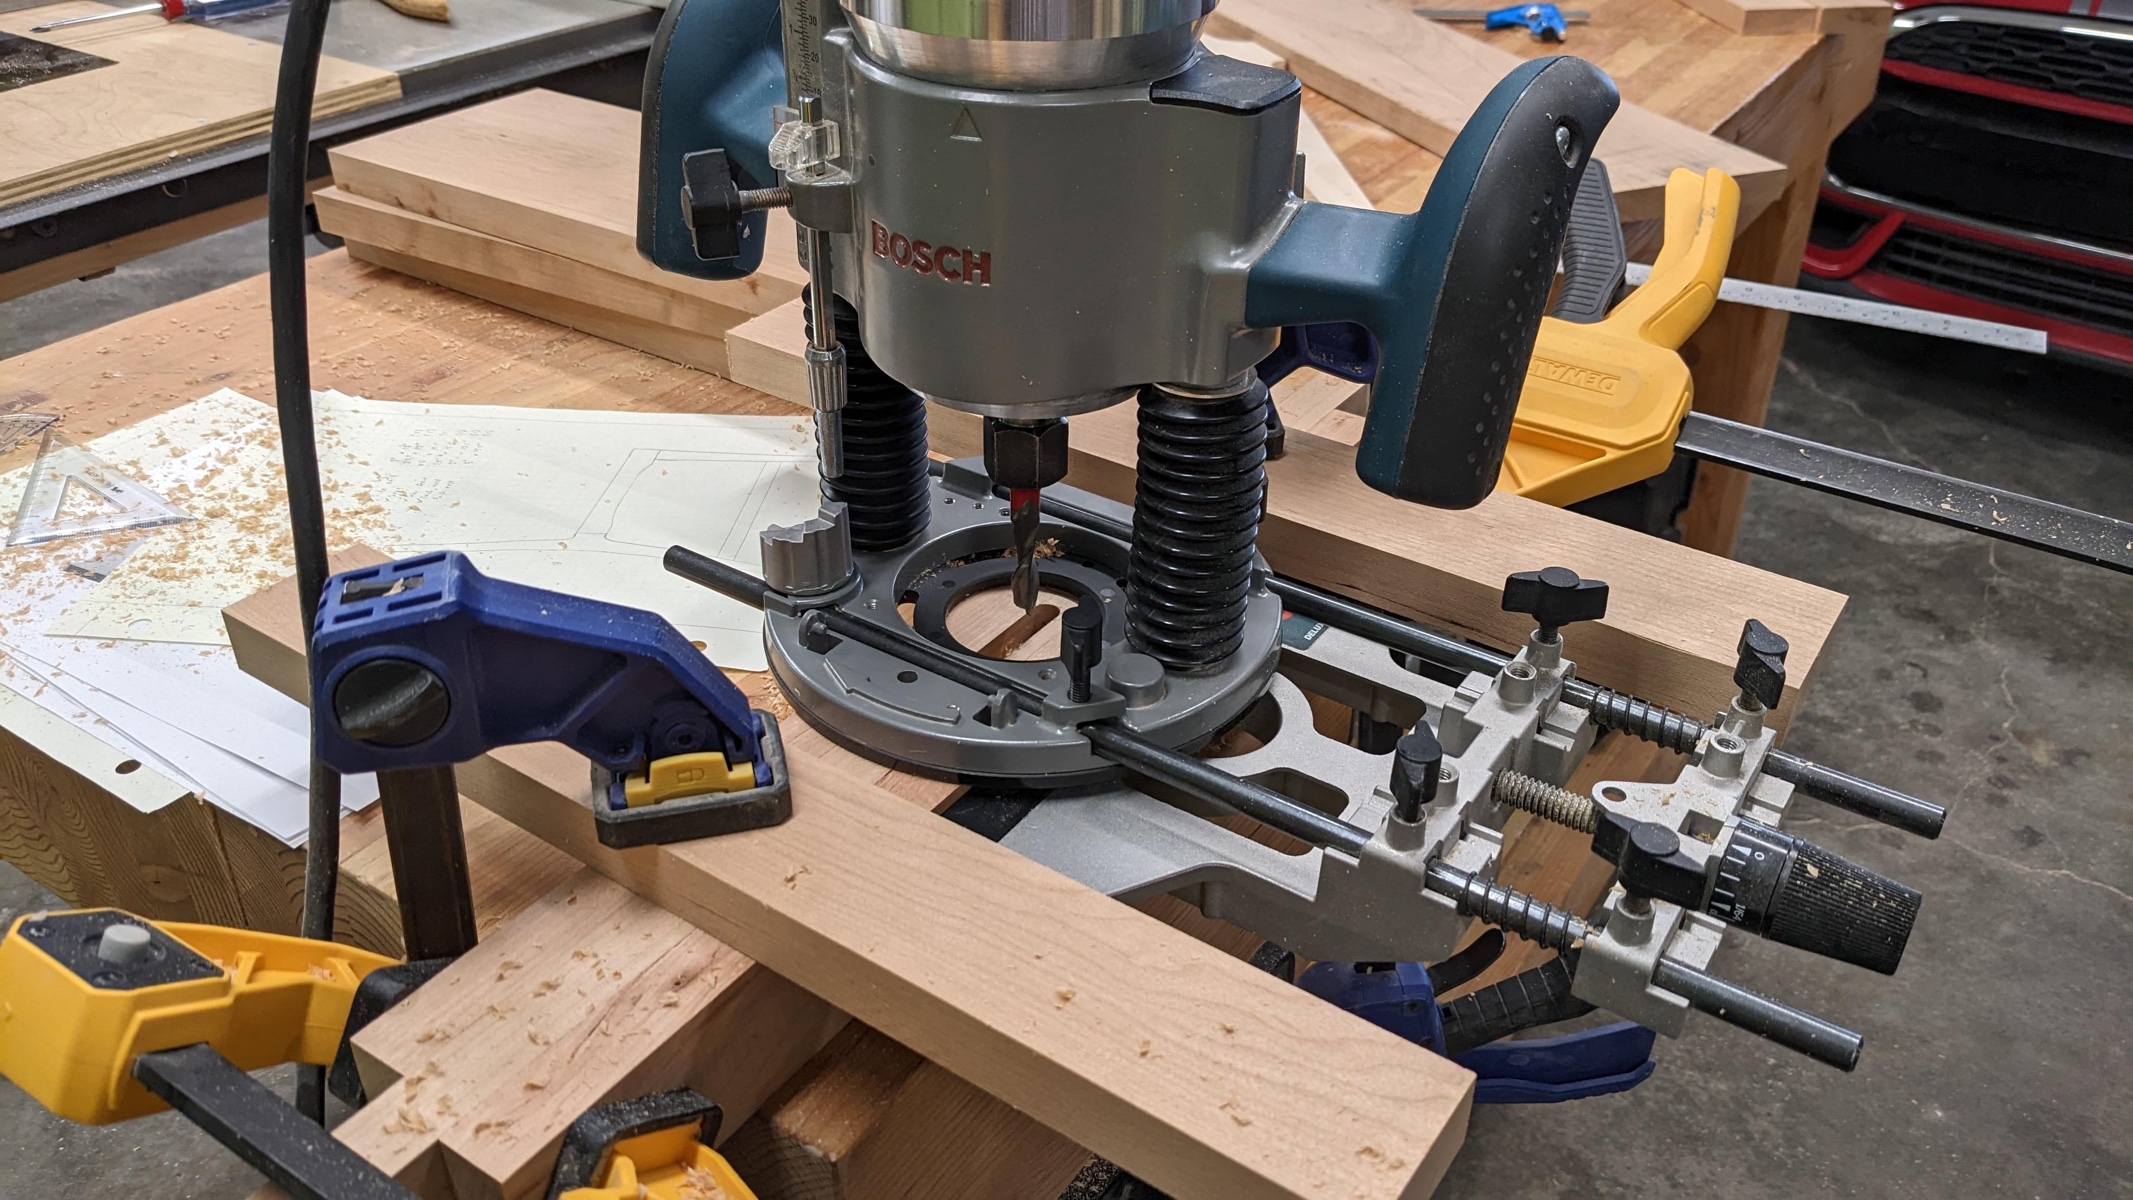
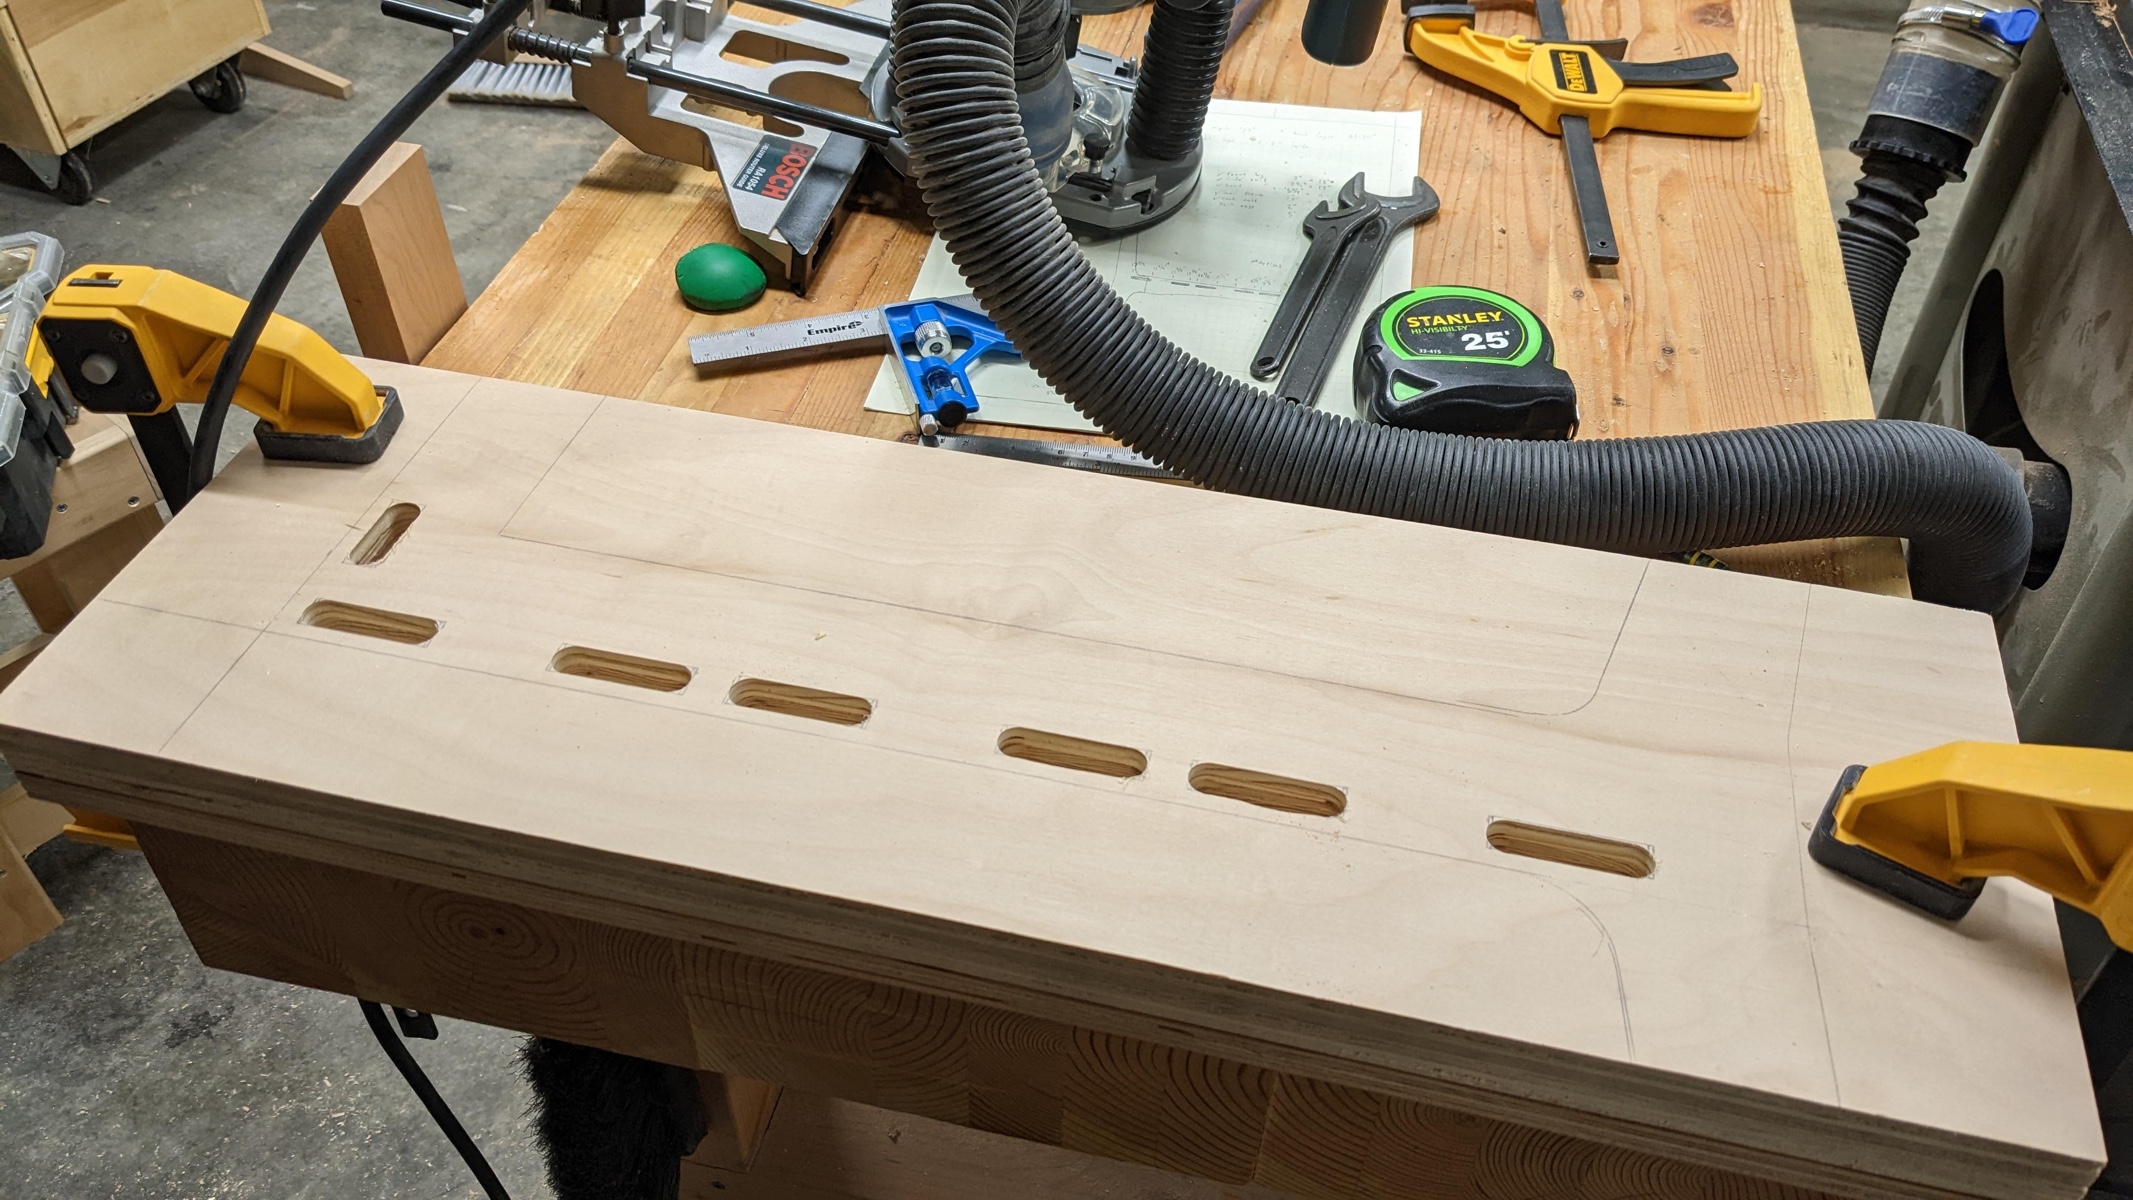
I used a guide bearing on the plunge router to quickly cut all these mortises. It was definitely worth taking the time to make a template.

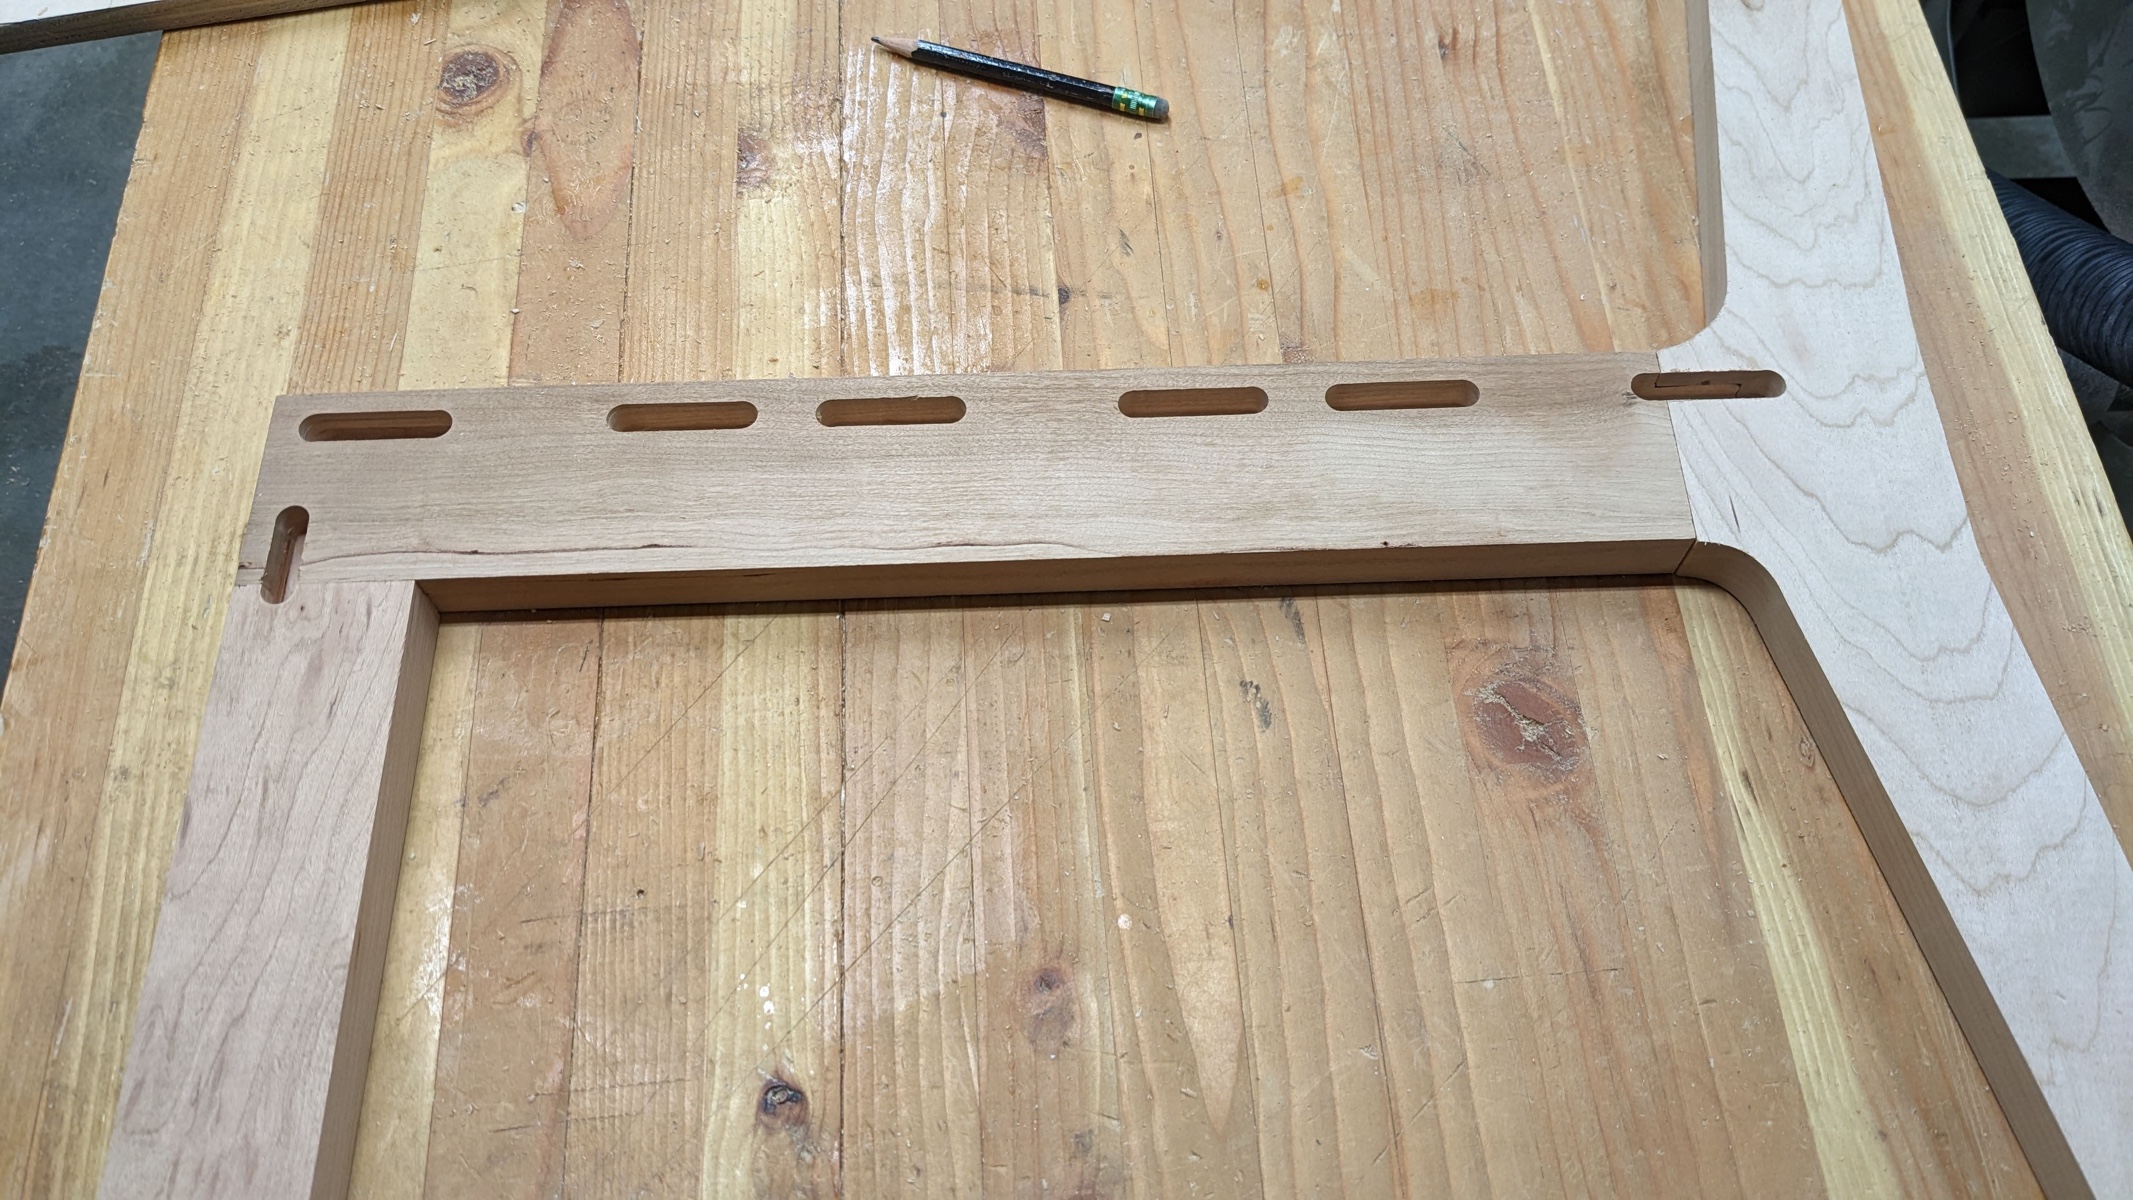
Here's a shot of all the freshly cut mortises.
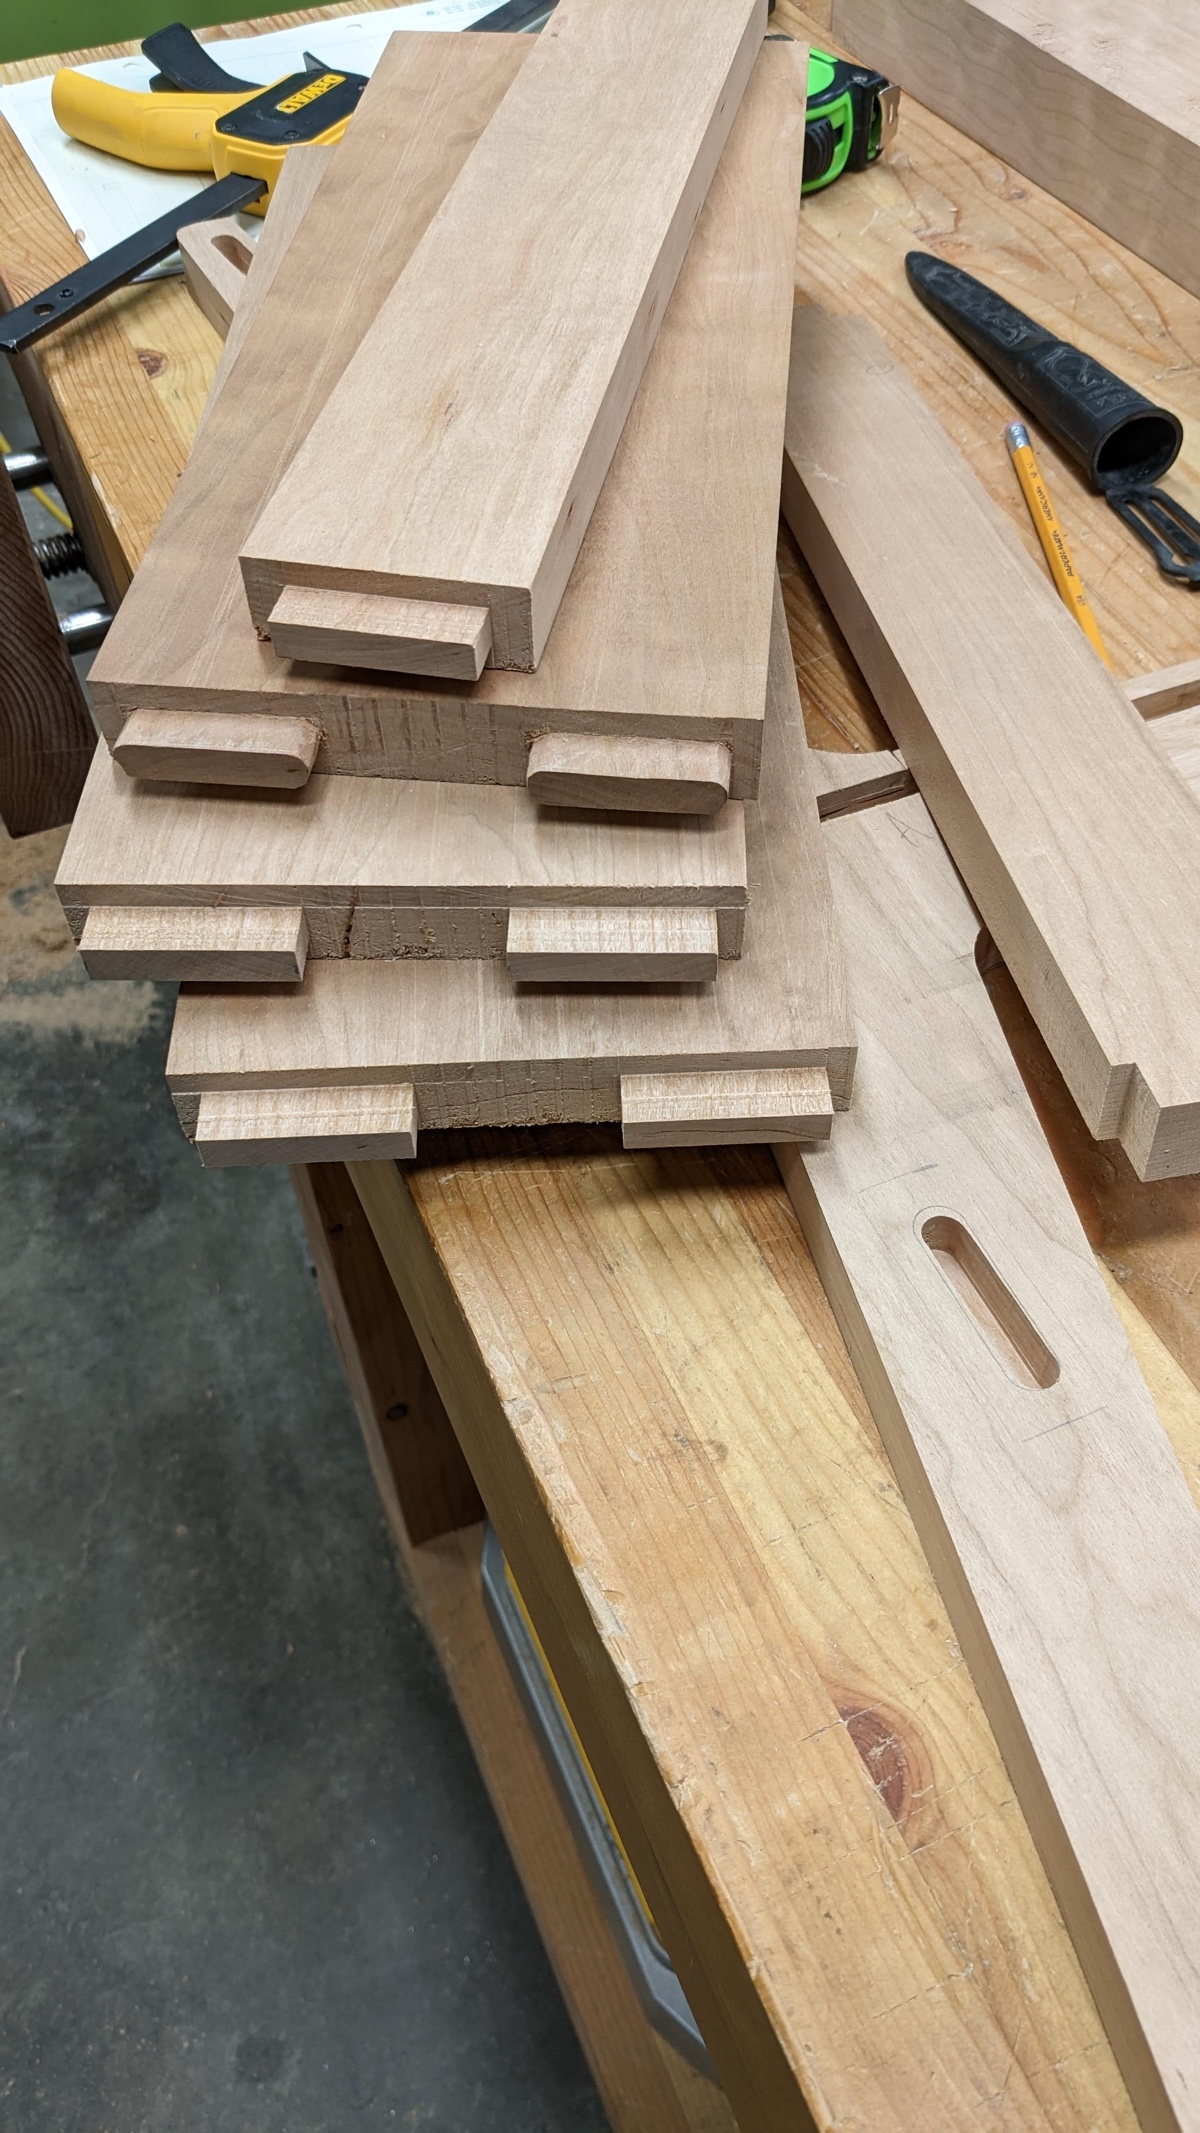
Next I started working on the seat slats, which each have a set of double tenons sticking out. I used my box joint jig to rough out the tenons.
Over thanksgiving, my father in law gave me this tenoning jig he wasn't using, which I much prefer to my homemade tenoning jig. It's faster and more precise for sure.
After rough cutting all the tenons, the next step is to either round over the tenons or square the ends of the mortises. Both are tedious, so I did some of both to have some variety.
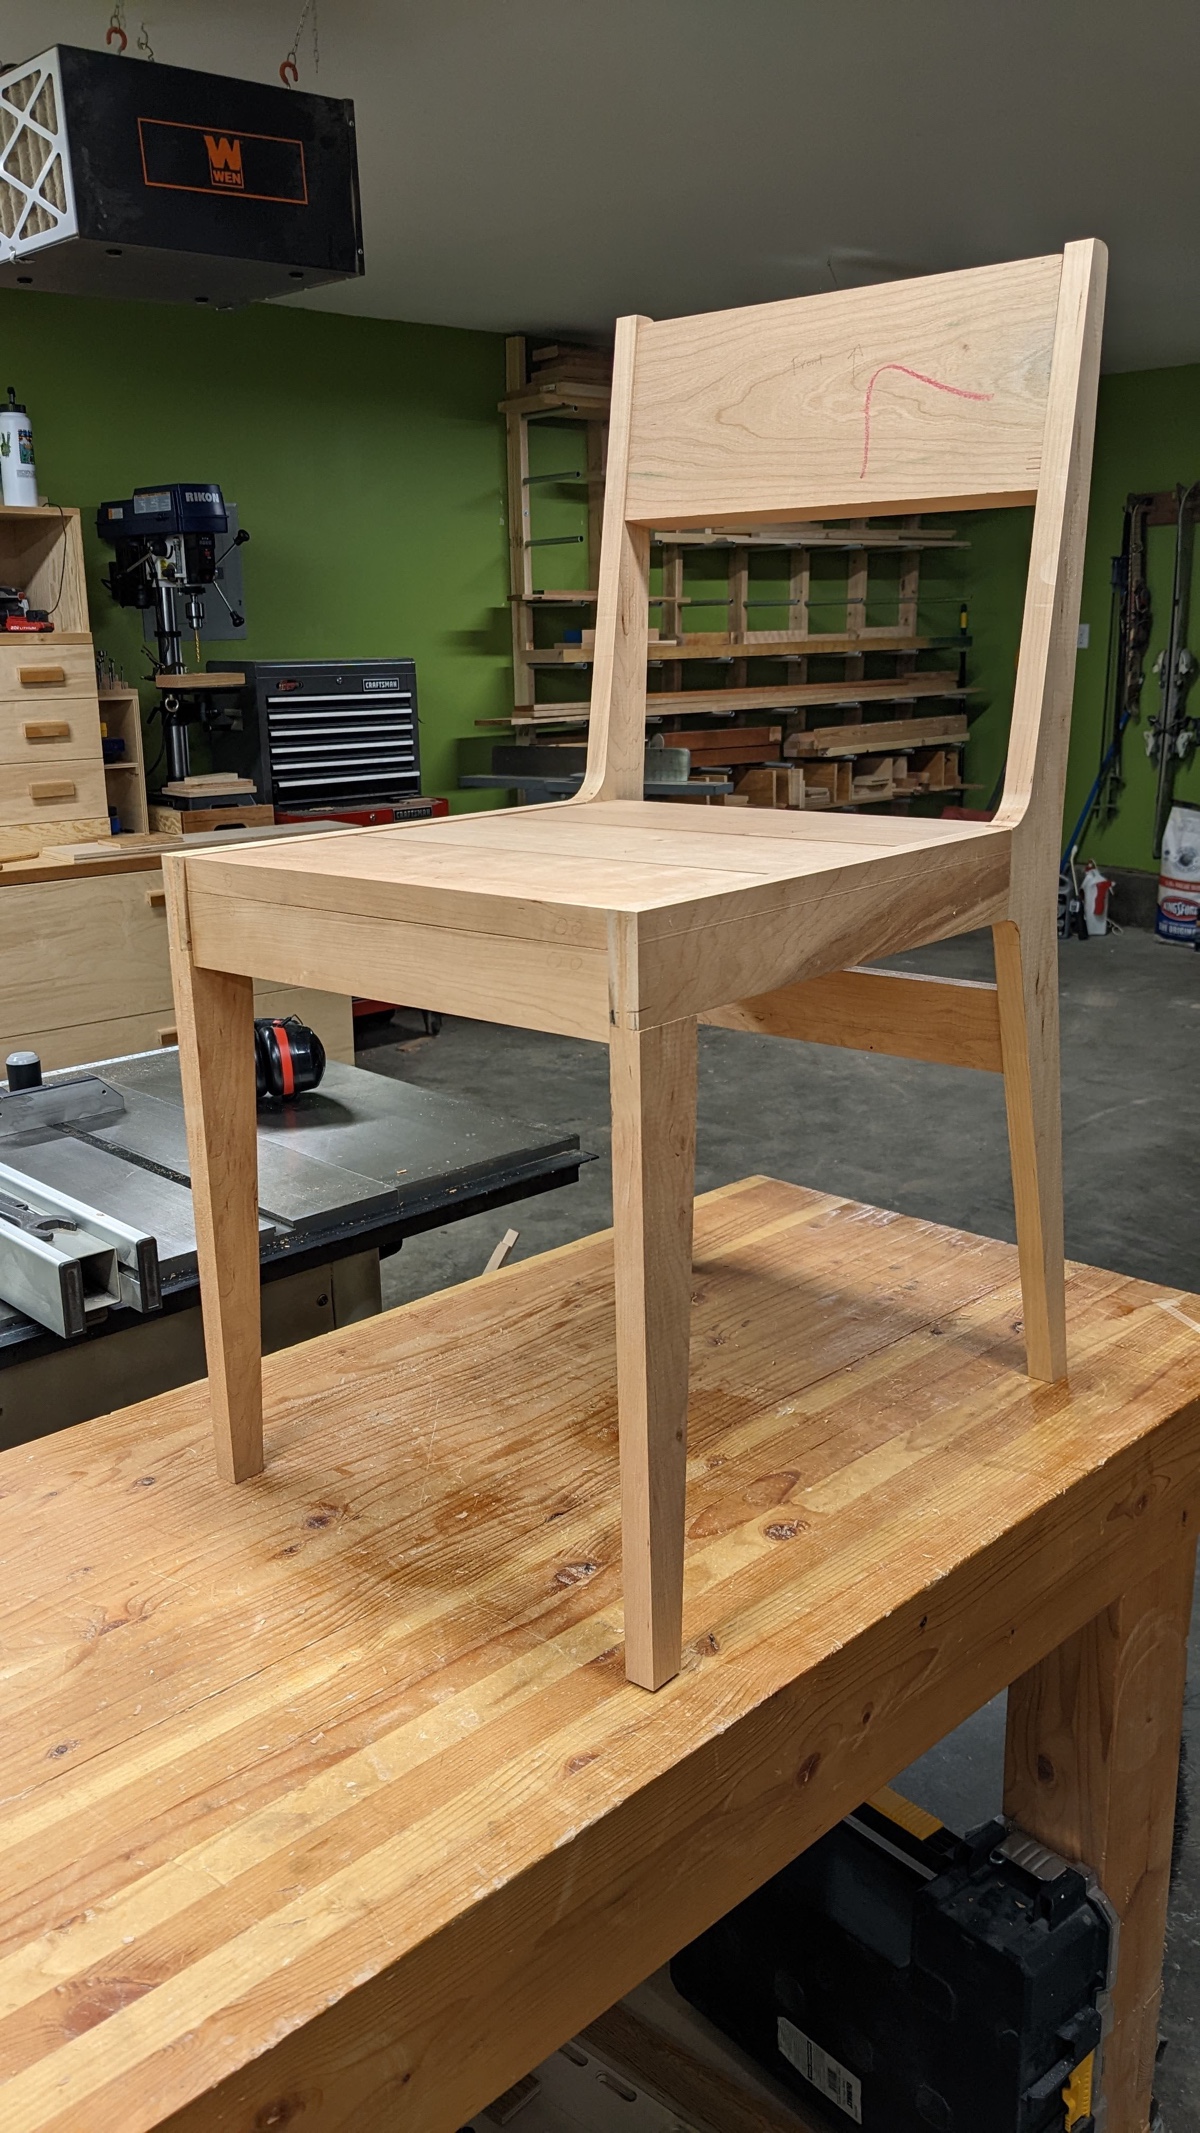
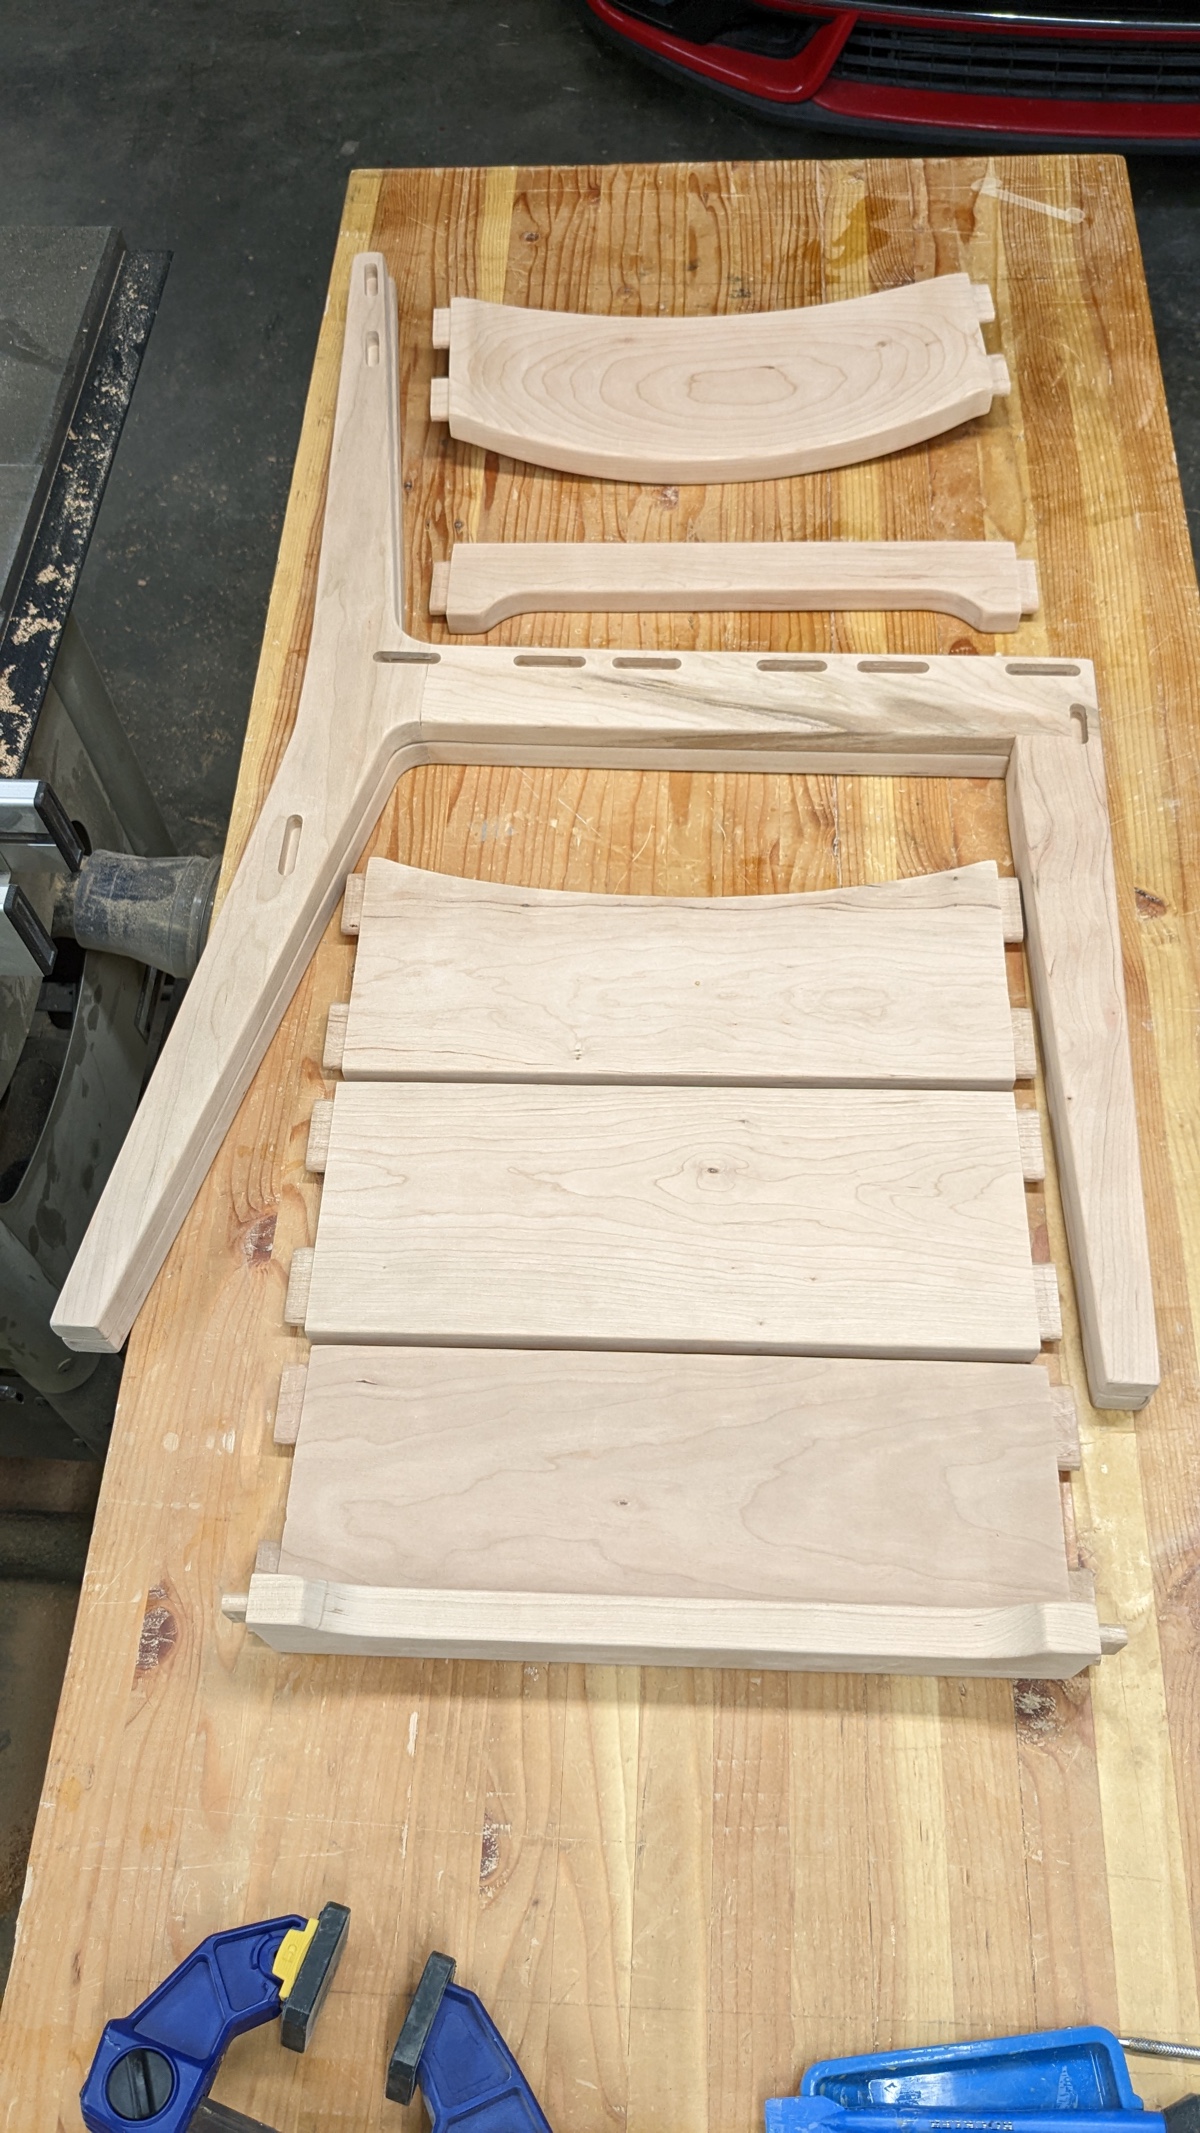
Next I did a test fit just to make sure everything fit correctly. So far so good.
Next I started working on all the curves. I made templates for each curve and rough cut on the bandsaw.
And then once again used the router to trim them using a pattern bit.

Next I started working on the back rest. I cut the bottom curve first and sanded it up a bit, then drew lines for the curve on the opposite axis.
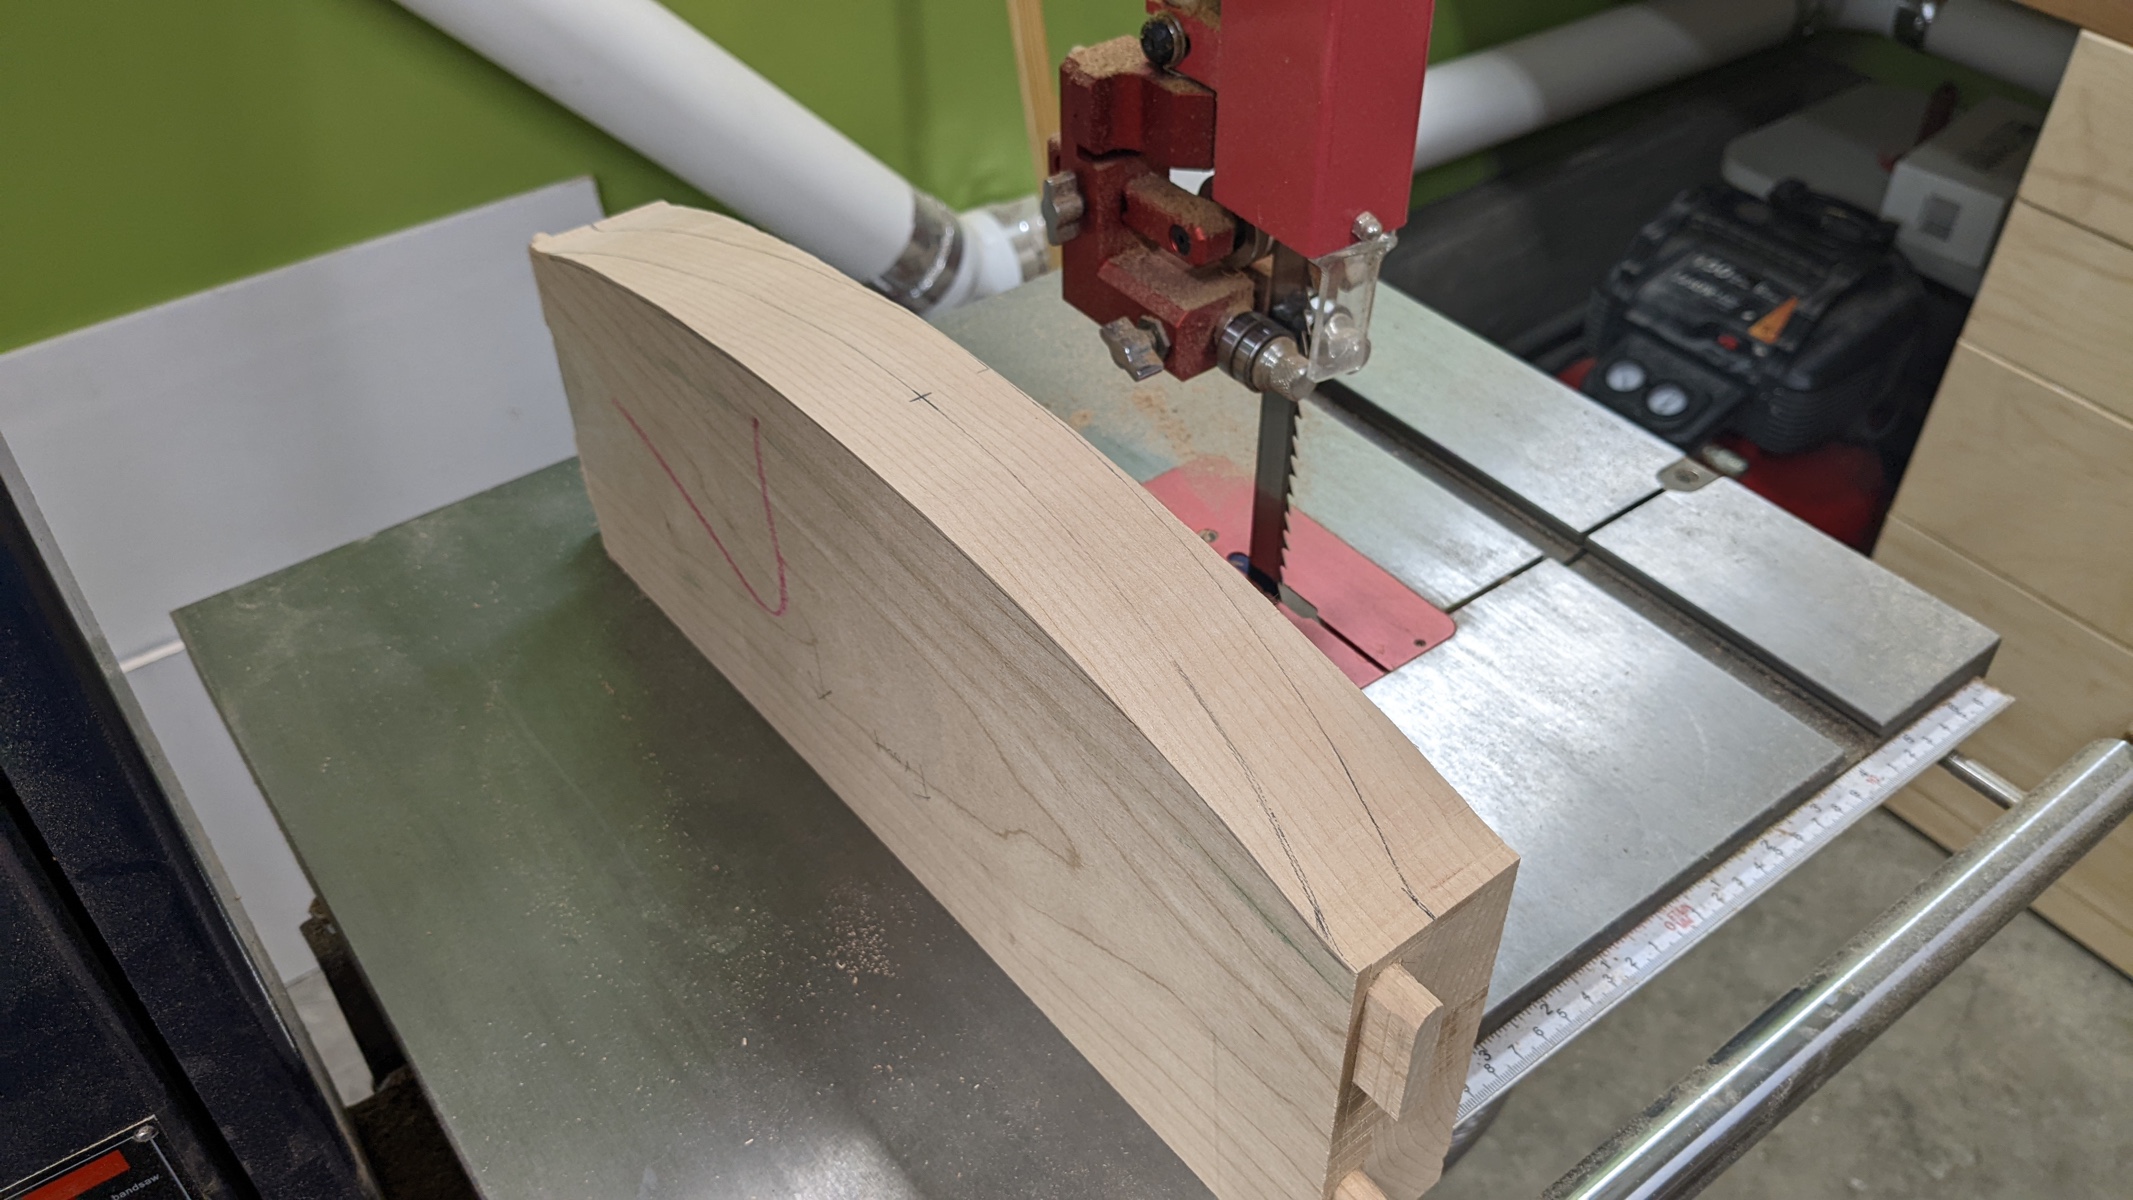
My large bandsaw made this pretty easy, though it takes a lot of sanding to smooth this out.

I then sanded for what felt like an eternity. I couldn't get the back rest completely smooth, but I did as much as I could tolerate.
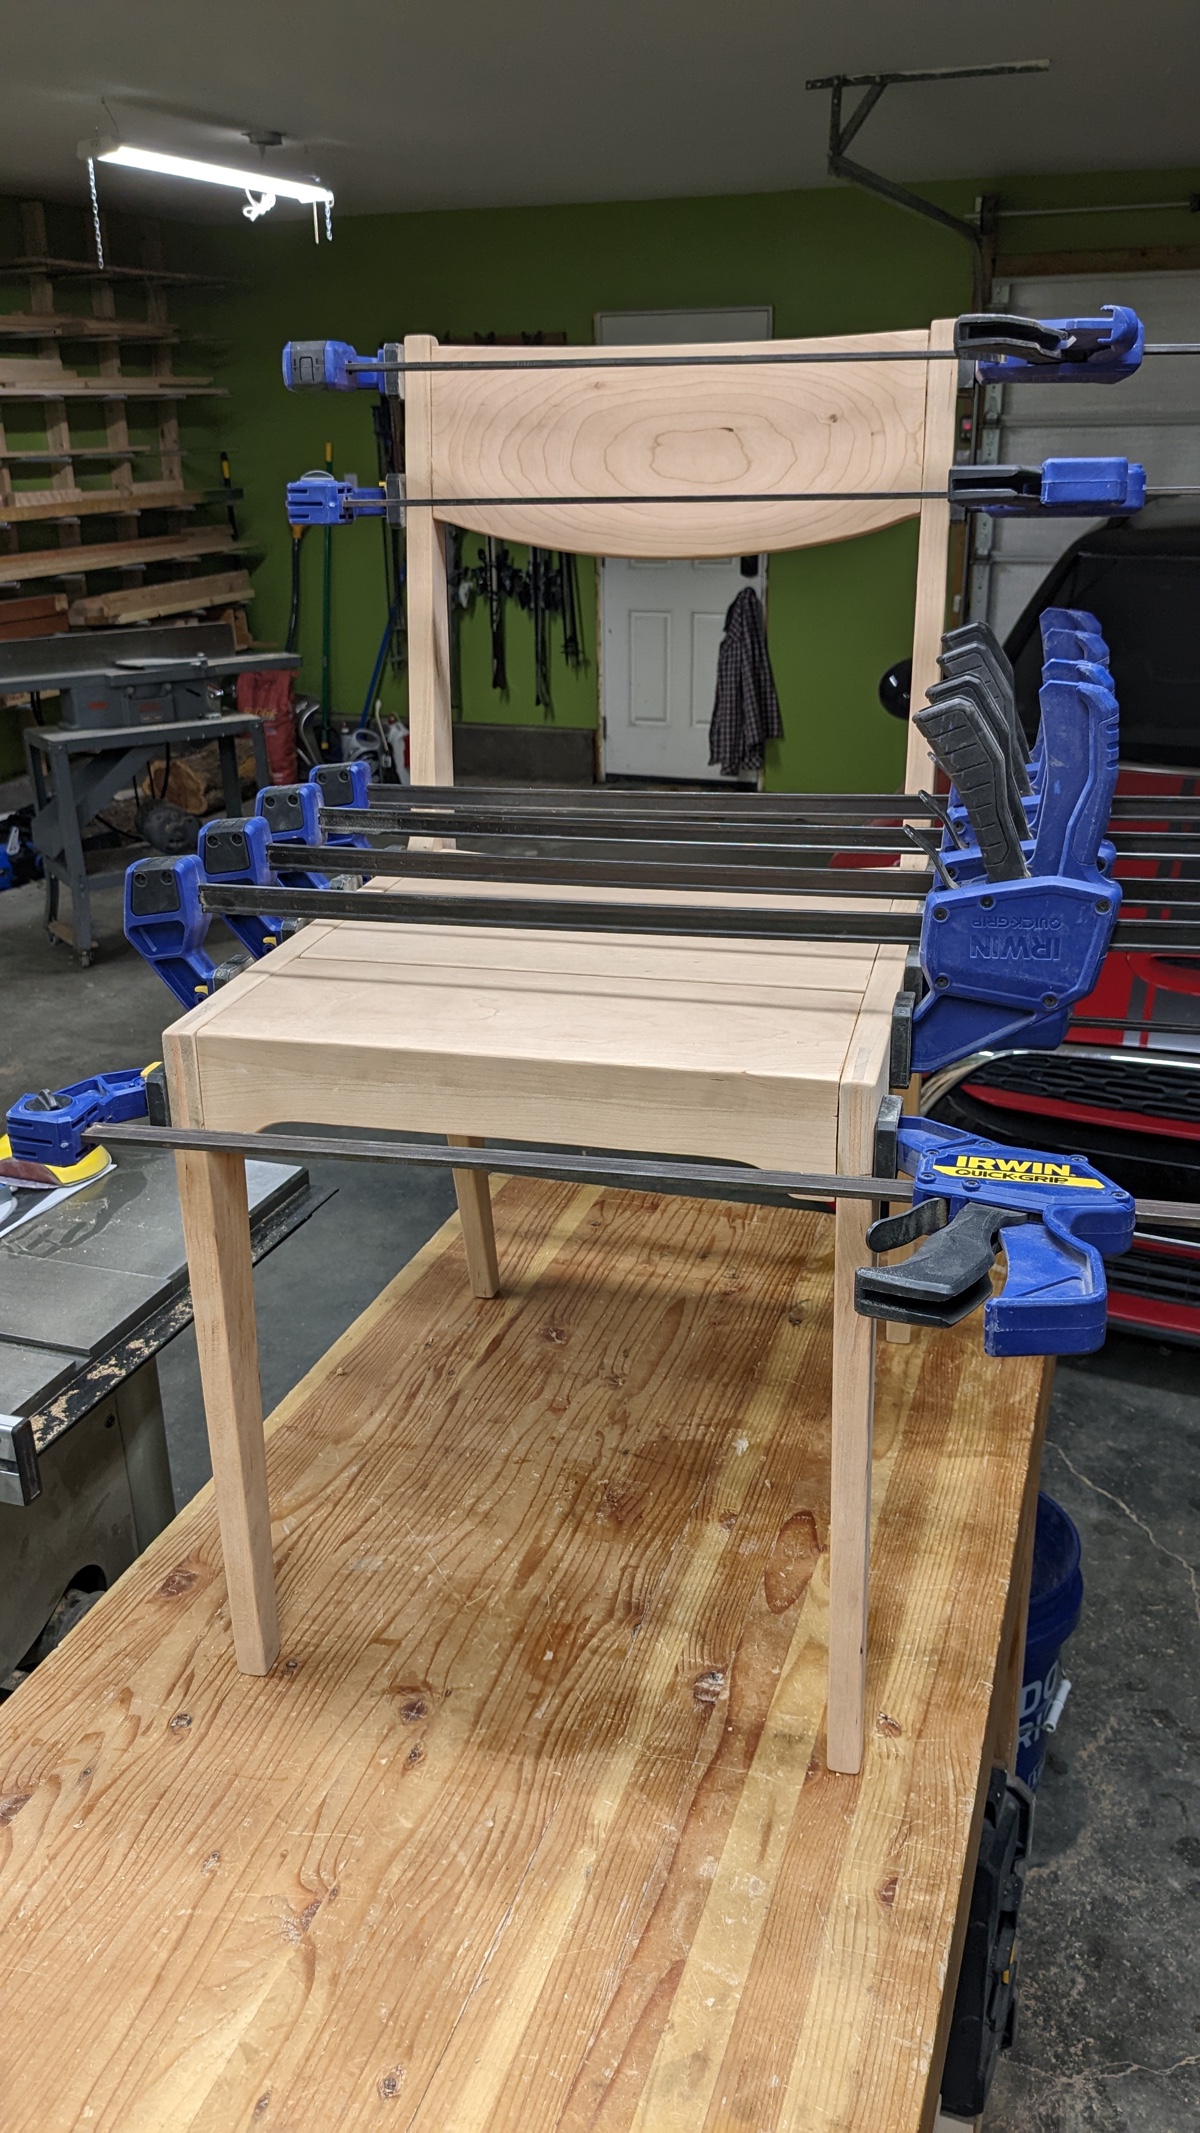
Next was the glue up. Doing each of these one at a time was easy, but having to fit 10 tenons into 10 mortises before the glue set was stressful.
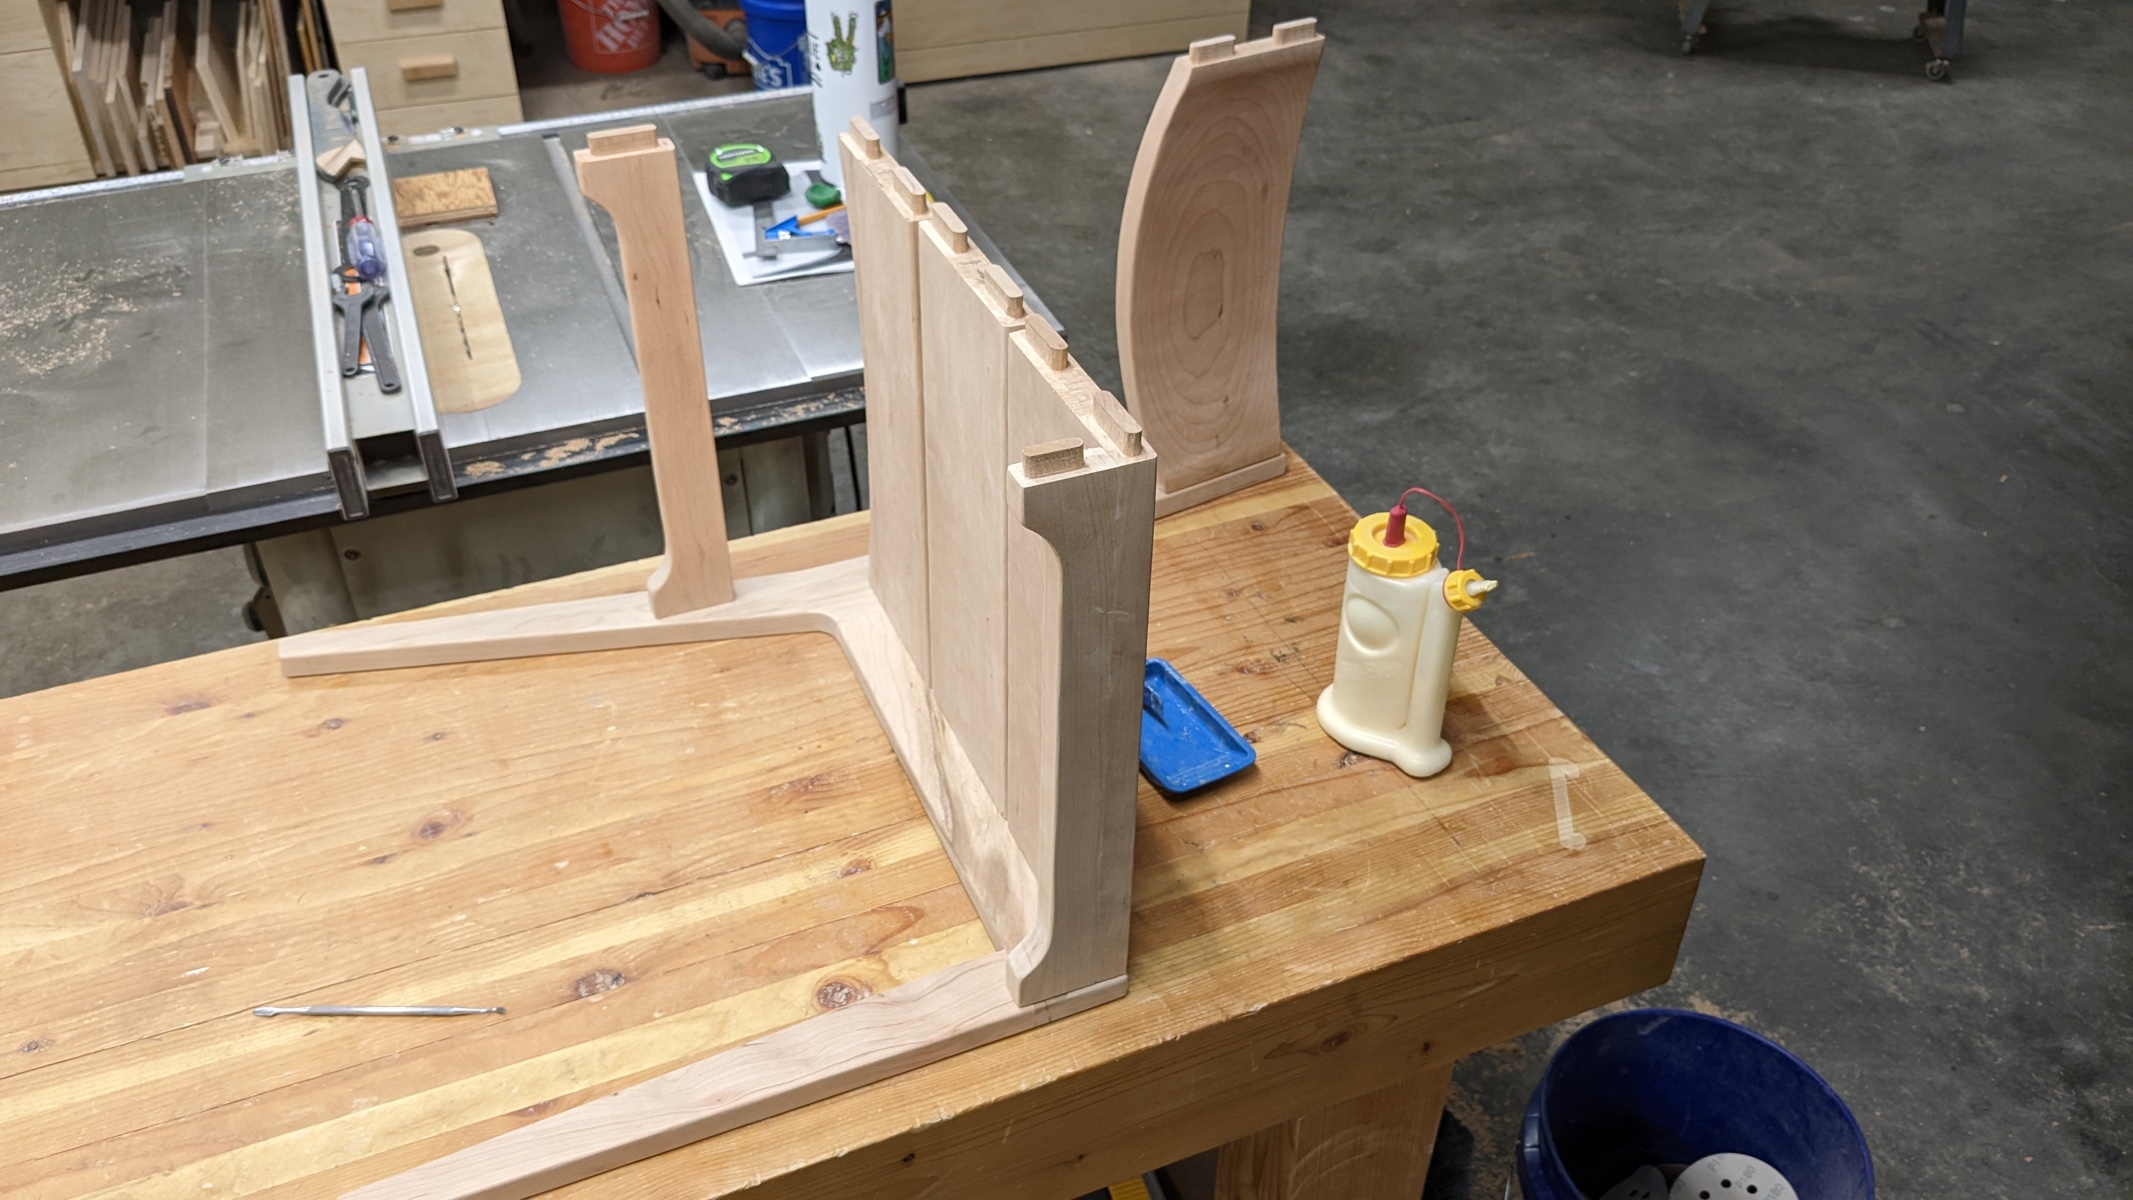
Here it is with all the clamps in place.
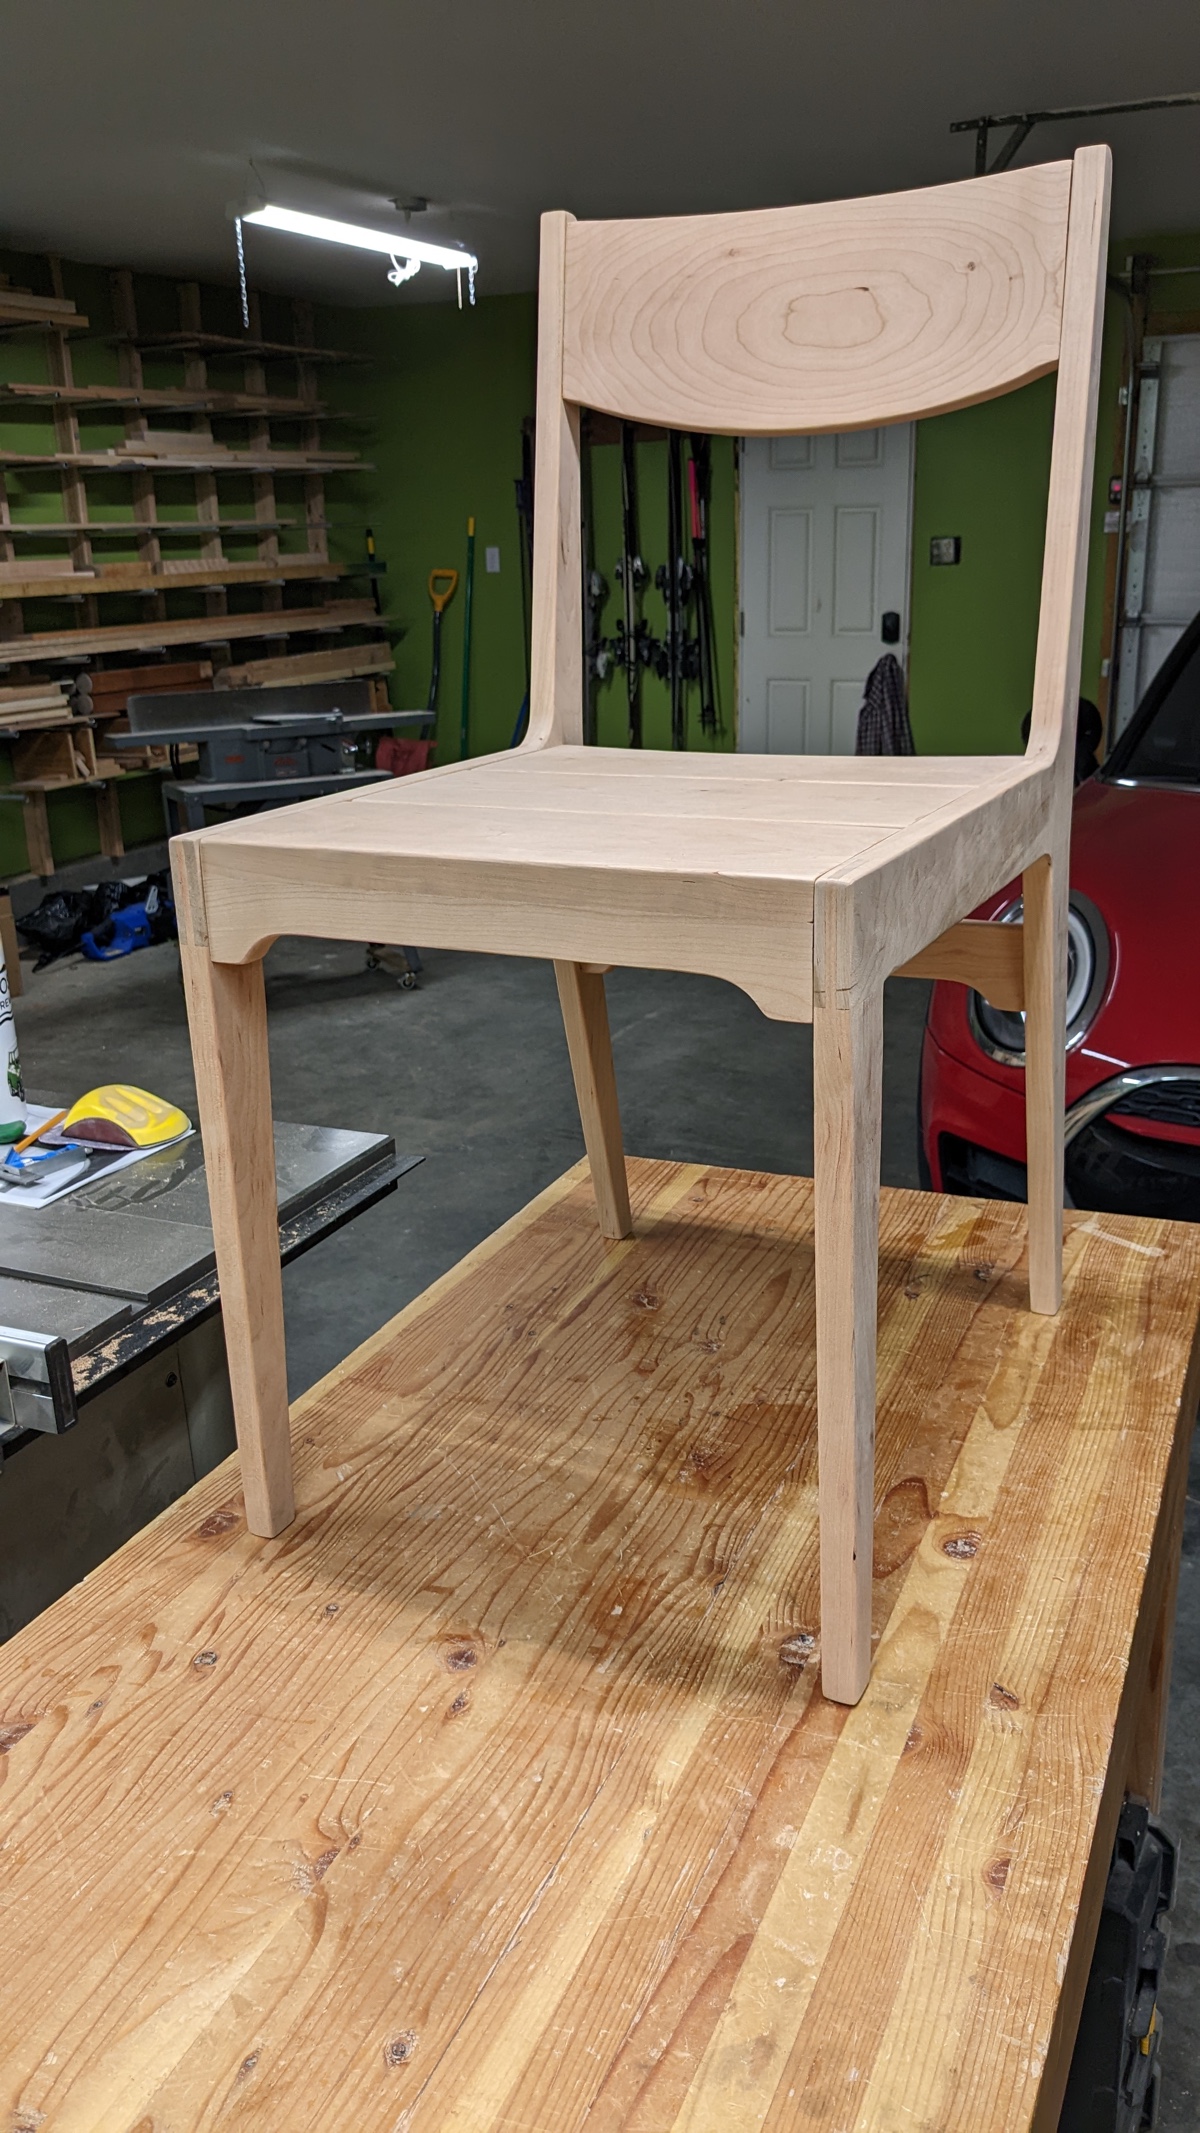
And then sans clamps.
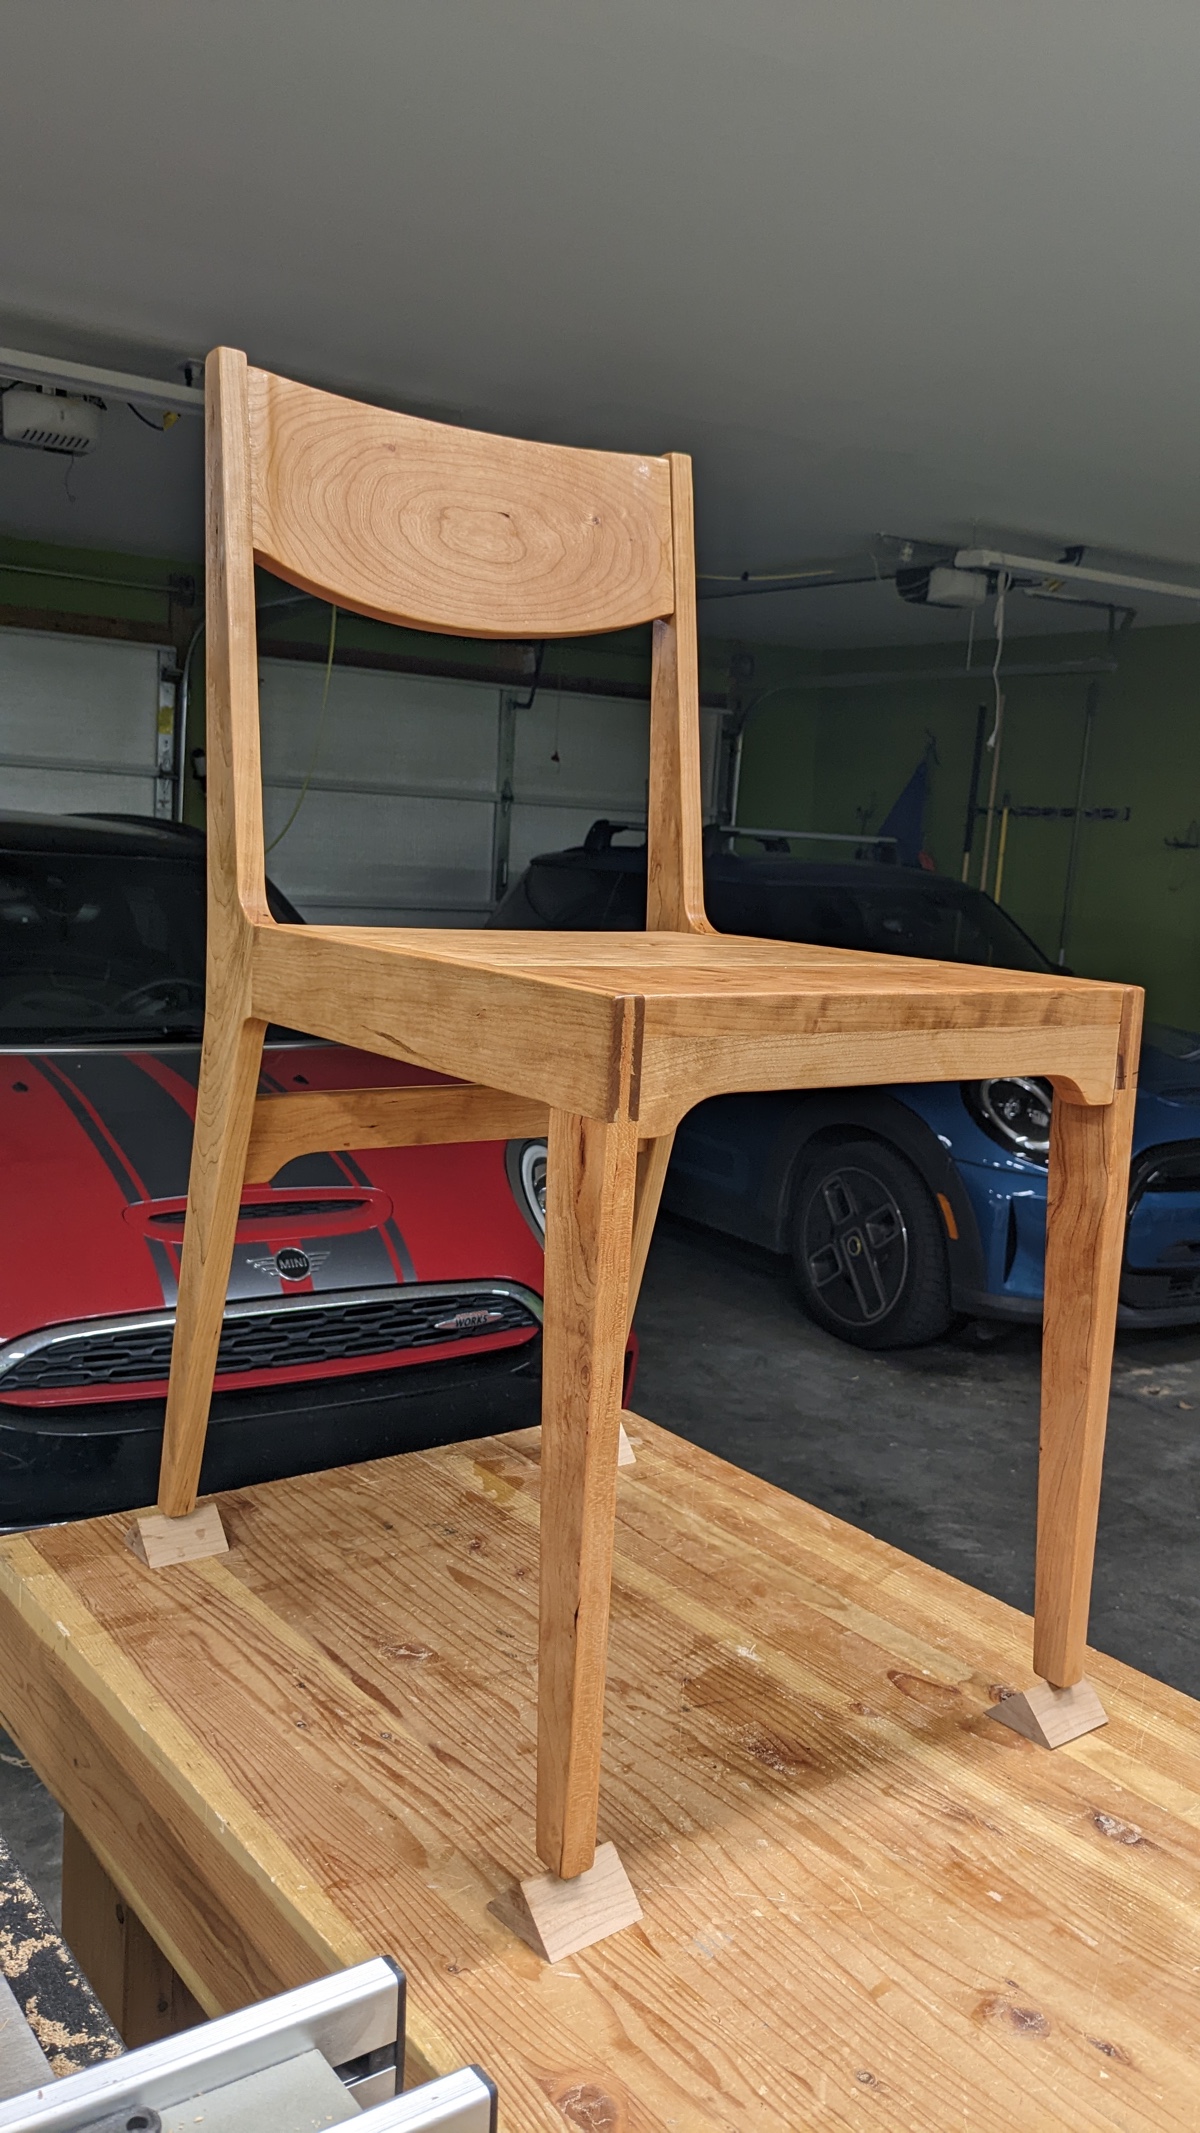
I finished it off with some teak oil and then let it dry (and de-stink) for a few days.
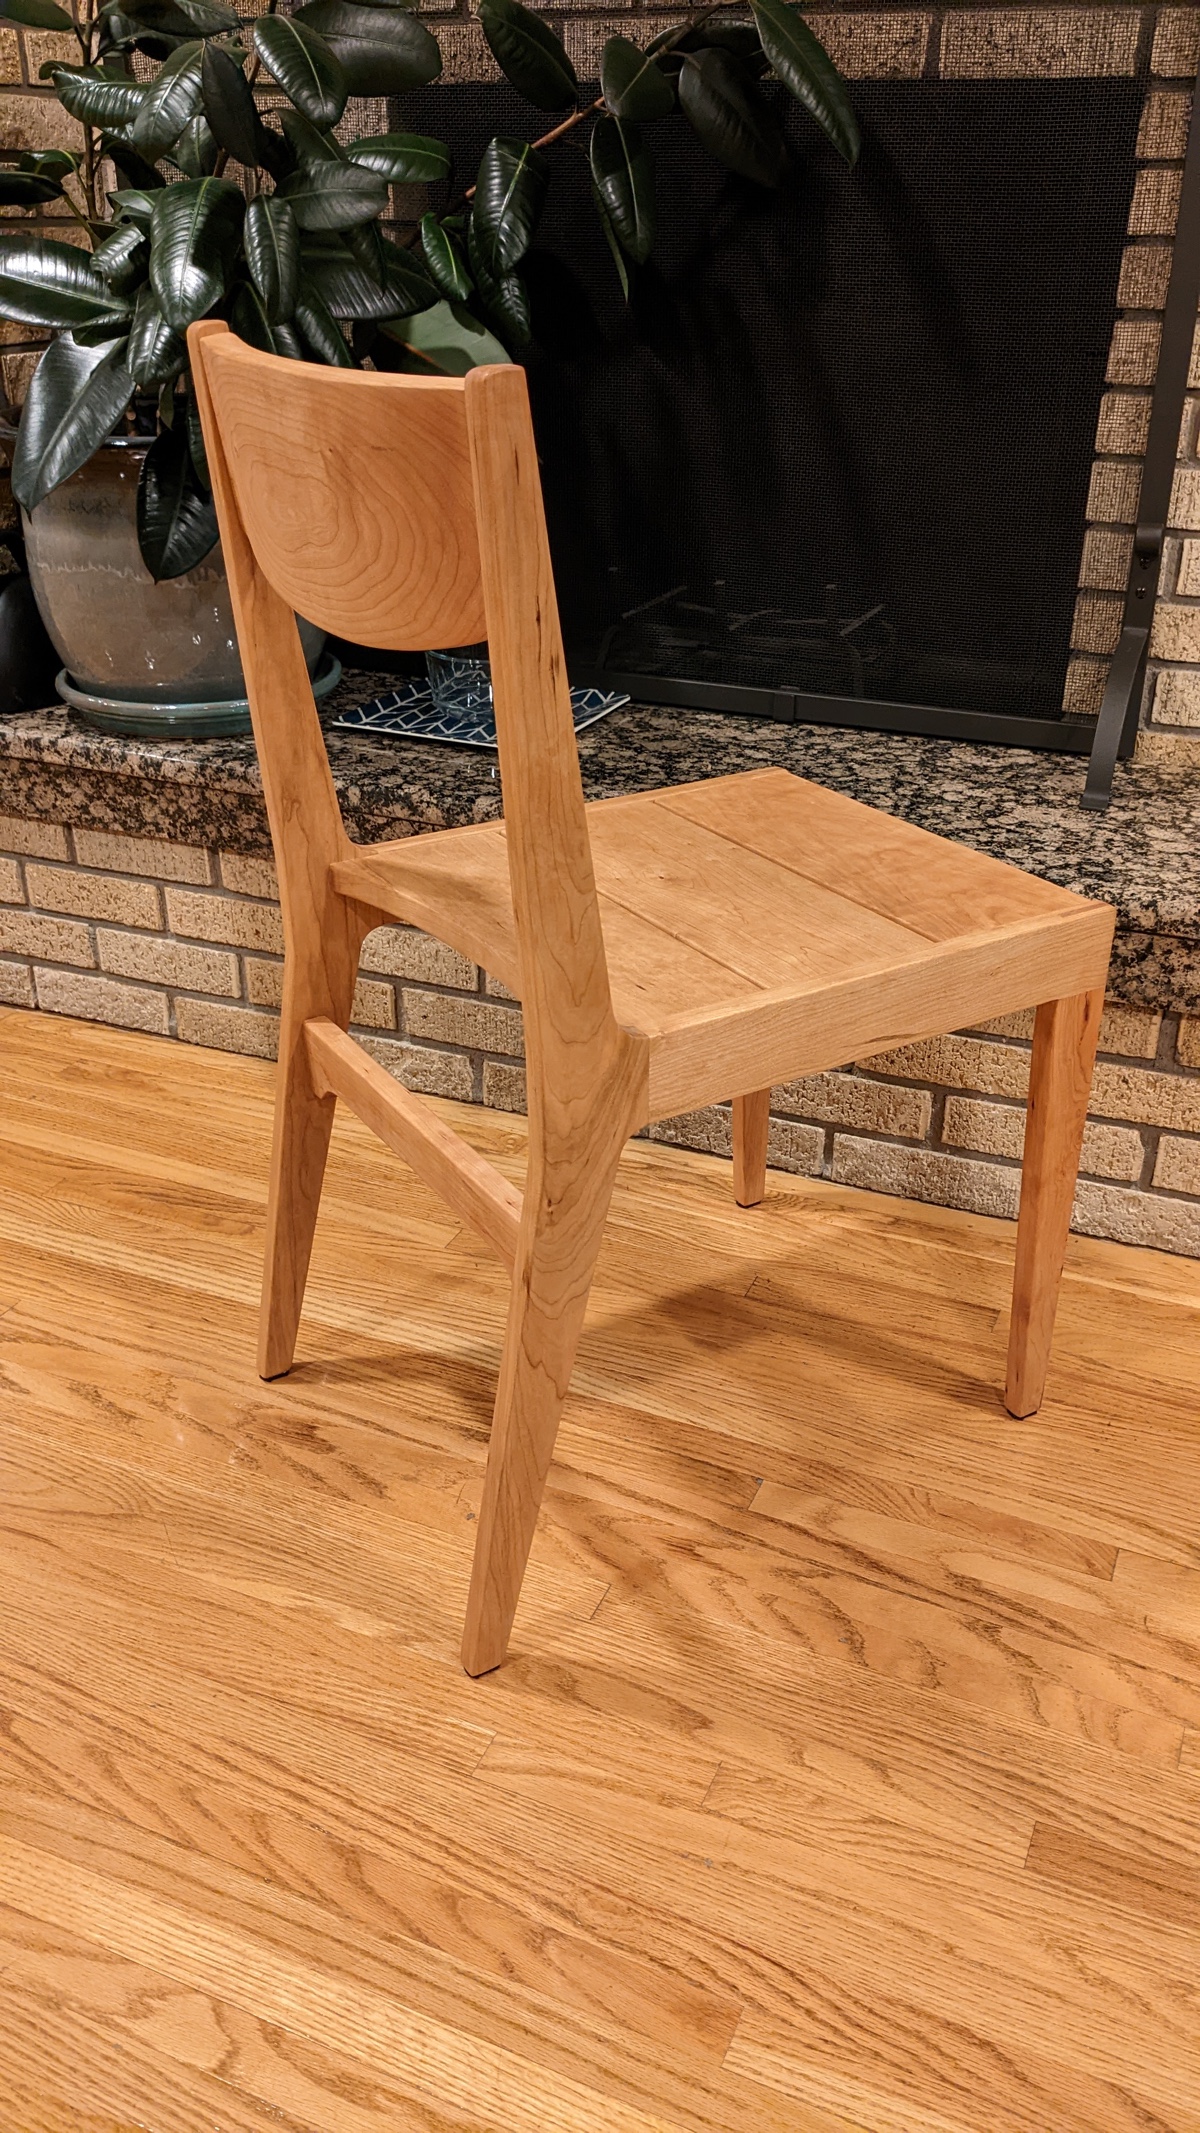
Here's a picture in the house.
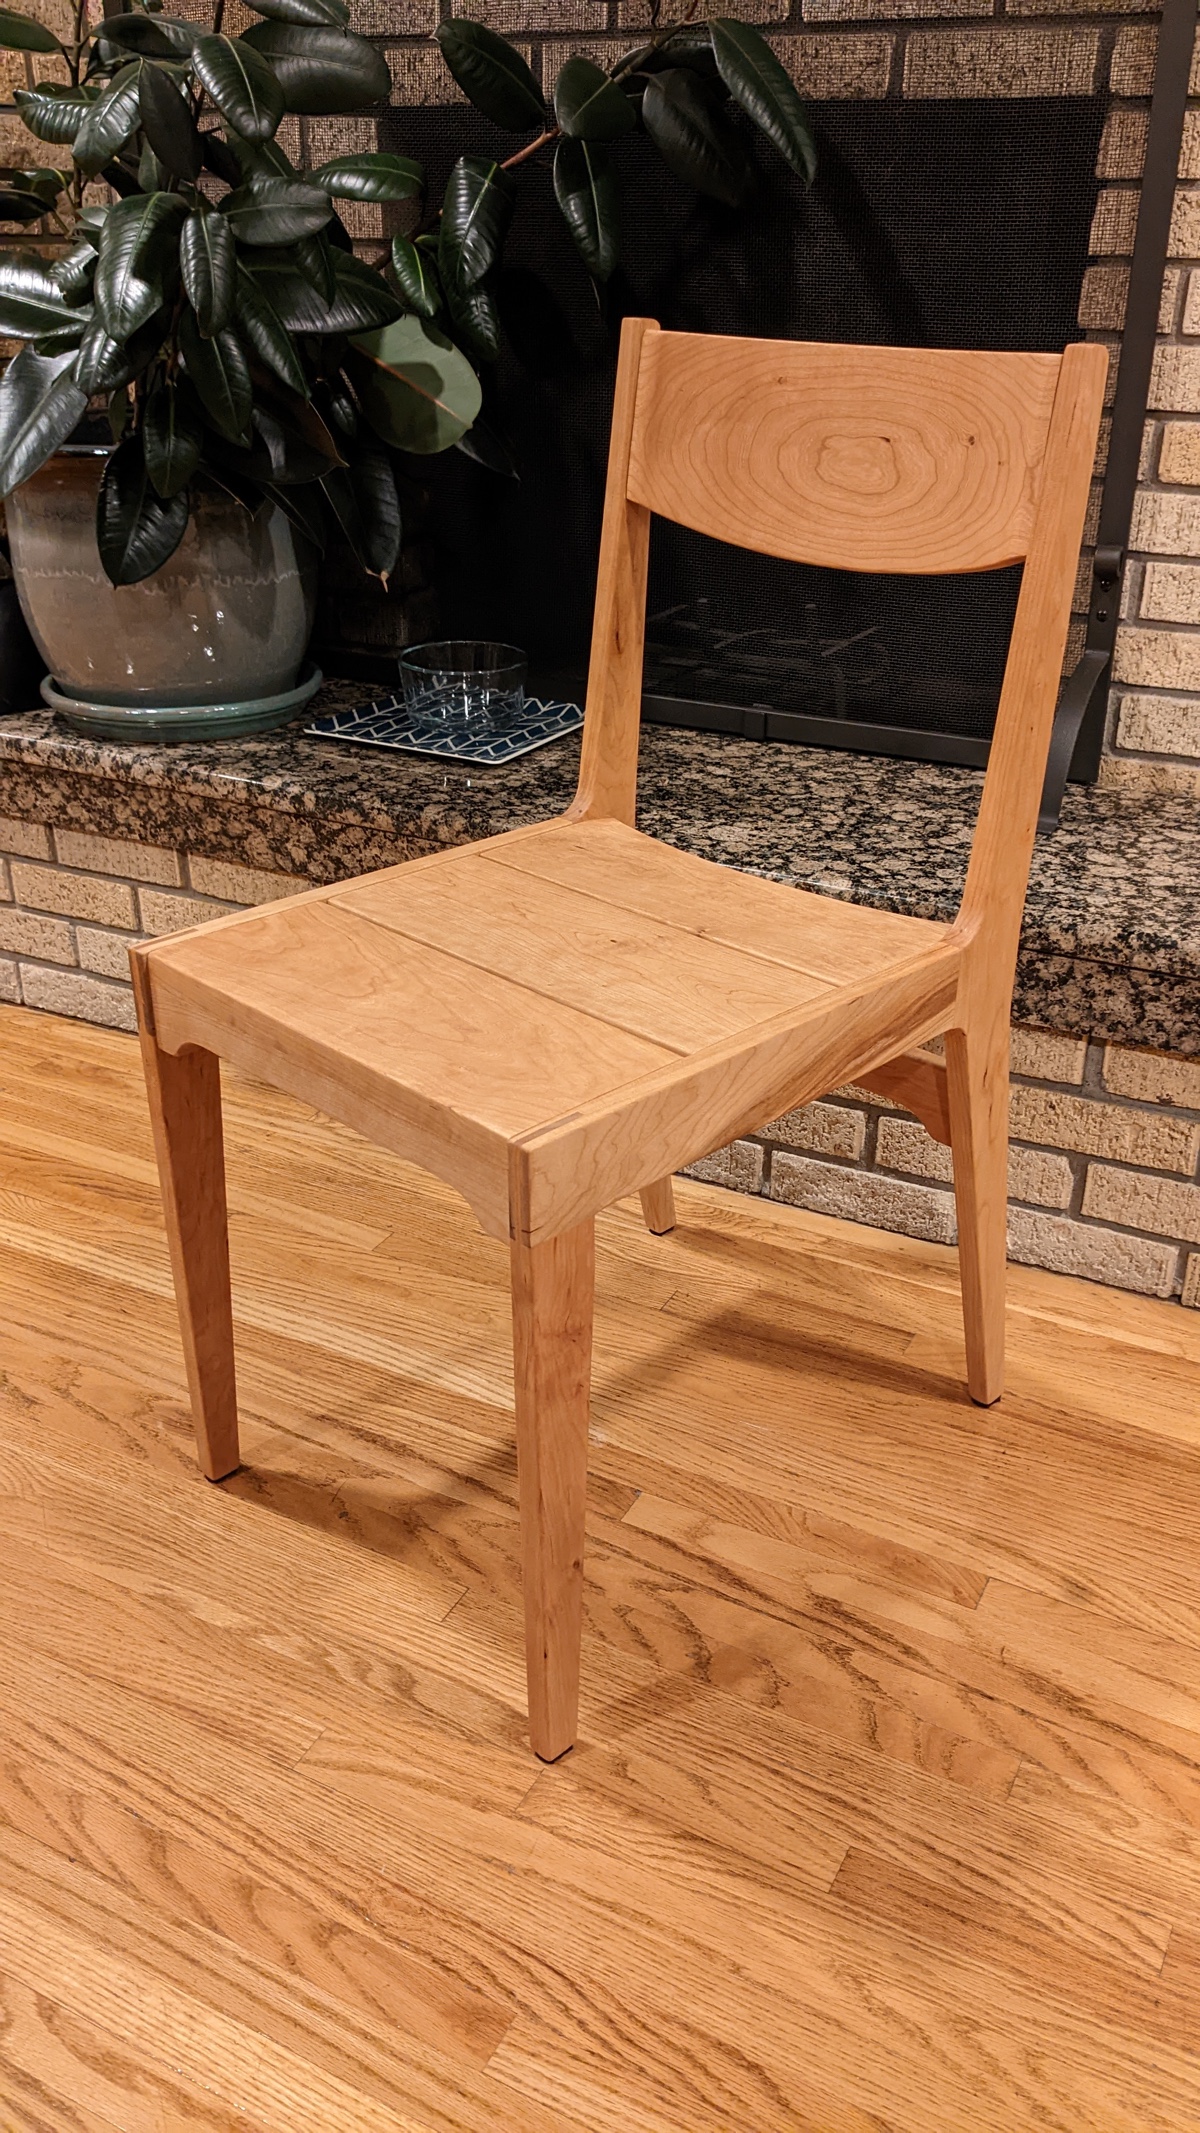
It turned out pretty well, and after finishing it I found a few small tweaks I wanted to make for the rest of the set. The second chair is nearly done, and I think I'm happy with it. And neither chair is perfect, but I have 4 more to practice on.