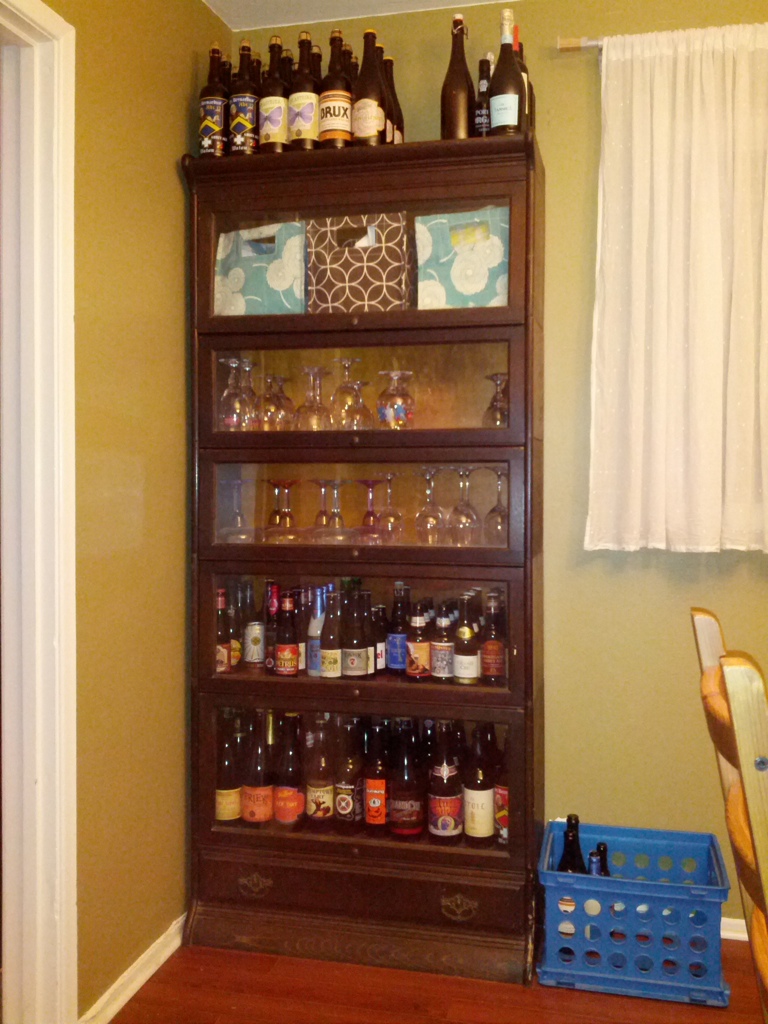
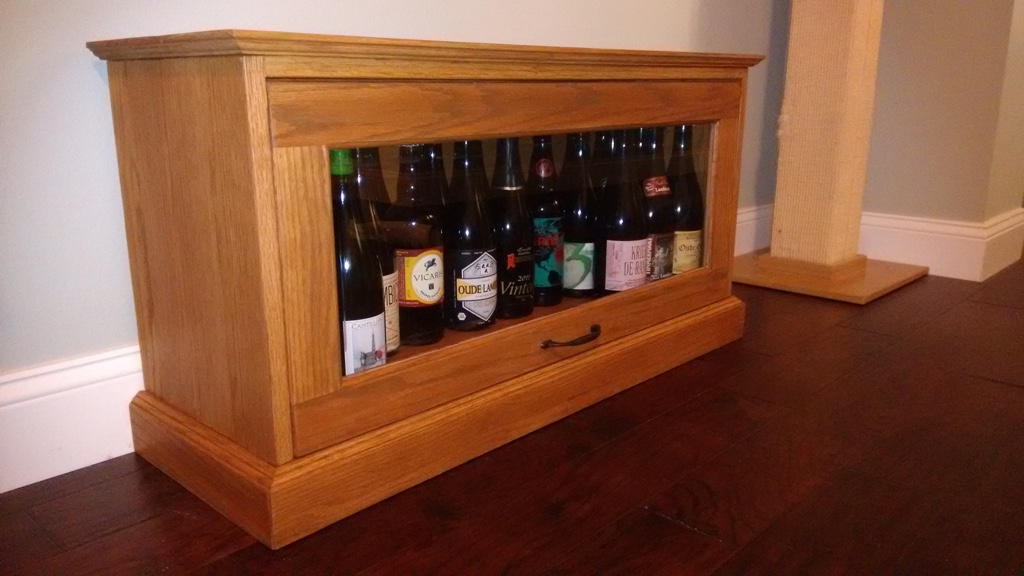
Now that’s it’s not so hot in Florida, I decided to undertake another woodworking project. Because I’m a lunatic, I jumped straight from a relatively straight-forward desk project to an overly complicated expert-level barrister bookcase. The goal is to build something similar to our 100+ year barrister bookcase that we got from Carrie’s parents (we store beer in it, because it’s the perfect size for both 12oz and 750mL bottles, plus beer is awesome).
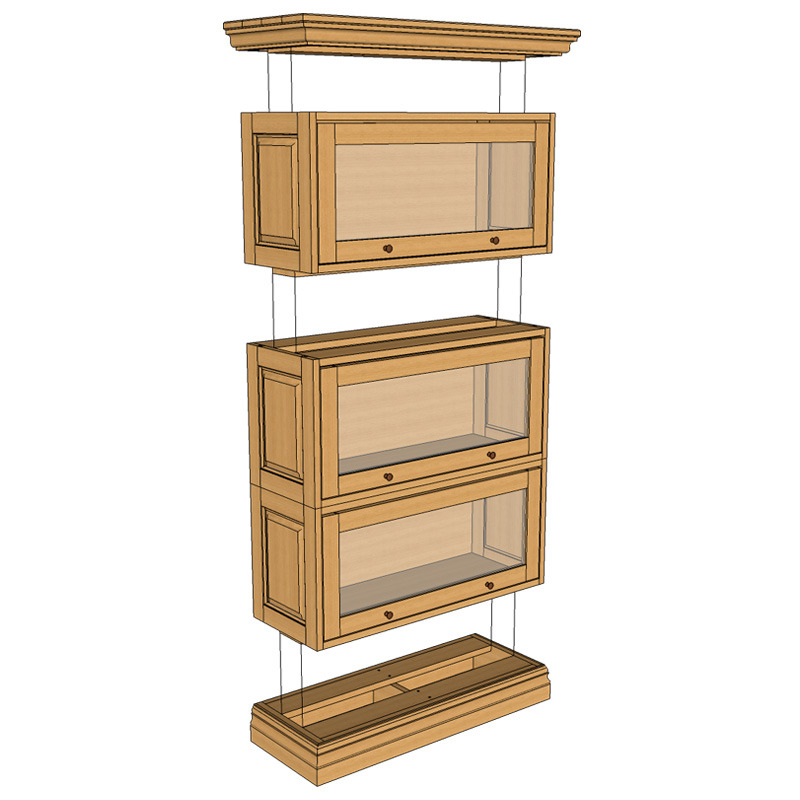
I looked at a ton of plans and pictures online, but naturally I couldn’t find one that I really liked, so instead I’ve been making it up as I go. I have an overall picture in mind, but sometimes I have to tweak things when my plans don’t survive contact with reality. This is the closest plan I found to what I wanted, but I changed a handful of things.
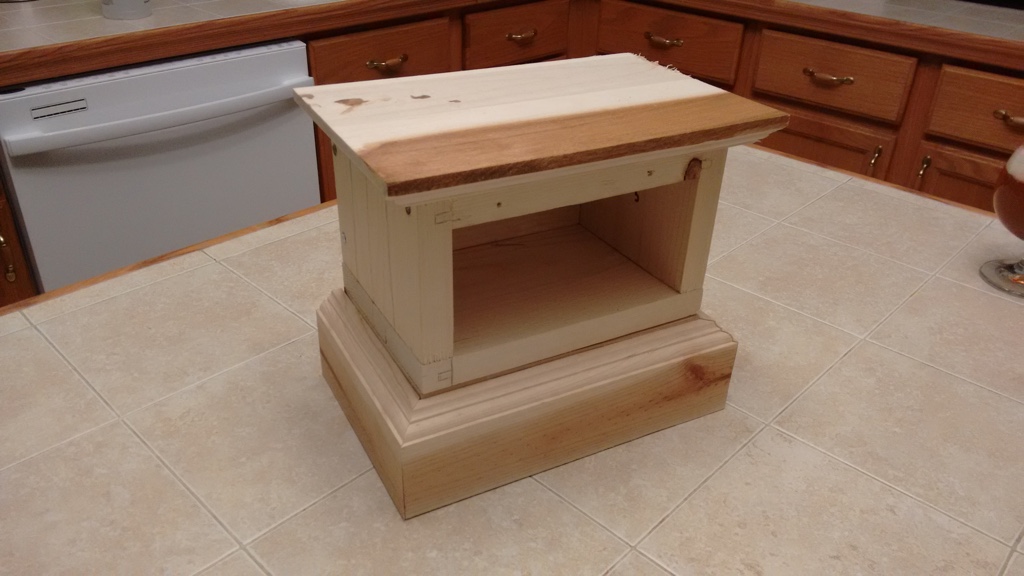
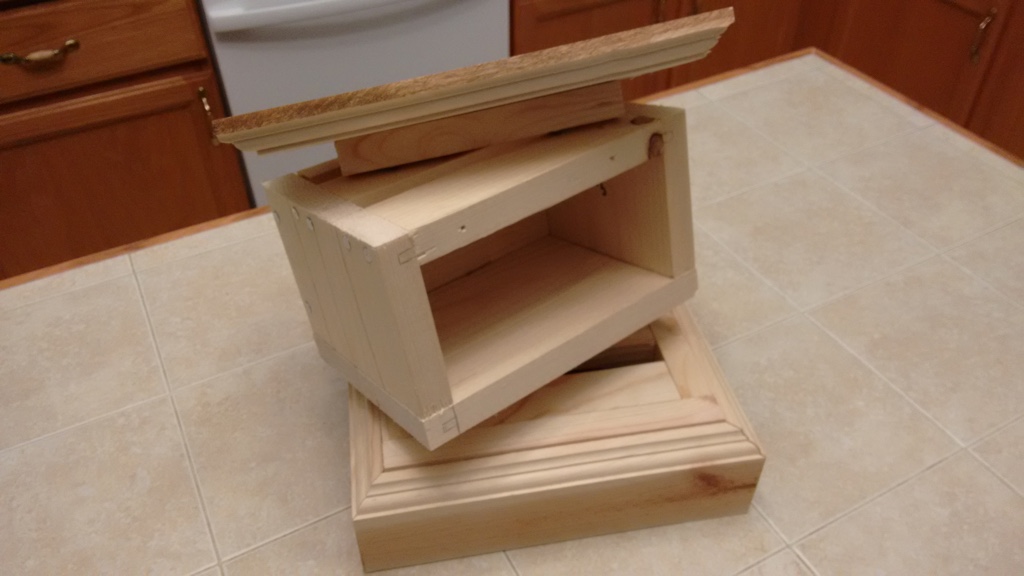
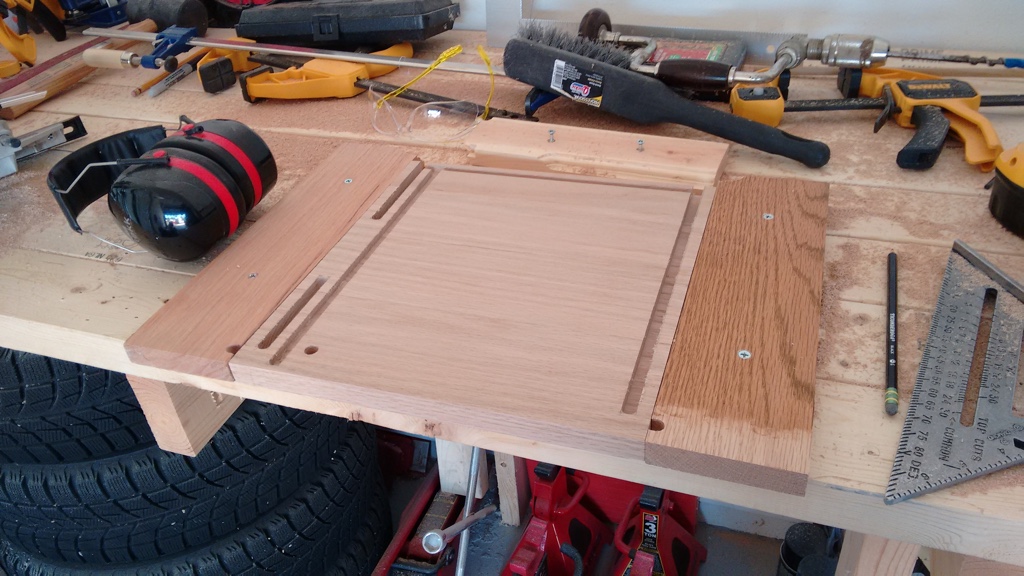
First I built a small test piece to help me think through all the joinery and help better visualize what I was planning.
I wanted a modular design that I could add to over time. The base, shelf, and top won't be fastened to each other, so I can add more levels in the future if we need them.
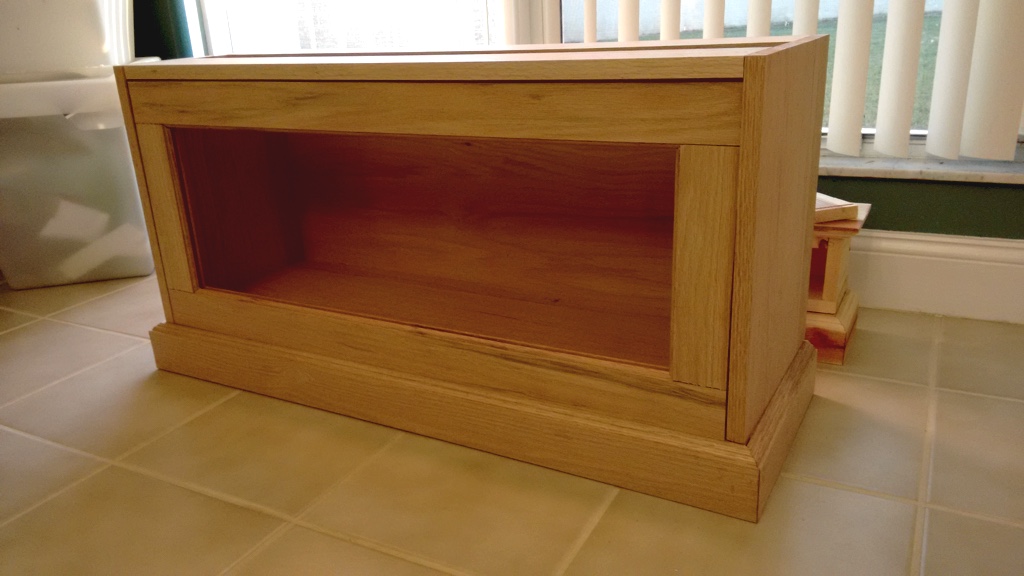
The base was fairly straight-forward. Just a simple box with some trim pieces around it. It’s the only piece I plan to use screws on; hopefully the rest will just be wood glue.

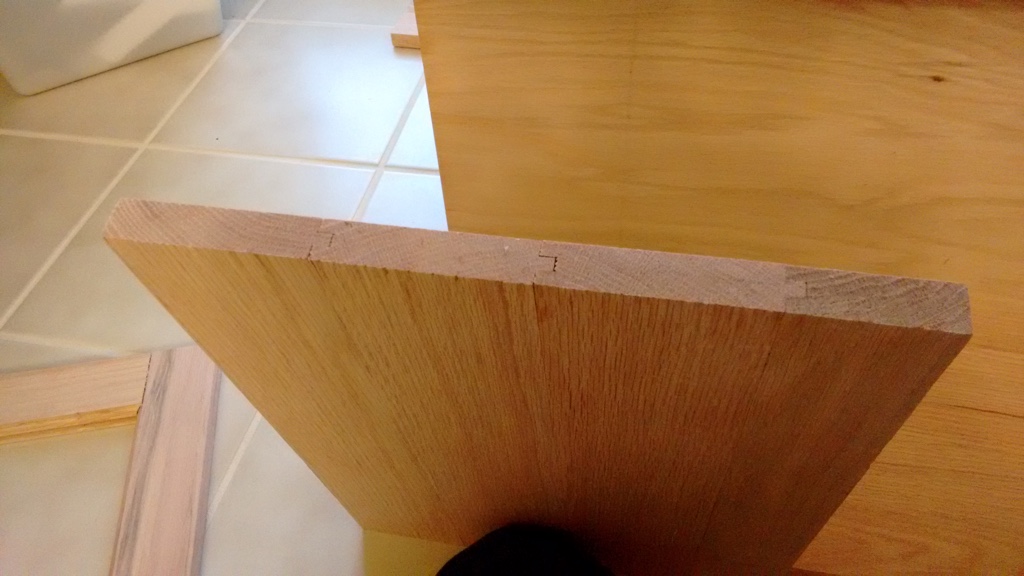
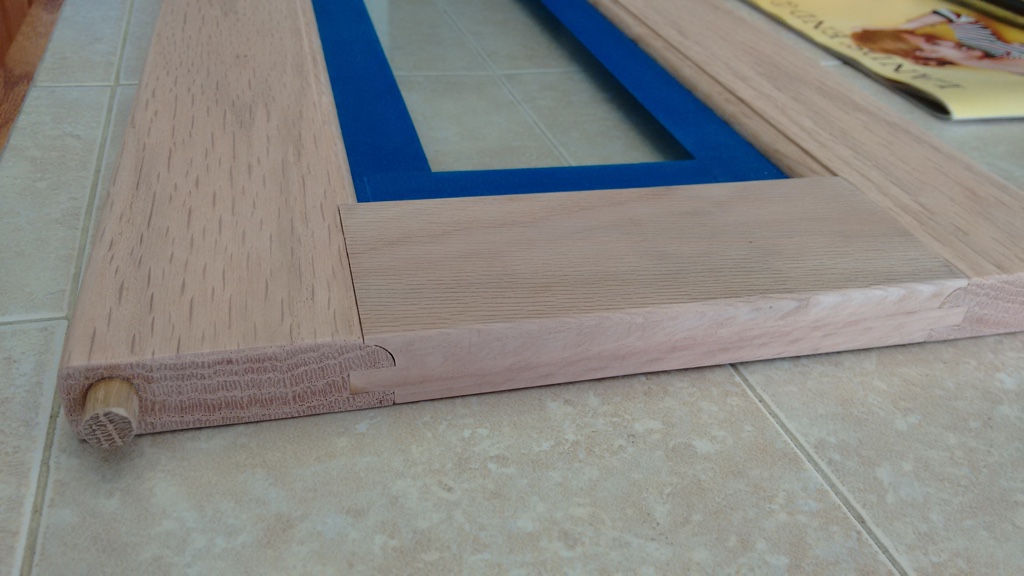
I couldn’t find planks wide enough for the sides, so I glued up a few boards to the width I needed. You can see my tongue and groove joints here to add more surface area for the glue.
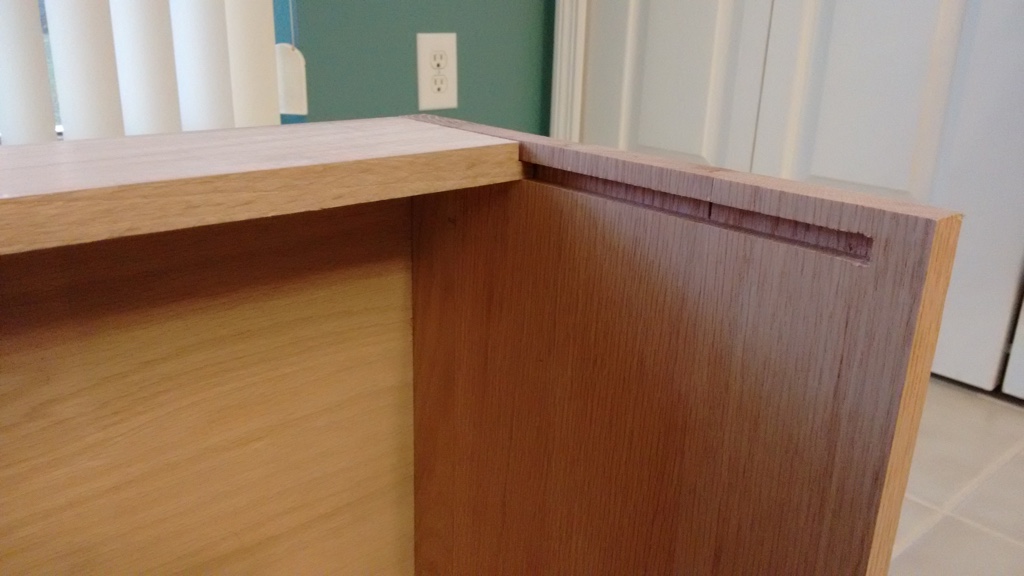
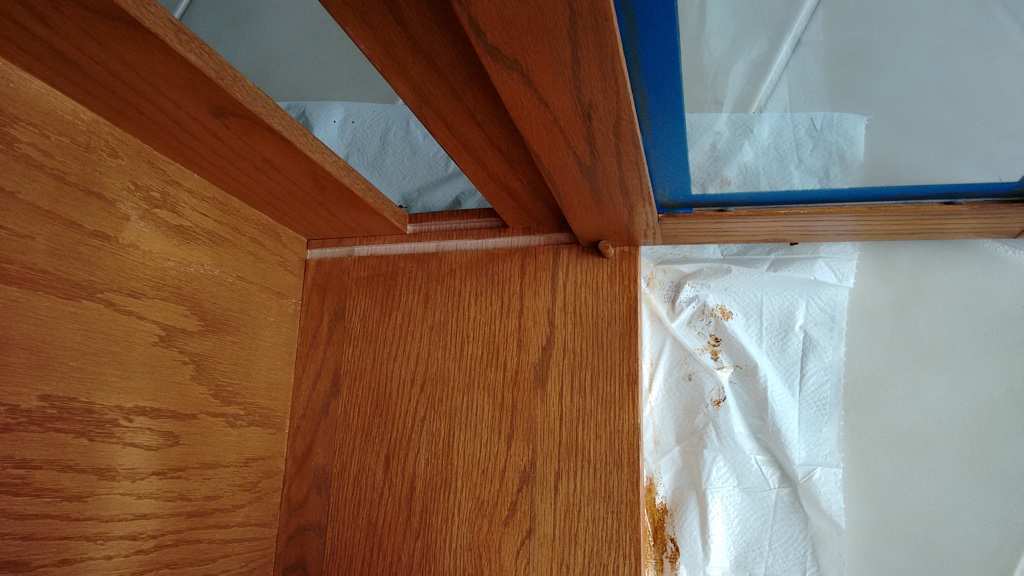
It takes forever to get all the various grooves routed, but it’s nice and neat when it’s assembled.
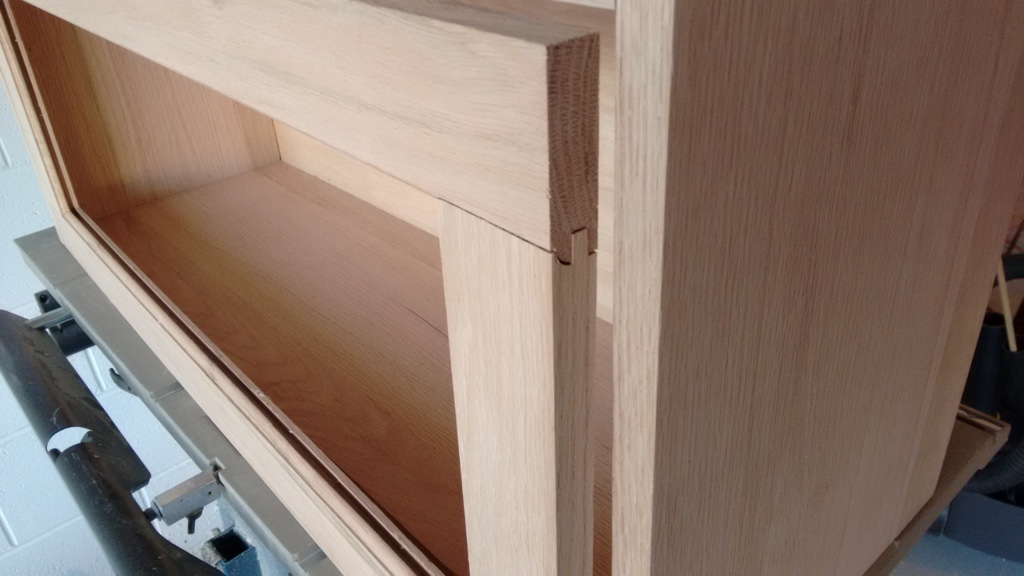
I got a rail and stile router bit set for the cabinet doors, which lets you make pretty snazzy looking doors fairly easily.
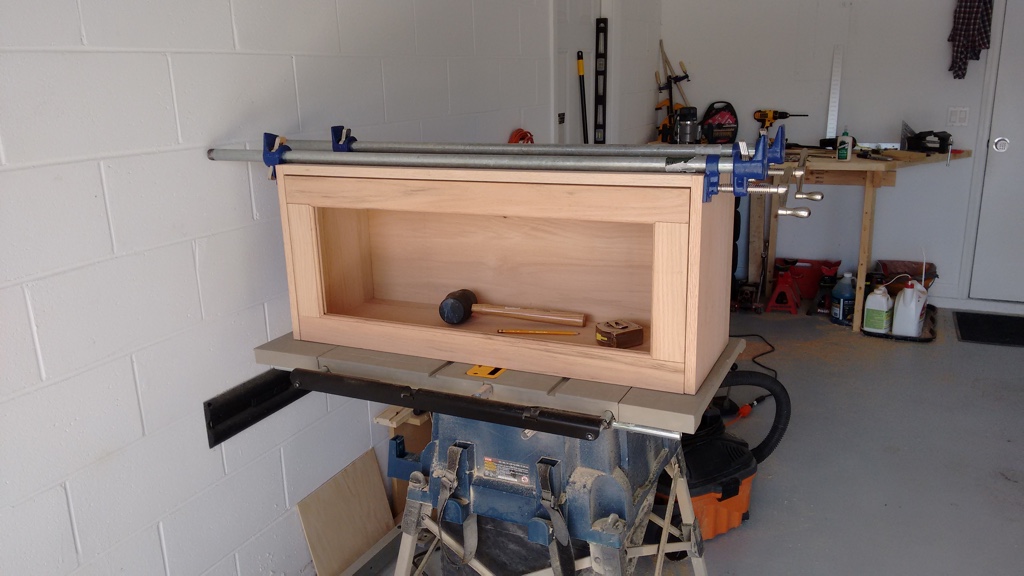
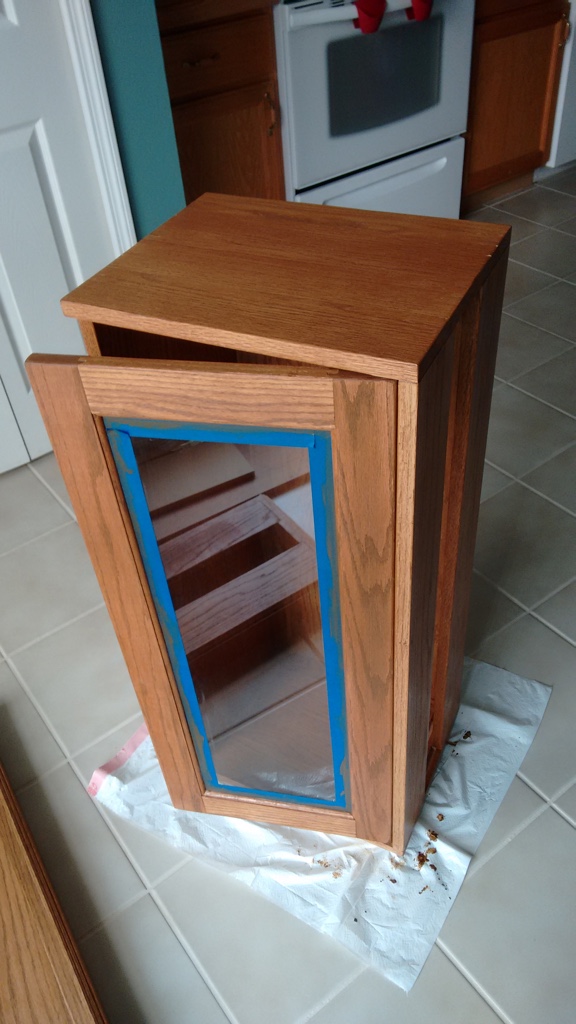
These are all the pieces I have right now, dry fitted to test. I still have to figure out how I’m going to hinge the door and buy a piece of glass to go in it before I can finally start gluing it together.
After hinging the door, I did another test fit with the door in place to make sure everything lined up before I started gluing things together. Everything looked good, so I glued the piece of glass into the door.
While I was waiting for the door to dry, I decided to go ahead and stain the base since I couldn’t do much else in the meantime.
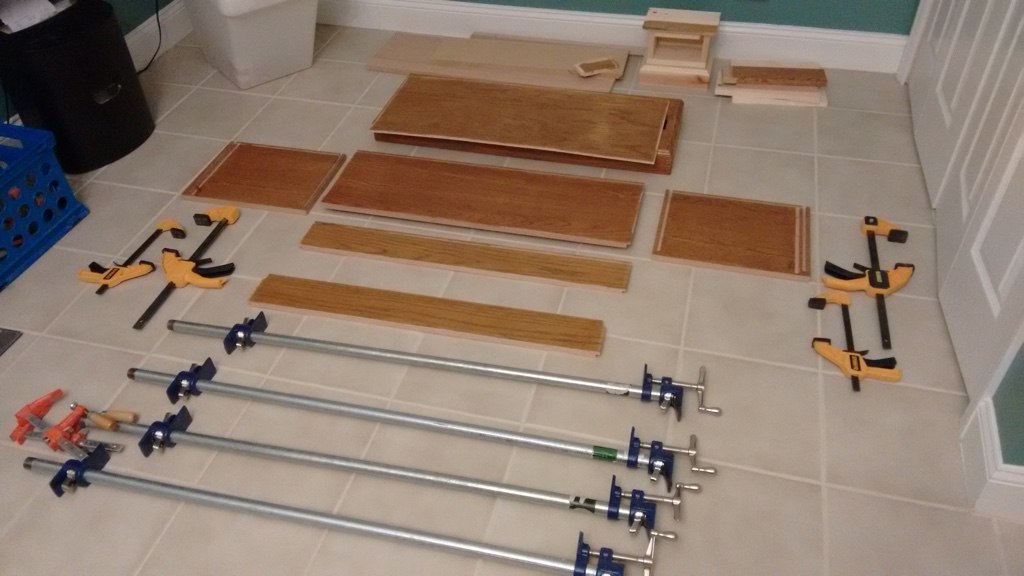
Once I started staining things, I realized it would be a lot easier if I went ahead and stained all the interior pieces before assembly. Trying to stain in the back of the cabinet seemed like it would involve a lot of swearing. I’ll have to get a couple of topcoats in there, but that’s a lot easier than stain. Here are all the parts prior to assembly.
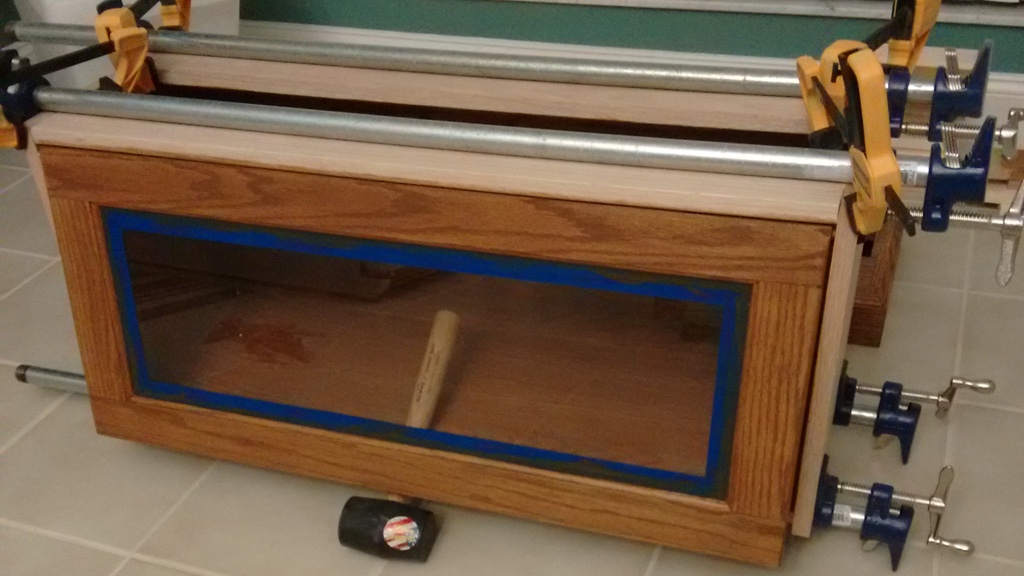
There was a lot of swearing during assembly, but it came together mostly drama free and thankfully I thought about which clamps I would need before I started gluing rather than during which is what I usually do.
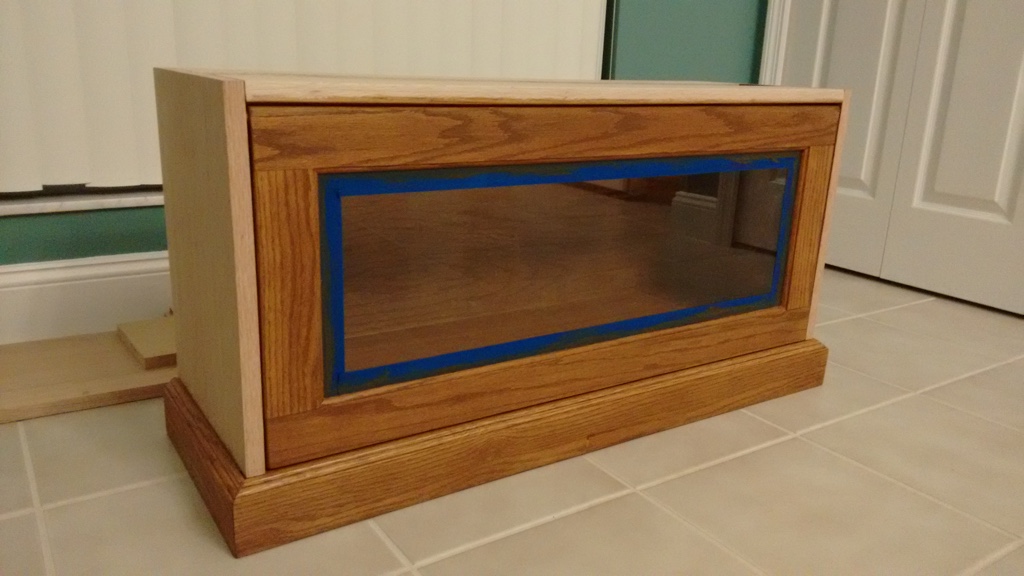
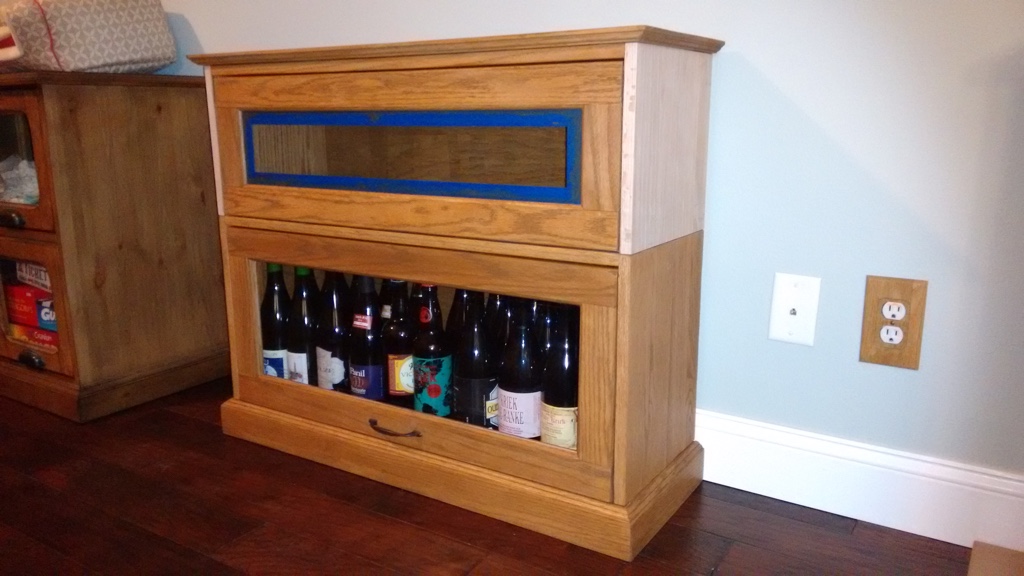
Here’s a shot of the cabinet on top of the base. It should be pretty straight-forward to finish sanding and staining the outside of the cabinet.
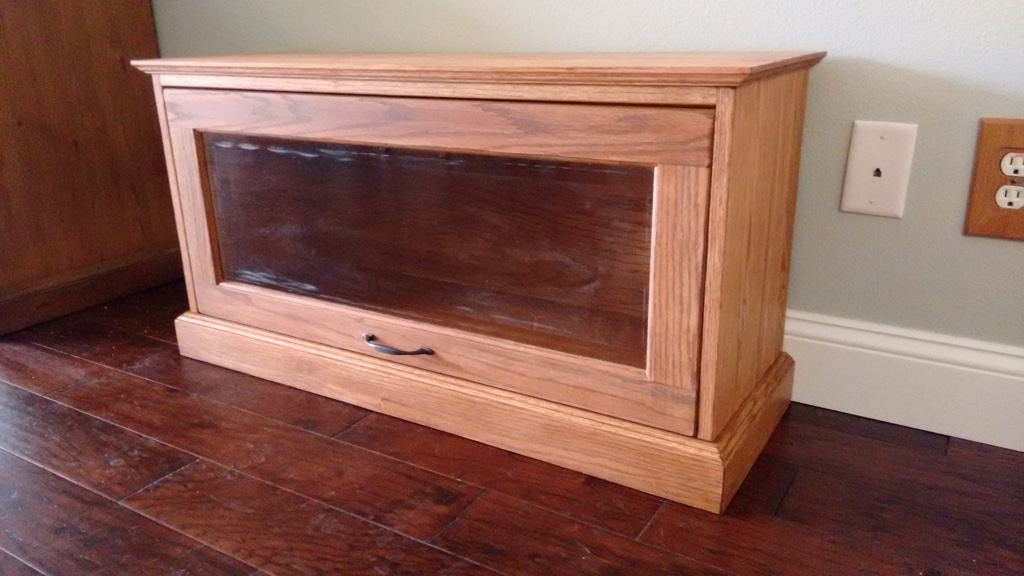
Here's a picture of the fully stained cabinet:
This is what the inside looks like, with a groove for the door to slide in. The dowel at the front keeps the door up when it’s open.
With everything stained, it’s looking pretty good. Just need to make the top.
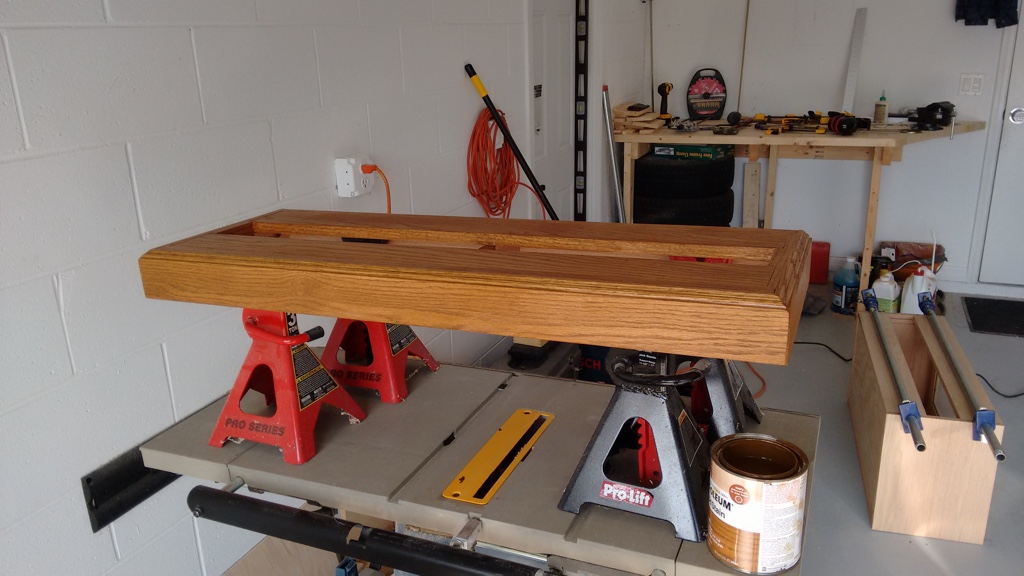
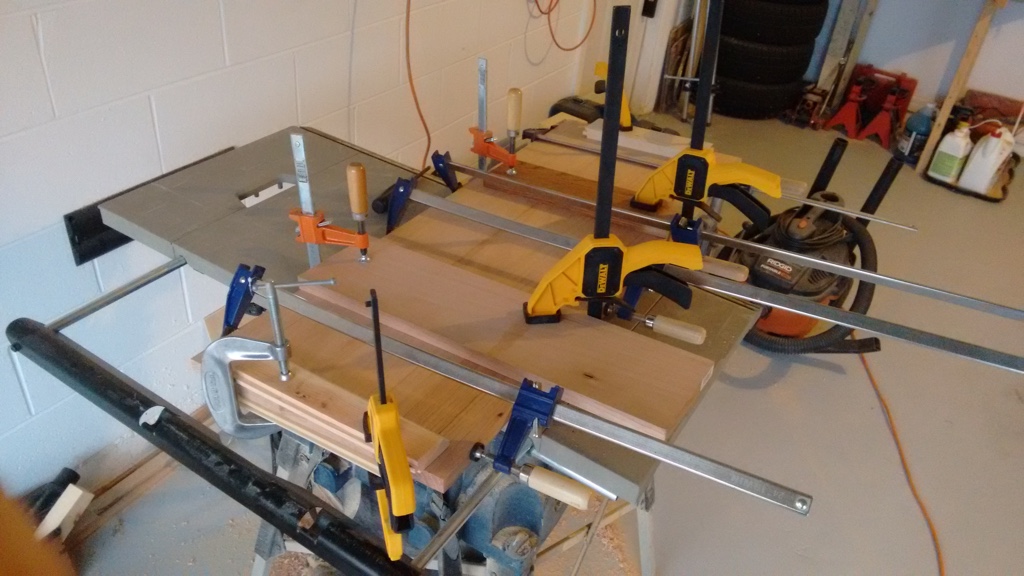
I used almost every clamp I own gluing up the top.
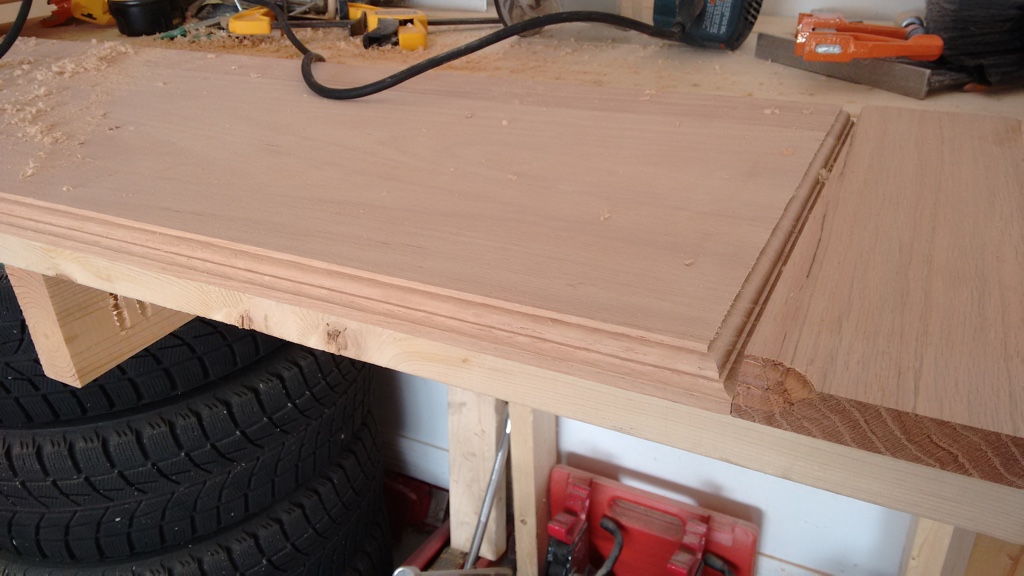
Once it was dry, I routed a decorative edge on the front and sides.
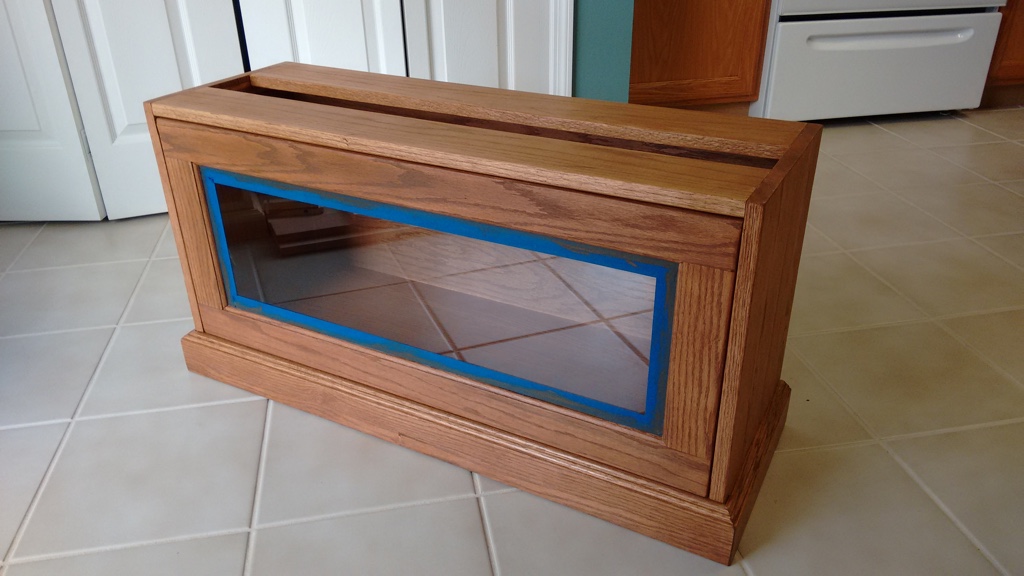
Here it is fully assembled. The glass has a few scuffs because I did my final sanding after the glass was in the door and not before. Oops.
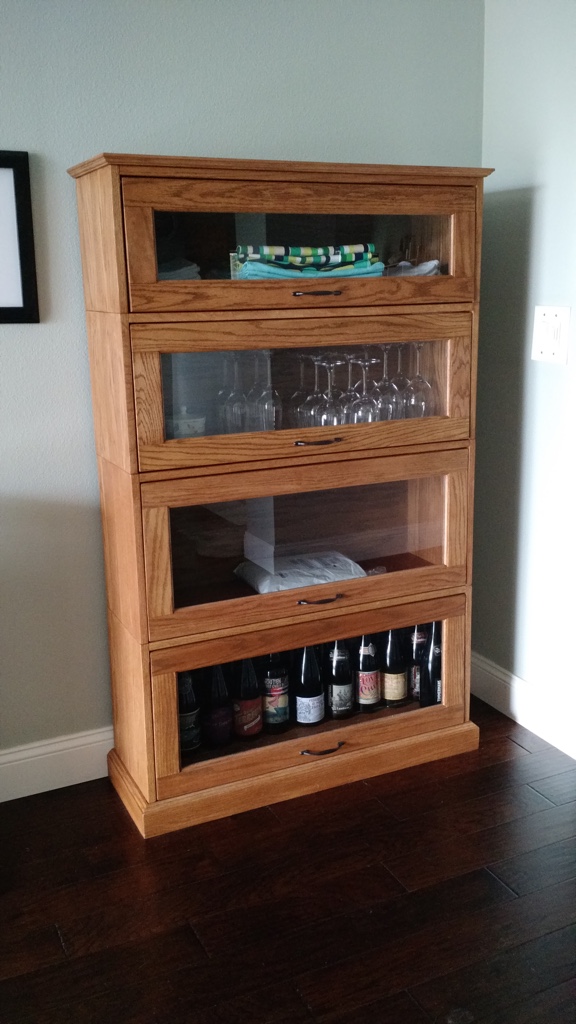
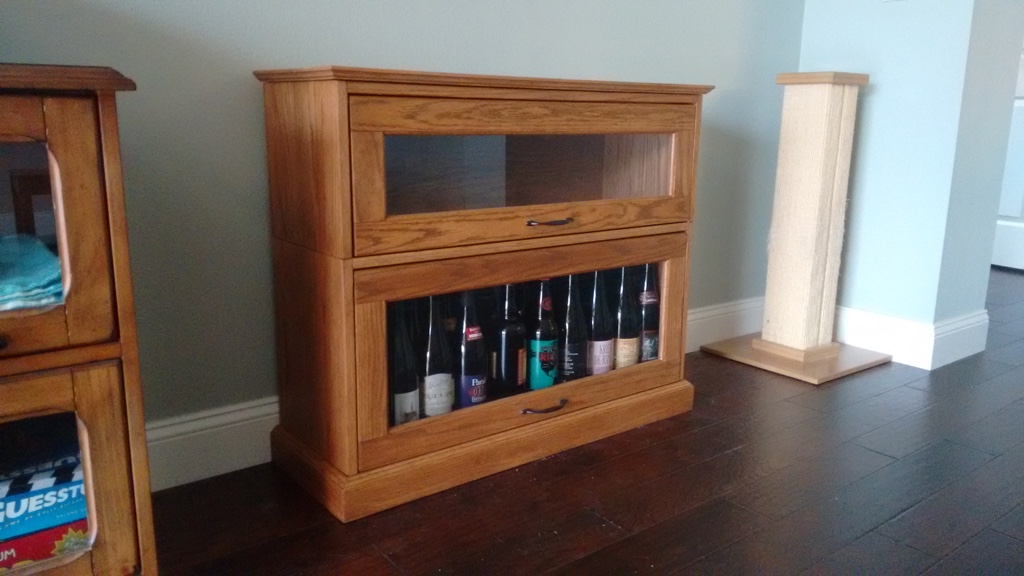
Now it’s mostly full of beer:
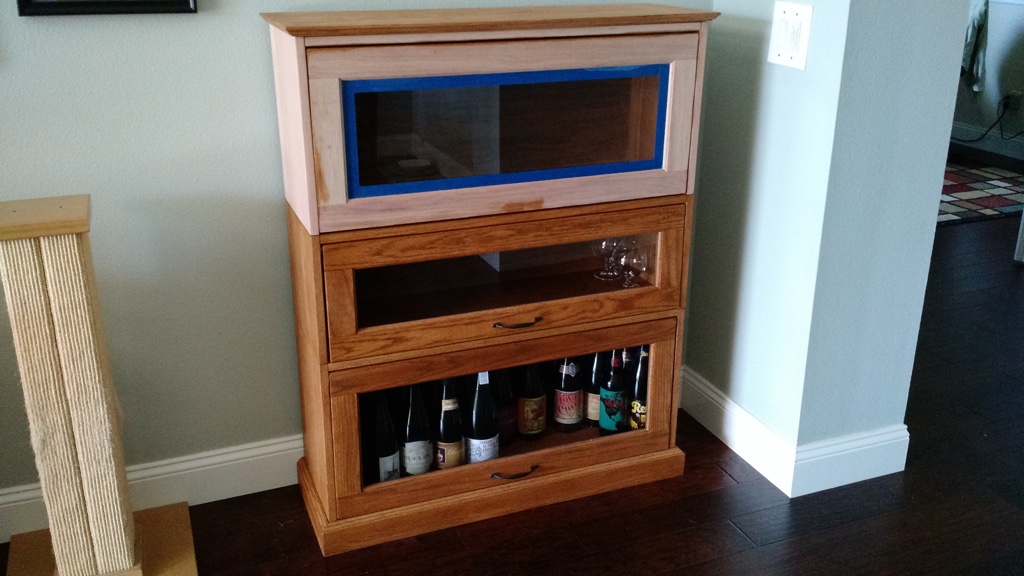
February 2015: I finished the second level of my barrister bookcase, which went way faster than the first level. I spent far less time staring off into space trying to mentally picture all the joints and doing stupid fractional math (metric would be way easier to work in, but whatevs). I made the door first, for reasons I don’t remember anymore:
The sides take the longest–I have to glue up a few boards to get the right width and then rout a ton of grooves for various things. The other pieces are mostly straightforward.
Here’s the cabinet test fit before I finished staining everything.
Level 2 complete. I’ll probably leave it like this for awhile, since I’m not sure what we would put in a third level. The second level is still empty. I guess we don’t have enough junk.
May 2015: I finished the third level of my ongoing barrister bookcase project last weekend. I’m planning to do a fourth eventually, but I’ll probably stop there. It won’t be anytime soon though, because it’s getting way too hot already. It’s going to be a brutal summer.
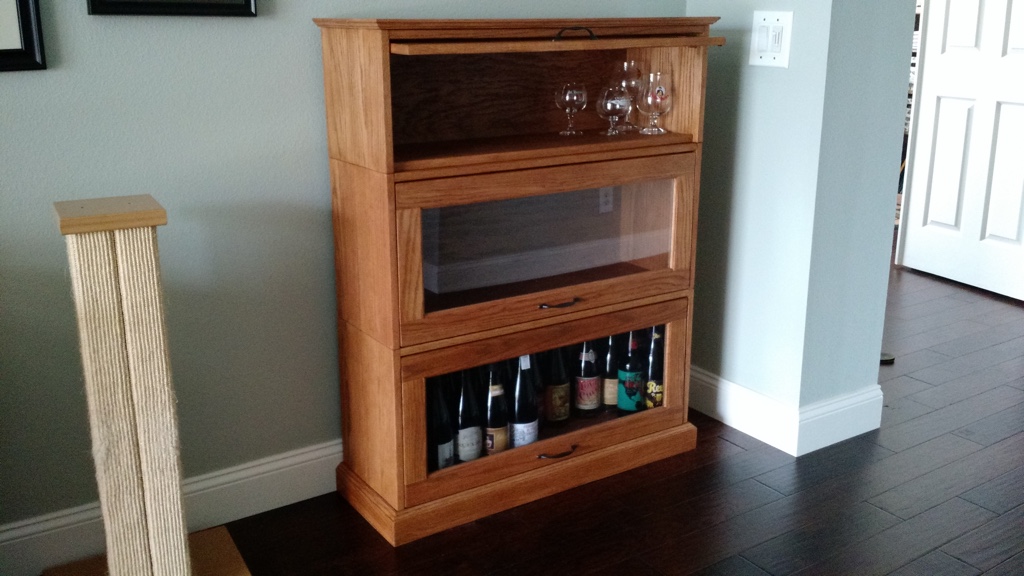
December 2015: Level 4 complete! I think I'm going to stop here, but since it's modular I could add another level in the future.